During winter, your skis become an extension of you. This year, instead of letting your old skis go into hibernation in the corner of the shop, here are three great ways to put your old sticks to use.
Beginner Run: The Shot Ski 2.0
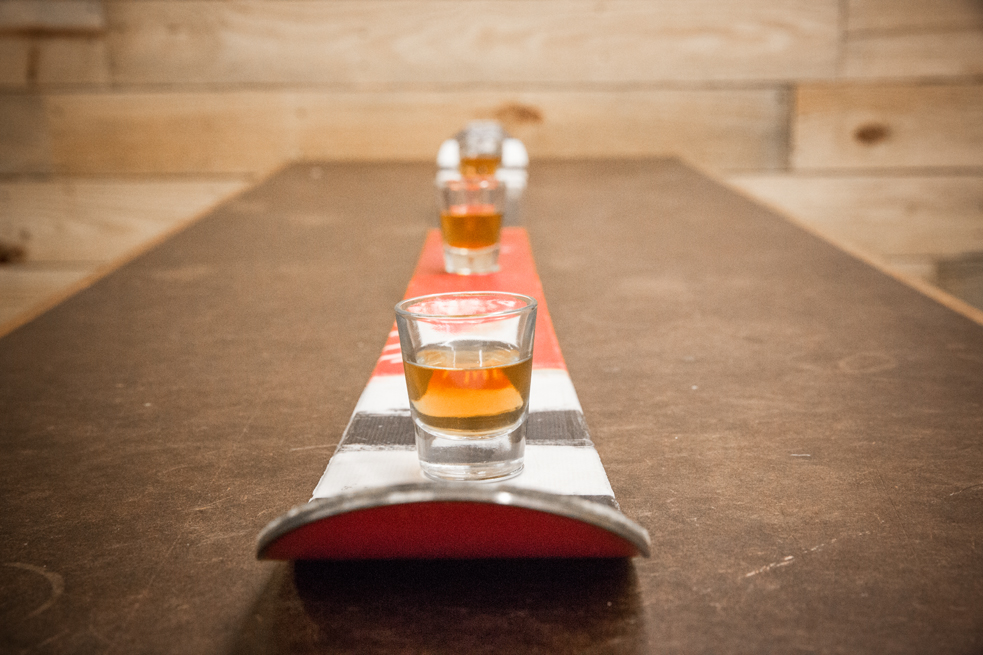
Lift, tilt, drink, success. The Shot Ski is a favorite of thirsty mountain folk everywhere. Good news! We’ve taken the time to update the old après standby by making it quicker and easier to clean the glasses after each round by using magnets and some glue.
What You’ll Need:
- 4 round magnets, approximately ½ inch in diameter
- 1 hot glue gun and hot glue sticks (or superglue)
- 1 retired, well-loved ski
- 4 shot glasses
- electric drill with circular bit (1/2 in. or closest to magnet size)
- 4 ½ inch in diameter washers
- measuring tape
- permanent marker
The Ski:
1. Heat your glue gun.
2. Measure out the ski in four equal parts and put Xs in the center of each part. “X” marks the spot where you’ll drill insets for the magnets.
3. Using the circular bit and applying even pressure, drill down into the top of the ski to the height of one magnet (so the magnet will sit flush with the top of the ski when set inside) but do not drill all the way through the ski.
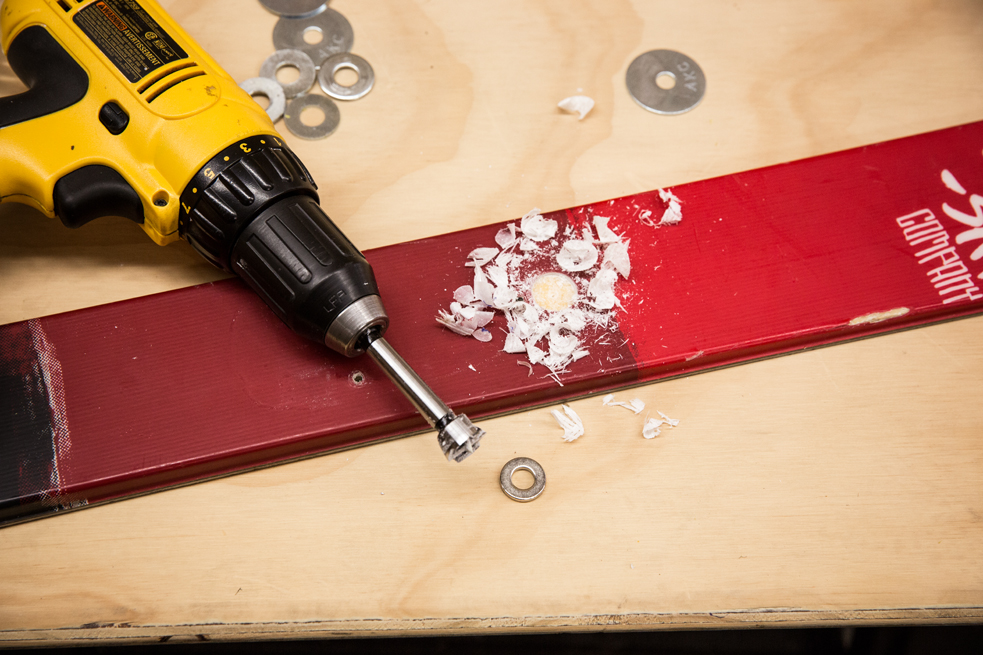
4. Apply a small amount of glue to the bottom of each drilled hole.
5. Drop the magnets in the holes and press to adhere.
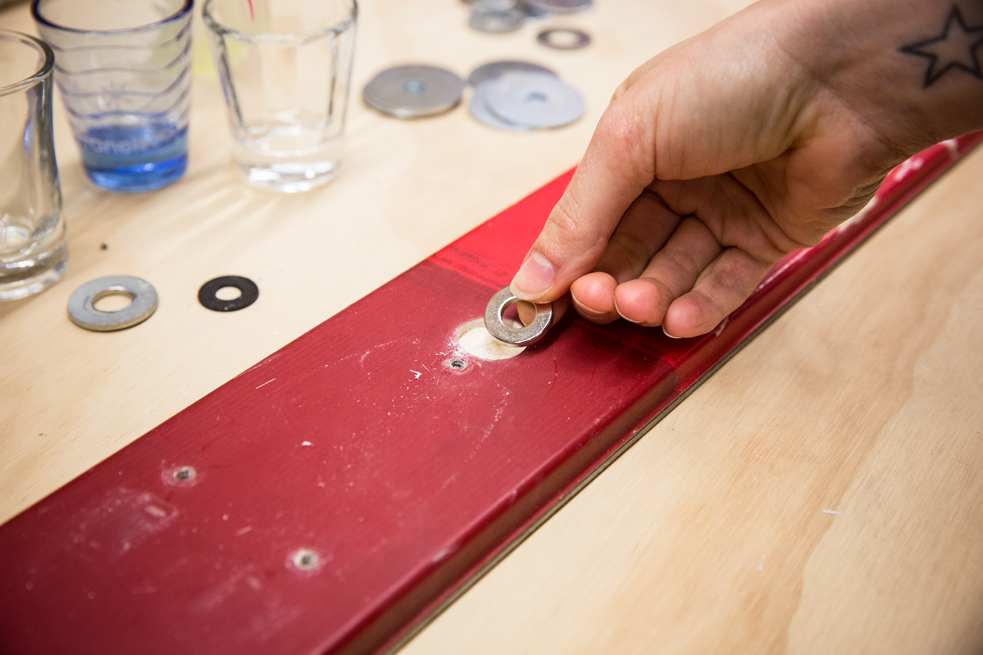
6. Let dry overnight.
The Shot Glasses:
1. While the magnets are drying, grab four shot glasses, the glue gun and the four washers.
2. Flip the shot glasses upside down. Place a dab of hot glue on the bottom of the glasses and press the washers down until set.
3. Let the glue dry.
4. Once dry, set each shot glass onto a magnet to assemble your shot ski.
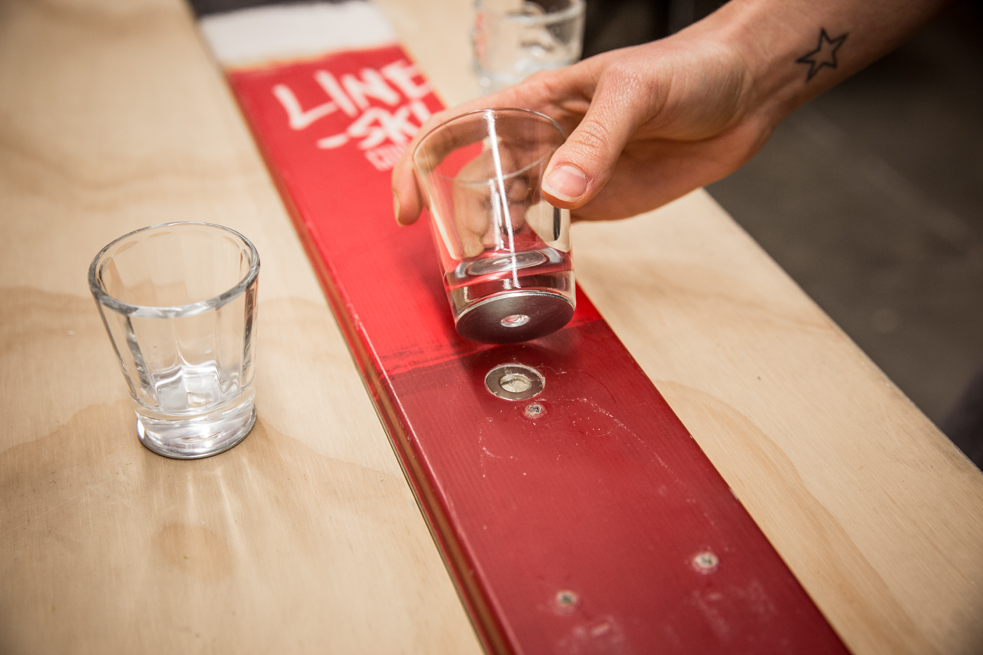
5. Clean your work space and invite friends over to test your new Shot Ski 2.0.
Intermediate Run: Mounted Ski Boot Bottle Opener
We’ve been there … with an adult beverage and without a bottle opener. Rugged times call for rugged measures. Here’s a creative way to crack a bottle open. (Hint: It involves a ski boot, not a dental visit.)
What You’ll Need:
- 1 old ski boot
- 1 old ski boot’s partner ski , with fitted binding
- 1 one handsaw
- 1 electric drill
- 4 screws
- measuring tape
- permanent marker
The Build:
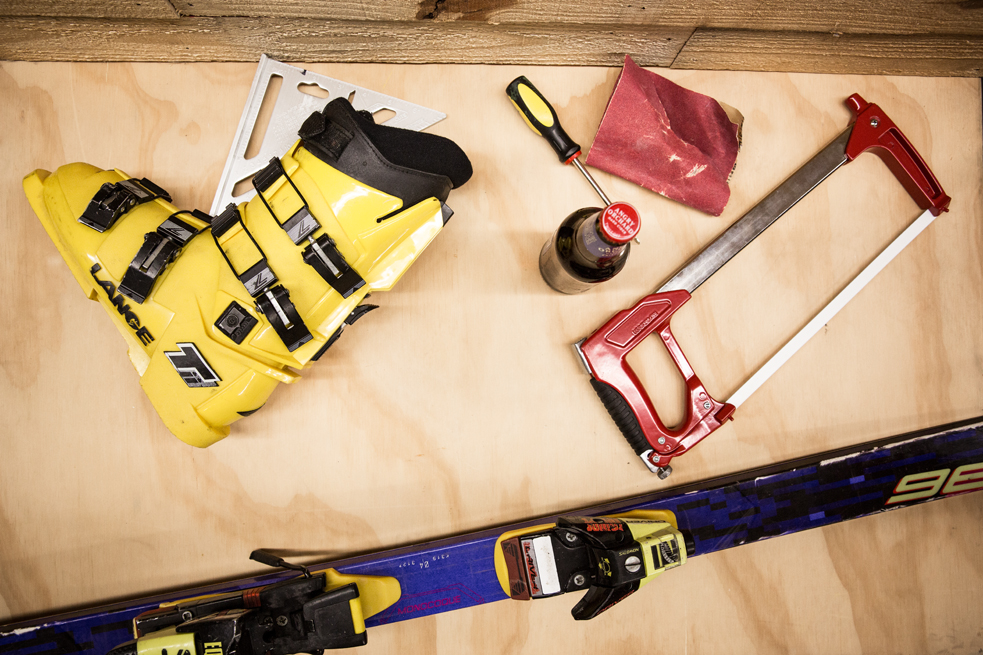
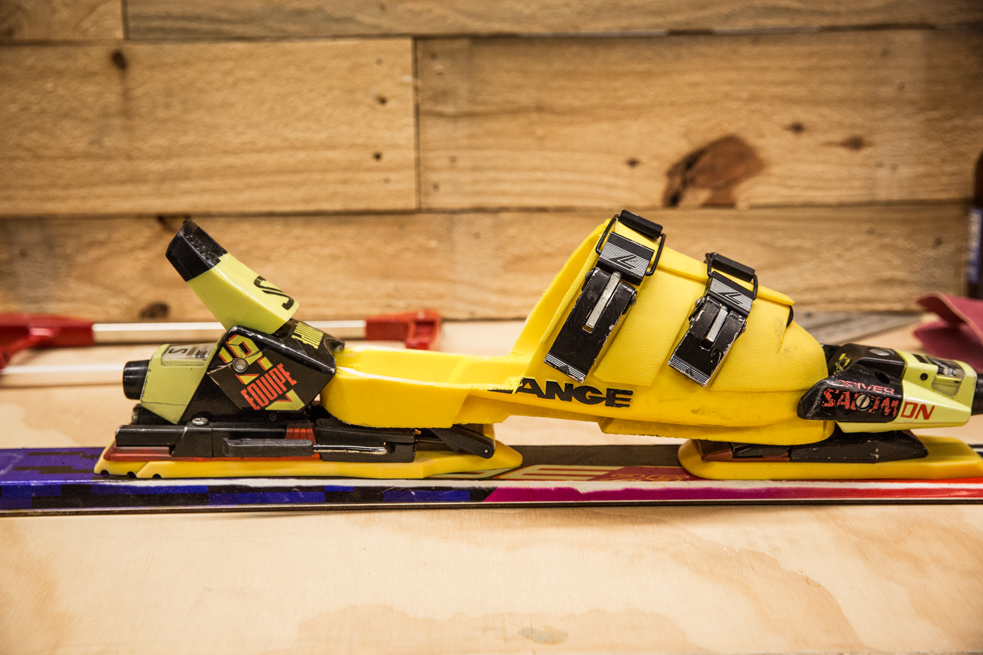
1. Lay the boot on its side. Starting at the boot’s heel, roughly draw a guide on the boot that follows the sole and makes its way up and around the other side, right above the top fastening clip on the instep.
2. Grab the boot and handsaw and get to work removing the ankle from the boot.
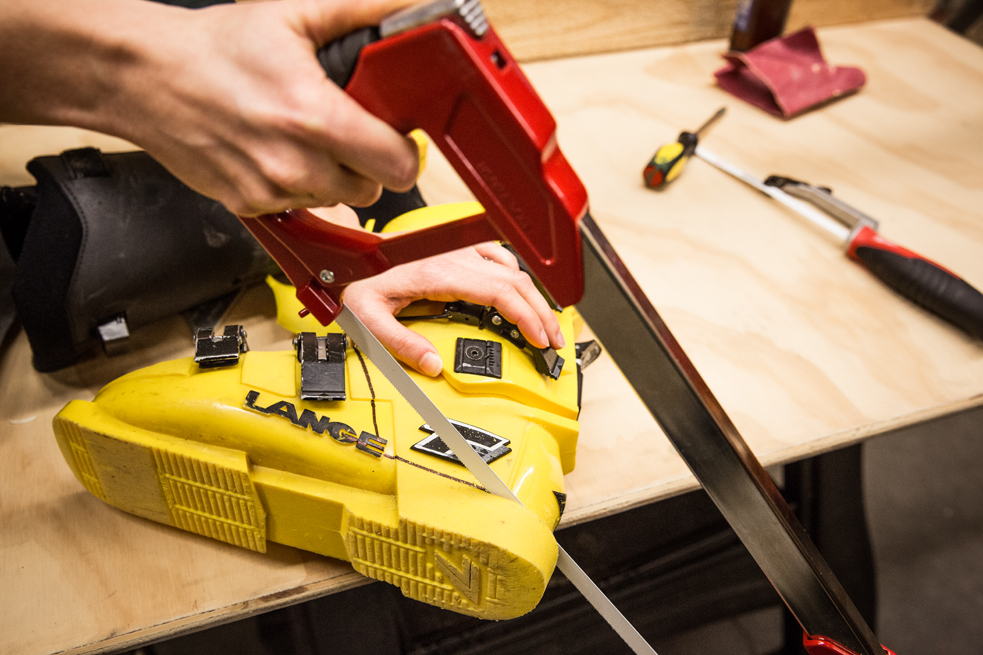
3. Remove the ski’s binding and set the screws and parts to the side.
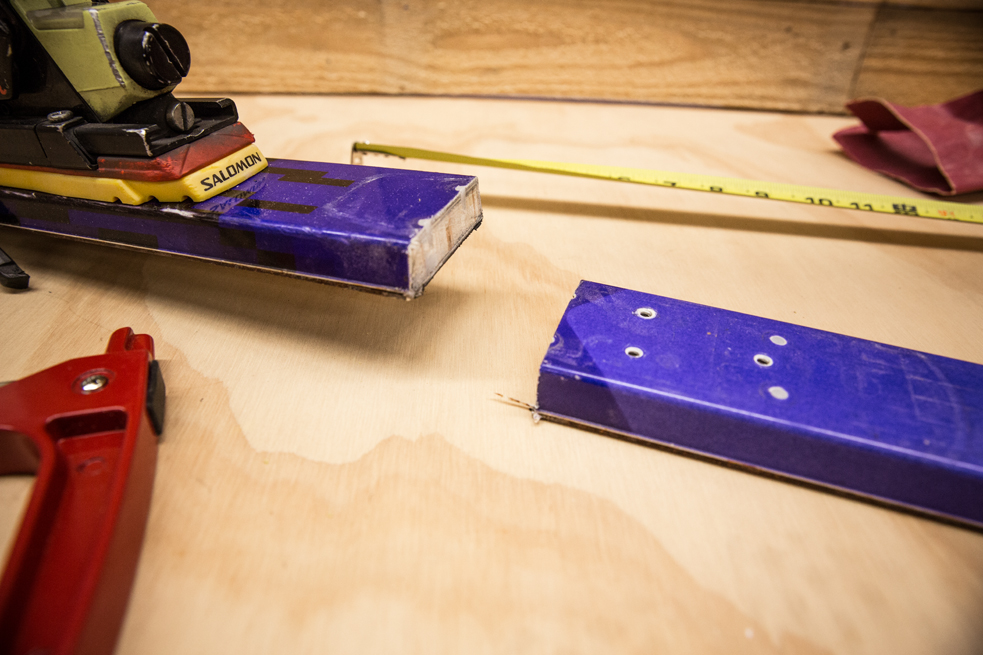
4. Take the now naked ski and saw in half.
5. Remount the binding on the top portion of the cut ski using the screws and parts you set aside in step 3.
6. Set your cut boot (a.k.a. the bottle cap holster) into the newly placed ski bindings.
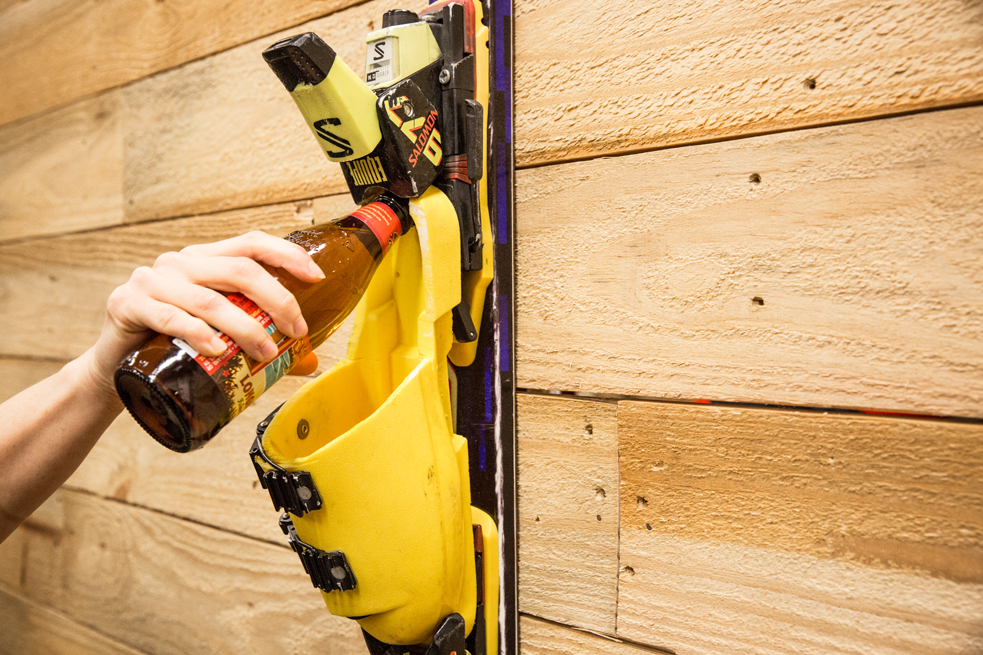
7. Using screws and drywall anchors (as applicable), mount the system on the wall with the heel of the boot facing up and toe facing the floor.
8. Grab a beer, insert the capped bottle into the heel and crack ‘er open (qishhhhhhh). Enjoy.
Expert Run: Ski Wine Bottle Holder
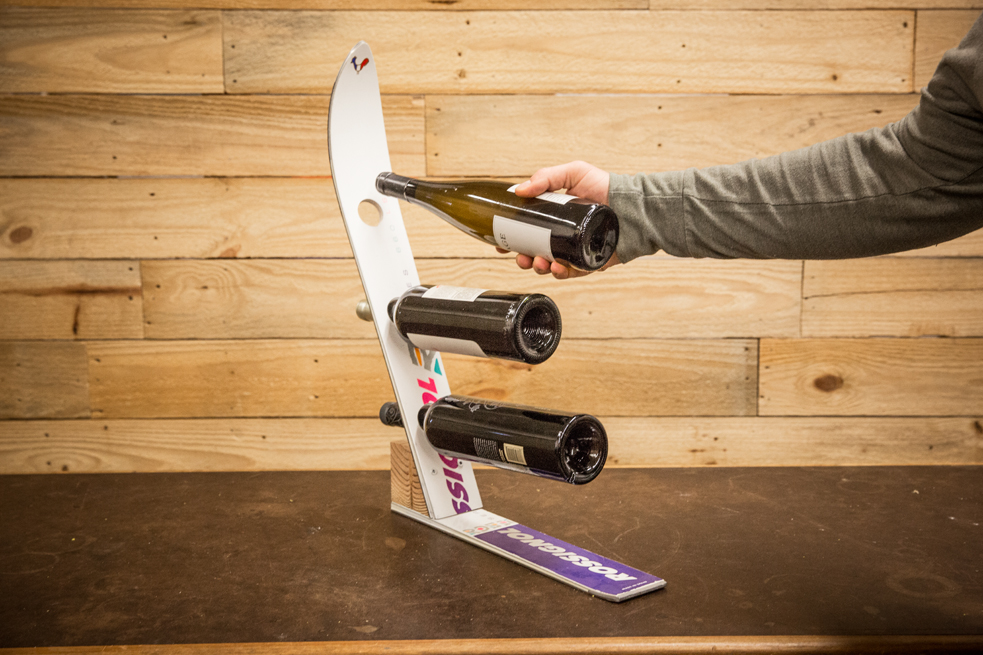
Let your retired skis age like a fine wine by turning them into a wine bottle holder. (See what we did there? HEYO!) Wine jokes aside, here’s how to make the perfect ski cabin wine holder.
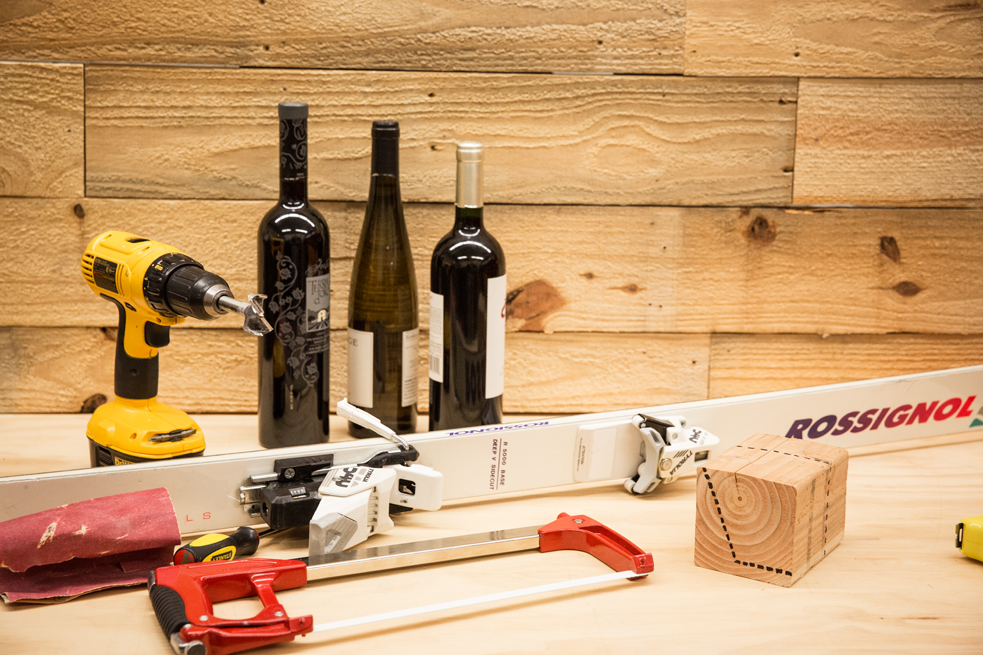
What You’ll Need:
- 1 old, naked ski (preferably from the 1989 or earlier, for cool points)
- A section of 4×4, approximately 4 inches long
- 1 small handsaw
- 1 drill with 2 in. circular bit
- some ingenuity
- 4 wood screws
- wine bottles
The Build:
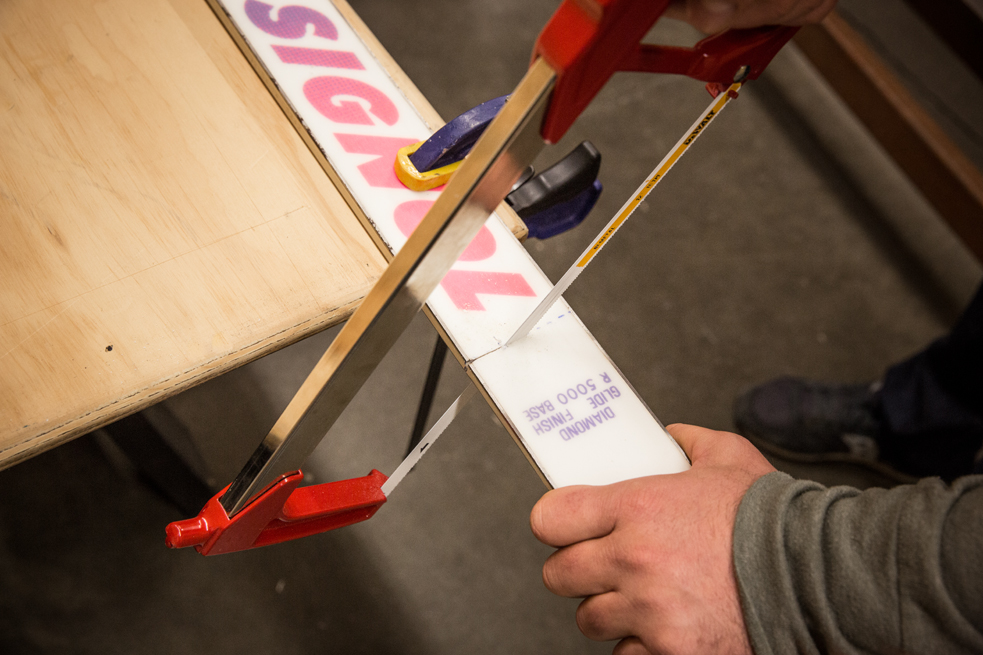
1. Strip a ski of its binding and lay it flat on a solid surface. Cut off the tip and tail about 2 ft. from either end.
2. Over a piece of scrap wood, drill three evenly spaced holes all the way through the ski tip section. This will hold the bottles.
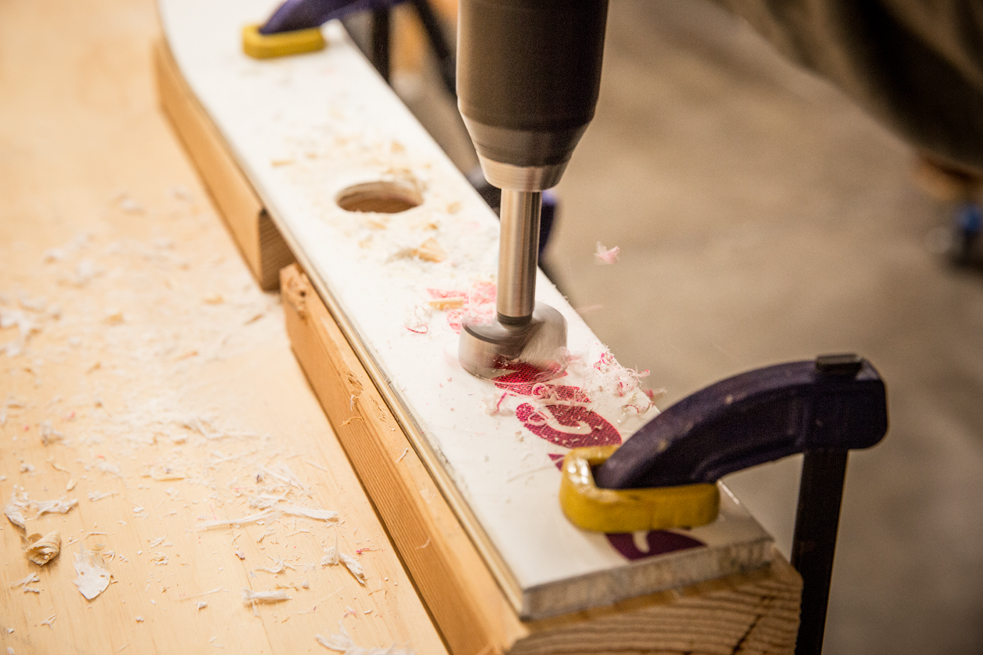
3. Using your handsaw, cut the block of 4×4 so that one side has an slightly acute angle, about 75º to 80º. The ski tip section will rest against this.
4. With the ski tip pointing to the sky, secure the tip section to the freshly cut angle using screws. Then secure the ski tail section to the base of the wood block using four screws to create the base.
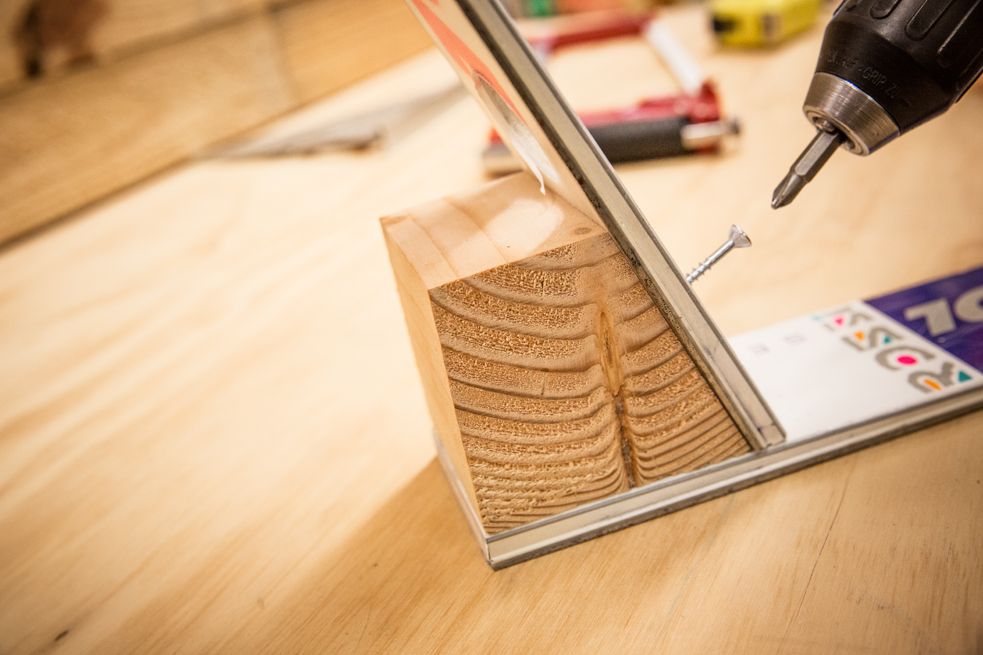
5. Load your wine holder with bottles and show off your work. Cheers! You’ve done a great job. ?
