Steven Shattuck has hiked more than 12,000 miles in the last decade. Here’s how he keeps his pack light.
From thru-hiking the Pacific Crest Trail to the Continental Divide Trail, I have a lot of trail miles under my belt. Over the years, I’ve come to live by one backpacking law: the lighter, the better. Whether you’re a thru-hiker or just looking to cut weight on your next overnighter, fewer pounds mean more miles in less time.
After every backpacking trip, I examine the items I chose to carry. I think about whether any piece of gear could be lightened or removed completely from my kit before my next long hike. During long thru-hikes, I performed this examination whenever I reached a town, shipping gear home or swapping it out as I saw fit.
When beginning to analyze your full backpacking kit, you can shed ounces most effectively by going light on the Big Three: your shelter, sleeping system and backpack. These three items work together in harmony—here’s how to keep them ultralight.
Your Shelter
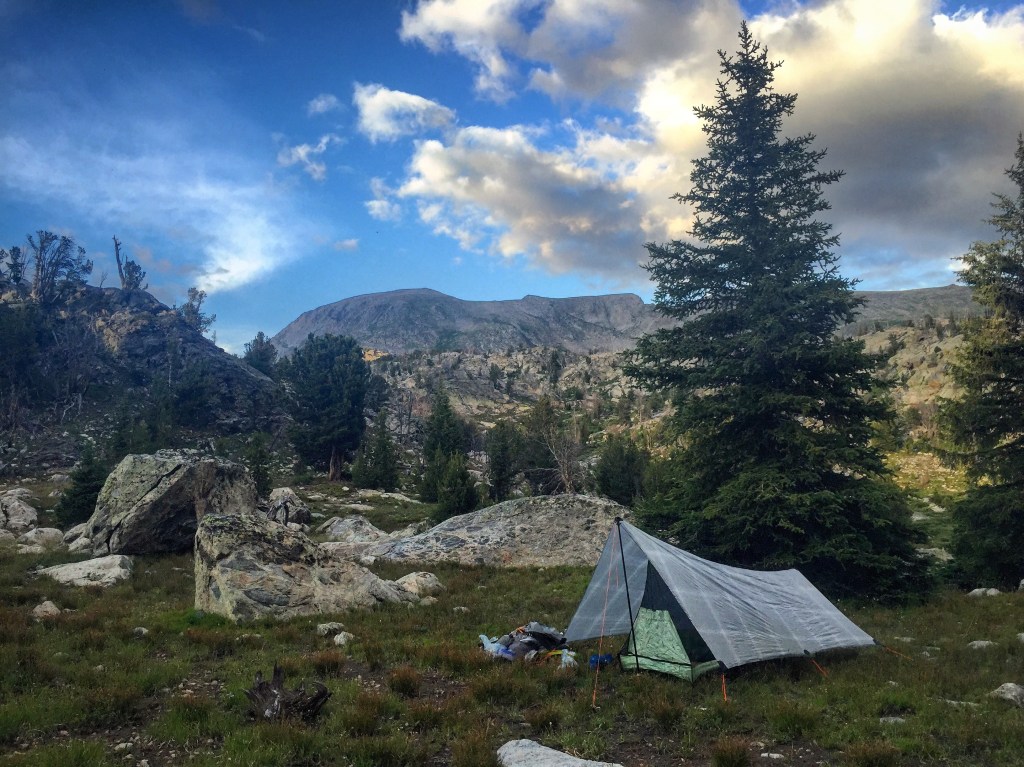
Traditionalists opt for double-walled tents with multiple pole sections, along with ground sheets to help protect the longevity of the tent floor. Though sturdy, they’re also heavy, and the poles are awkward to fit into your backpack. To lighten your load, look for those that do not use tent poles, but instead can be erected using your trekking poles.

While under a shelter, I prefer to feel like I am outside, rather than in a tiny bubble disconnected from the beauty that surrounds me. As such, I choose to use a simple A-frame (roof style) tarp. My trekking poles and eight stakes are all I need to pitch it.
Another variable I consider: Will there be bugs? If so, I’ll take a bug net because my tarp-like shelter doesn’t protect me from creepy crawlies. Nets add a lot of comfort for very little weight.
Potential Weight Savings: 40 ounces
Your Sleep System
Your sleep setup is another area where you can really slash the weight of your backpacking kit. Establishing what you’ll use for shelter will help you determine which sleeping system will work best for you. For example, because I don’t have a double-walled tent, my shelter provides less insulation. So I invested in a bag rated for a few degrees colder than I otherwise would have (at 15 degrees instead of 20) to ensure I stay warm.

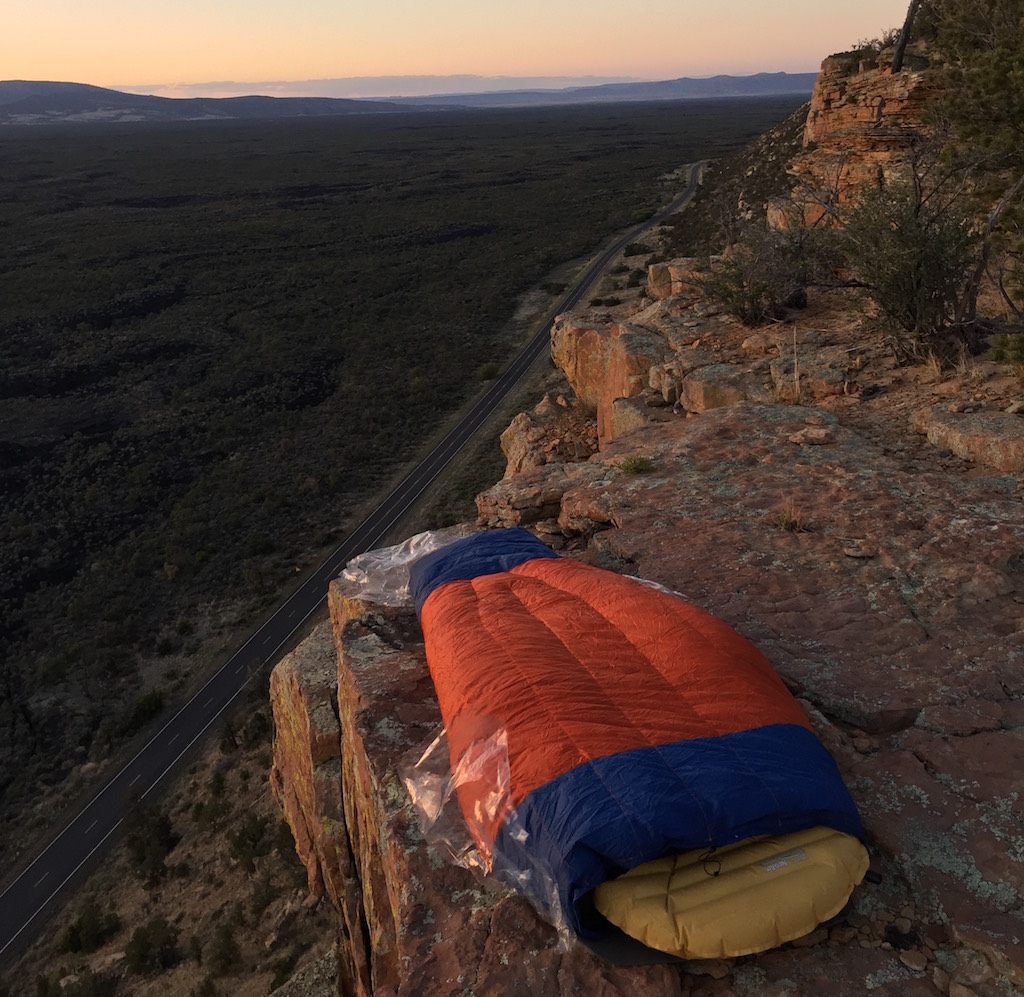
How to cut weight, even with a lower-degree bag: sleeping quilts. Quilts are different than sleeping bags in that a quilt only covers to your neck and does not have a full back, often coming in at less than half a sleeping bag’s weight. Quilts are just as warm in my experience. Caveat? There’s not room to spread out within the bag as they come in a tight mummy form, but the tight quarters mean less dead space for your body to heat.
I also use an inflatable torso-length sleeping pad that I pair with a full body length 1/8-inch foam pad, which doubles as the frame for my backpack. This helps decrease ounces on both my pack and my sleeping system.
Potential Weight Savings: 13 ounces
Your Backpack
Once you’ve settled on your tent and sleeping bag, you can choose a backpack that will fit the other two of the Big Three, as well as your necessities. Because my load is so light, I don’t need the extra support and prefer to go frameless. That means no metal or aluminum stays that create rigidity and structure in my pack.

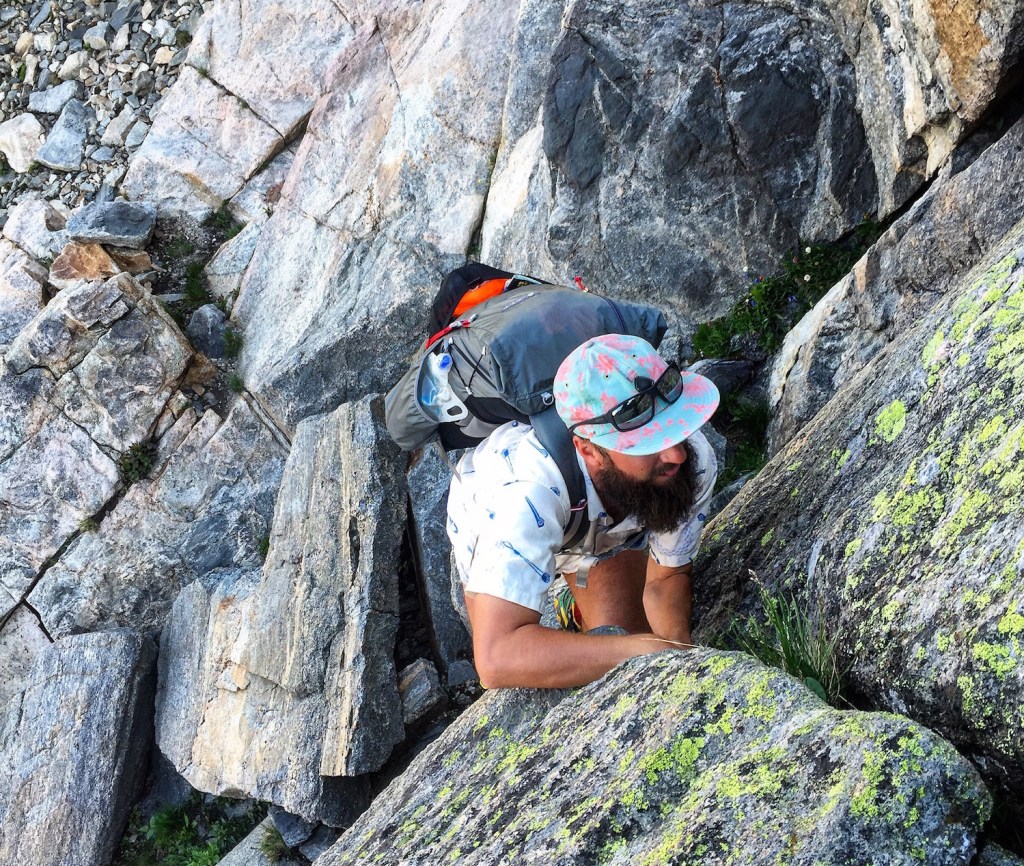
Instead, I prefer a 36-liter pack that will shape to my back and rest naturally to the curvature of my spine. With a base weight of eight pounds, I don’t need the load transfer a hip belt provides. This kit rides on my shoulders just fine—ultralight.
Potential Weight Savings: 36 ounces
Other Gear
Lastly, two other areas where I’ve found most backpackers can save the most weight are your cook system and footwear. Let’s talk about cooking first because I have a radical approach: I don’t cook. While this is extreme—especially for coffee lovers—stoves and fuel are heavy, and there are several benefits to going without one: safety in bear country, fewer items with high malfunction rates and less time fiddling over food, which lends to more time enjoying your surroundings. Instead, I rely on no-cook options like bars and dried foods. If I’m really craving ramen noodles, I’ll pop them in a container of water to soak while I hike. Come dinner, I have soft noodles ready to go.
If you haven’t already, when you get your pack weight down considerably (a good goal is a base weight—your whole kit minus food and water—of below 15 pounds), trade in the clunky, heavy, impossible-to-dry boots, for a pair of breathable trail runners. Because after you cut all that pack weight, your feet need less support—and lighter shoes allow you to travel faster.
Potential Weight Savings: 50 ounces

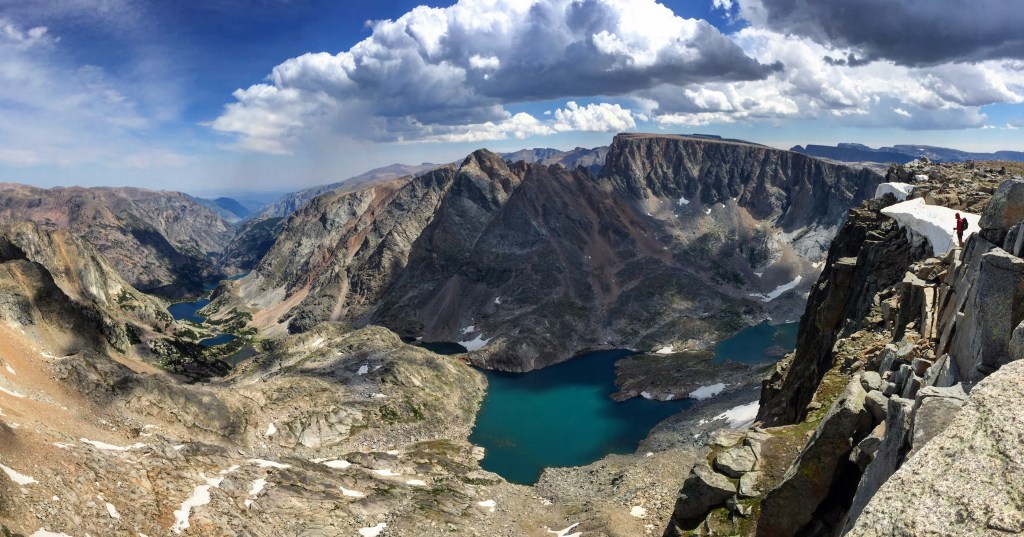
Lightening your load opens the doors to many trips you may not be able to do with a heavier pack. Less weight means faster miles, enabling you to hike the John Muir Trail in 10 days or squeeze a 50-mile loop into a two-day weekend, without losing a single vacation day.
All photos courtesy of Steven Shattuck
