Storing your skis and snowboards properly will make them last longer. It’s best to lay them flat or hang them in a cool, dry place away from sunlight and humidity. If you’ve been leaning your ski and snowboard gear against a corner of your garage or piling them in a heap, don’t worry. It’s never too late to treat your old friends right. Building a ski rack is surprisingly easy, and it’ll save you money in the long run.
What You’ll Need:
Supplies:
- Two 8-foot 2 x 4 boards
- One 8-foot 2 x 6 board
- Two 5-foot metal conduits (1-inch diameter)
- Two 5-foot PVC tubes (1-inch schedule; it will sleeve over the metal conduit)
- 44 or more 3-inch wood screws
- Wood glue
- Four or more 4-inch lag screws and accommodating washers
- Two–three hooks (optional, if you want to hang ski poles)
Tools:
- Measuring tape
- Circular saw, chop saw or handsaw
- Drill
- Spade bit (1-inch)
- Stud finder
- Mallet
- Pipe cutter
- Safety goggles
- Level
- Pencil
- Carpenter’s square
- Socket wrench or crescent wrench
How to Build It:
Step 1
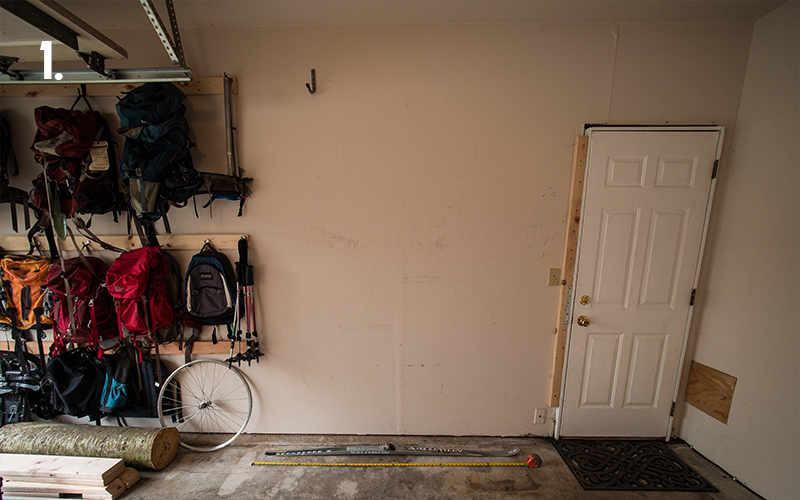
Choose a location for your ski rack. You’ll need a space that’s as wide as your skis/snowboards are long. The height will depend on how many skis/snowboards you have; the more pegs needed, the taller the rack. We wanted our rack to hold up to 10 skis/snowboards, so we measured a height of 4 feet, with five sets of pegs spaced about a foot apart.
Step 2
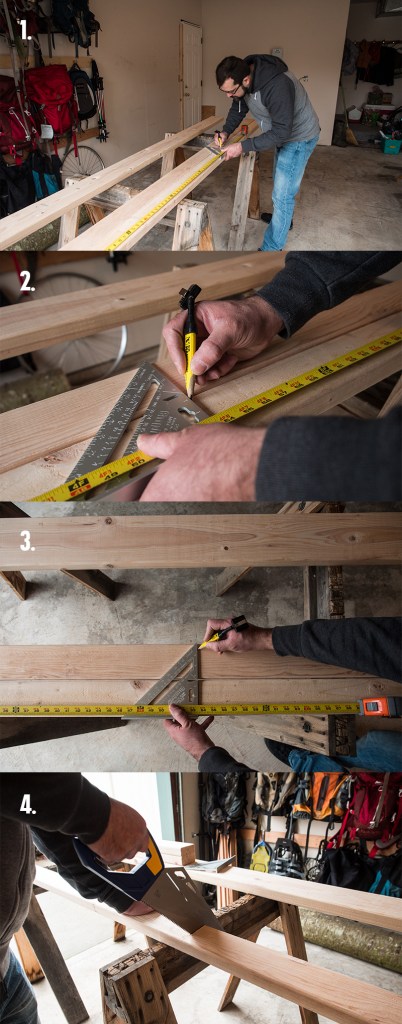
Measure and cut both 2x4s 53.5 inches from each end. You’ll get two boards 53.5 inches long, and two boards 42.5 inches long. The two 53.5-inch pieces will be your front-facing boards.
Step 3
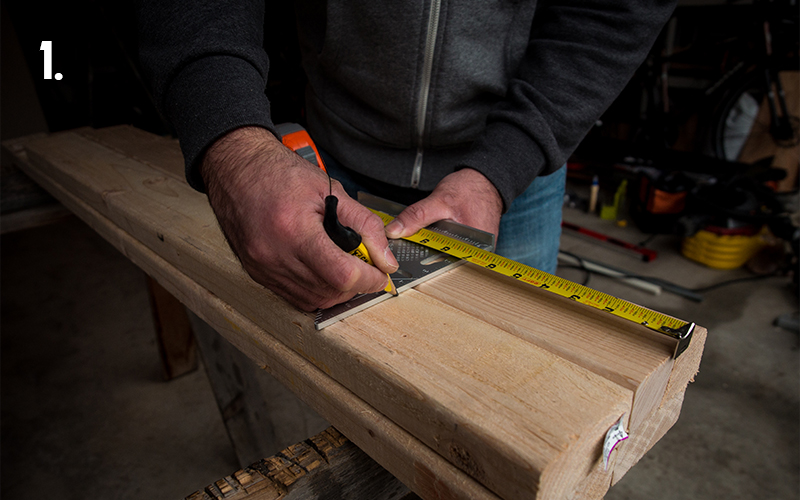
Measure and cut both 42.5-inch boards 7 inches from each end. You’ll get four 7-inch boards, and two 28.5-inch boards. These will be the boards touching the wall.
Step 4
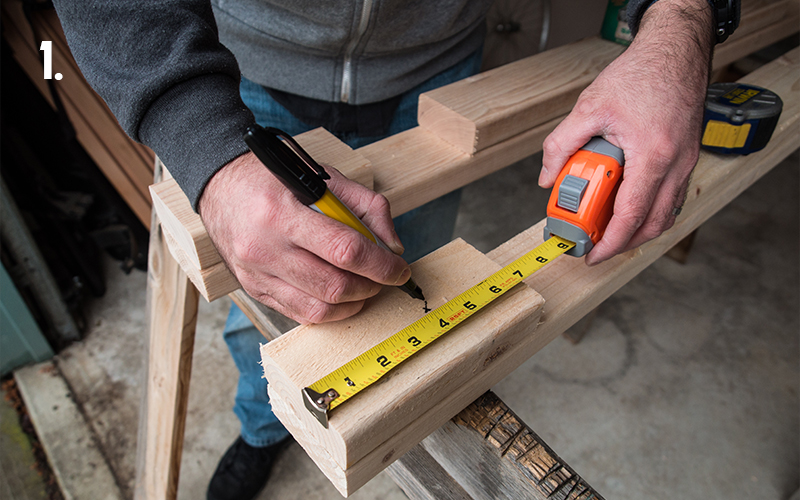
Measure and mark with a pencil where you plan to drill the peg holes. We measured 4 inches from one end, and then 12 inches apart. But don’t drill just yet—these marks indicate where you should not put your screws in the next step.
Step 5
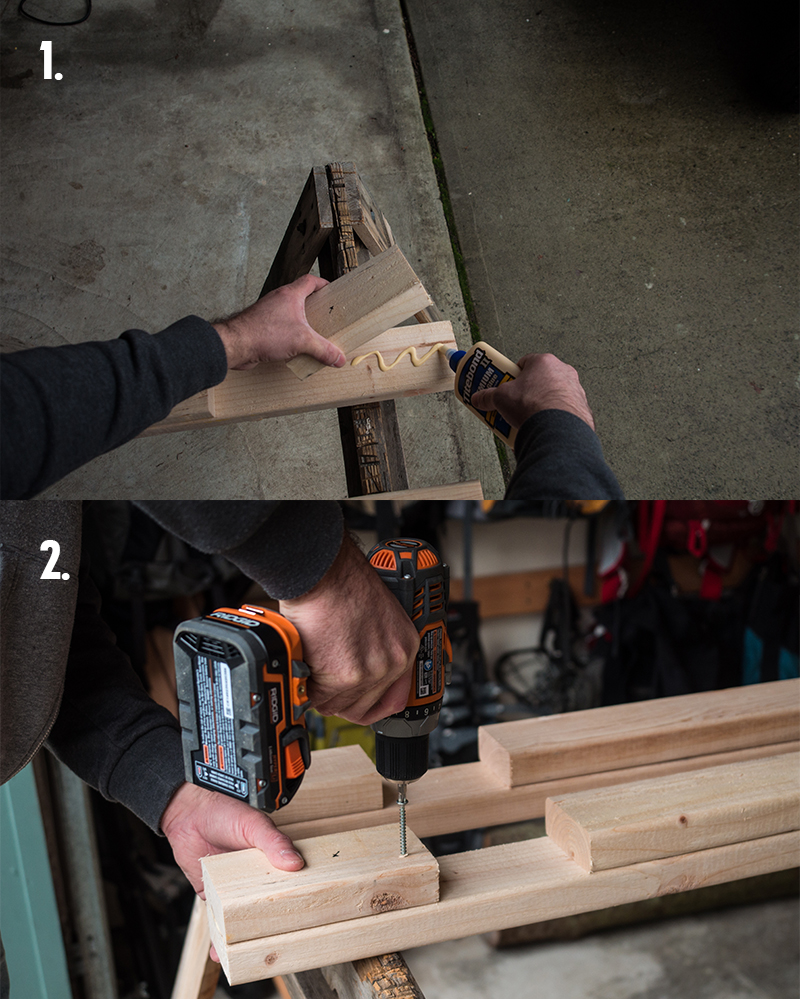
Place the screws. Lay out one of the 53.5-inch boards. Using wood glue and wood screws (self-tapping or pilot holes), attach one 7-inch board flush to the end of the 53.5-inch board. Measure a 6-inch space, then attach a 28.5-inch board. Measure another 6 inches and attach another 7-inch board. Then do the next 53.5-inch board the same way. (See visual, below.)
Step 6
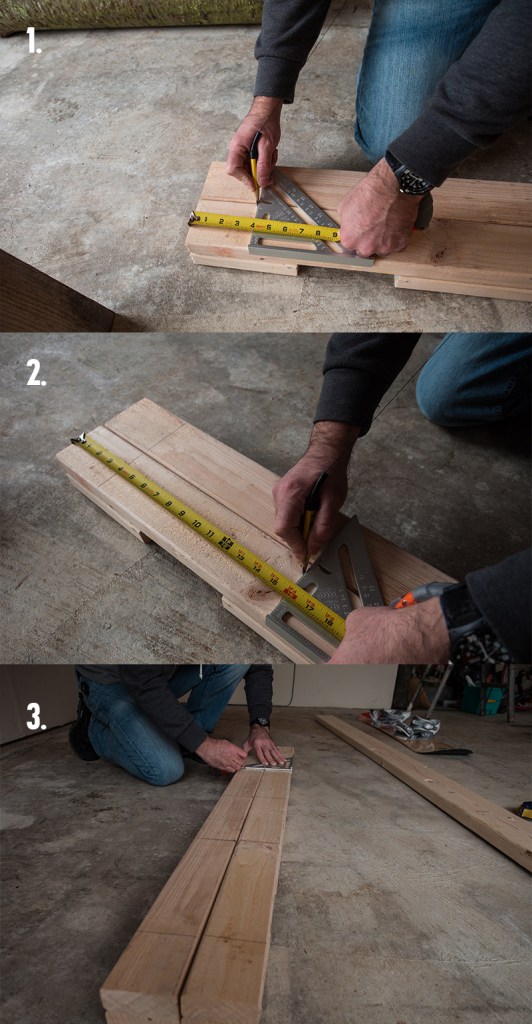
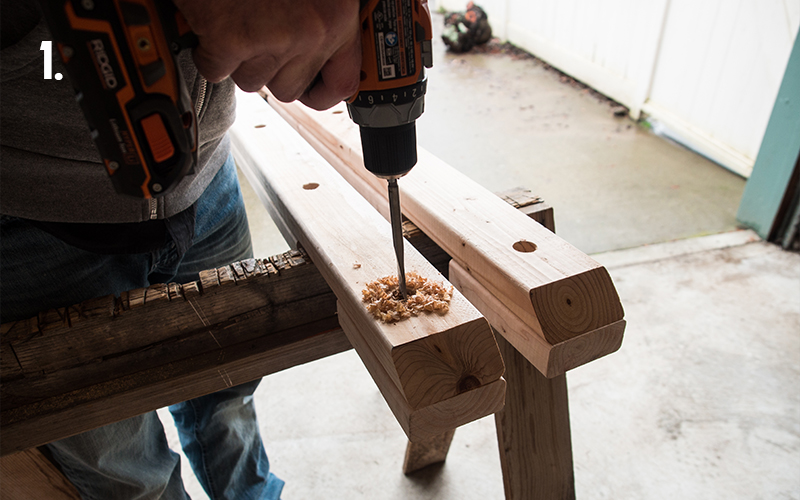
Drill the peg holes. Use the pencil marks you made in Step 4 as your guide.
Step 7 (optional)
If you want a cleaner finish, cut a 45-degree angle on the end of the boards.
Step 8
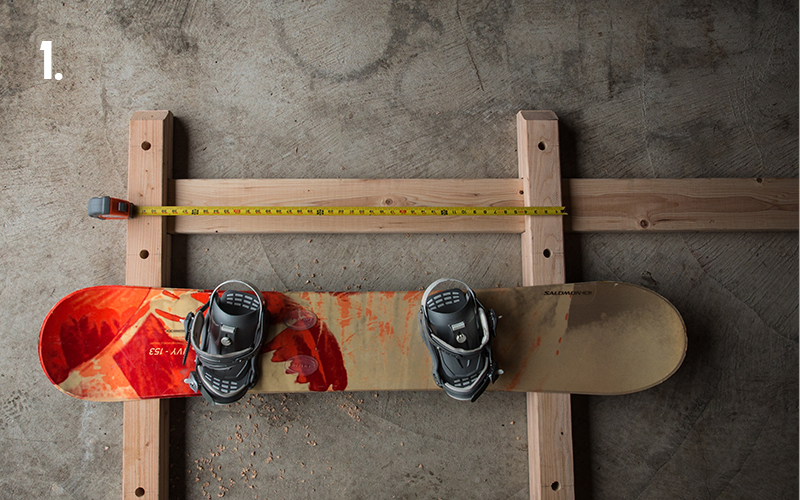
Determine how wide to make the rack by measuring between the farthest dimensions of the widest bindings. We cut the 2×6 board into two 42-inch segments.
Step 9

Position the cut segments of the 2×6 boards in place. Glue and join with screws.
Step 10
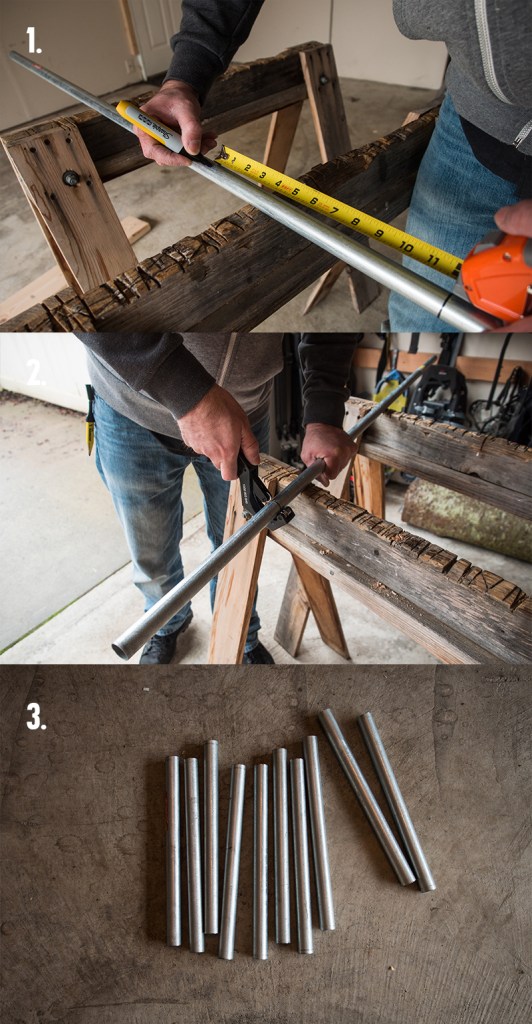
Measure and cut the metal conduits for pegs. We made 10 that measured 12 inches each.
Step 11
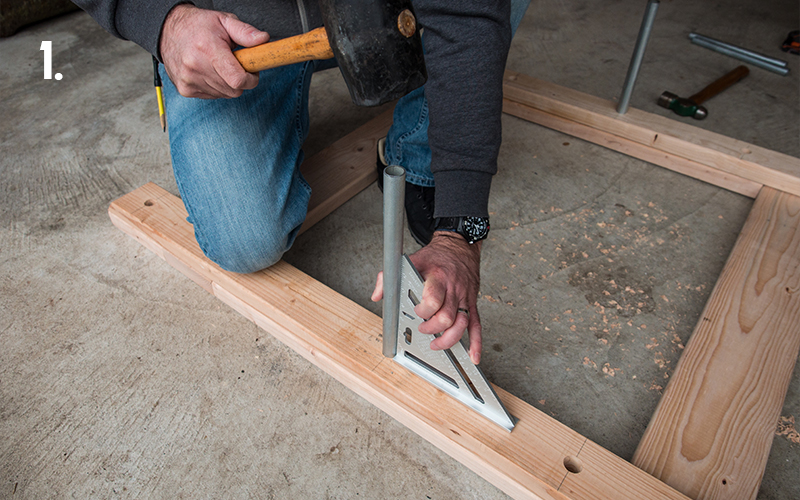
With your mallet, pound the pegs into the holes you drilled.
Step 12
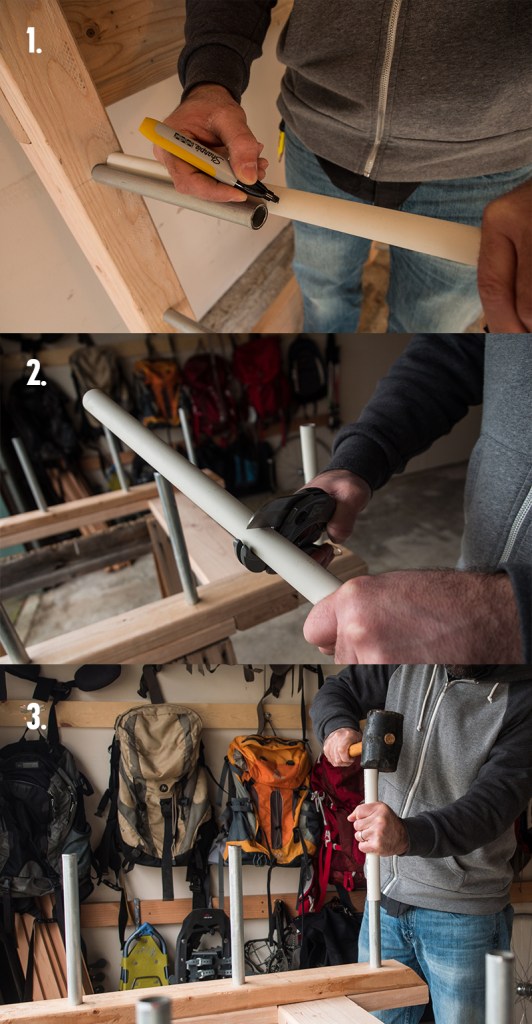
Measure, cut and sleeve PVC piping. The PVC piping should be cut to the same length as the exposed metal conduits. We made ours 12 inches long.
Step 13
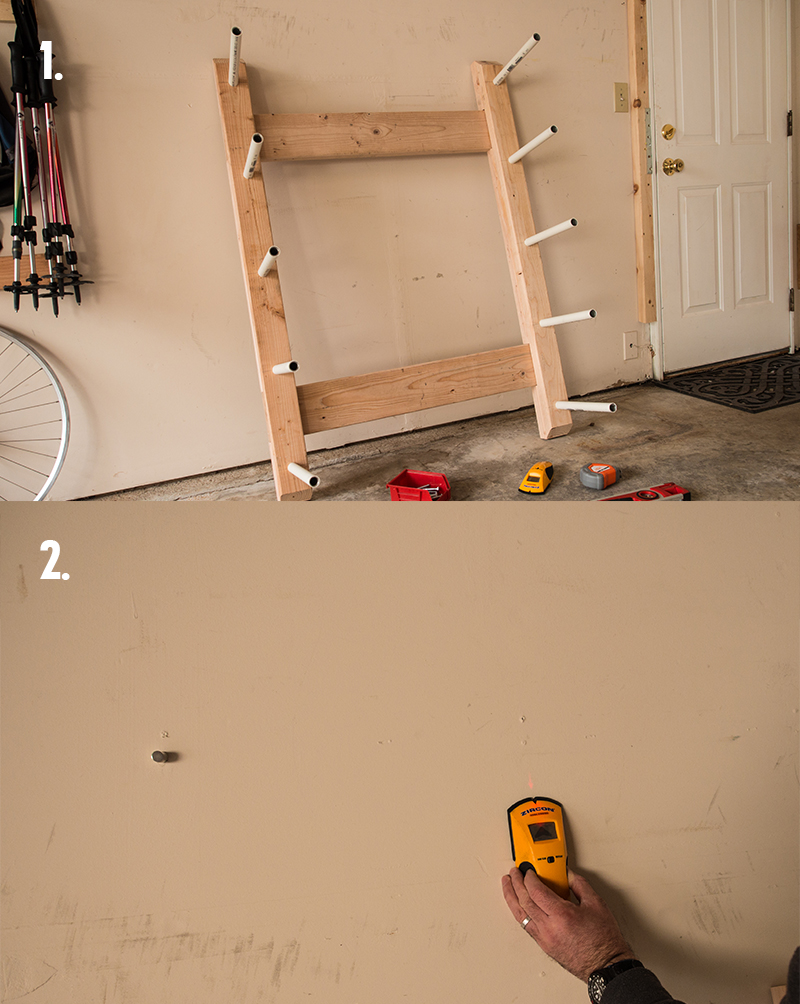
Your rack is complete! Now locate and mark the studs in your wall. We used an electronic stud finder. It’s important to attach the rack to the studs, not just the drywall.
Step 14
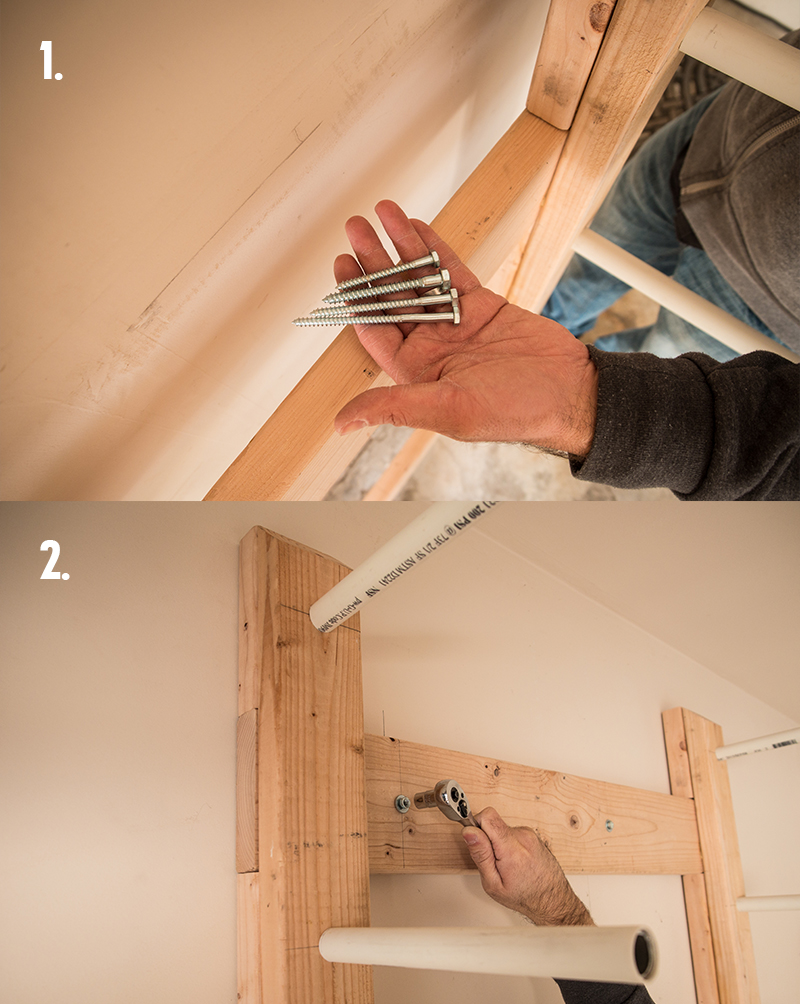
Use the socket wrench, washers and lag screws to attach the rack to the wall. (Drilling pilot holes can help with getting lag bolts through the rack.) The length of the lag screw will depend on how thick your wall is; use lag screws long enough to reach through the drywall and into the stud, but not so long that they’ll go past the stud and poke out the other side. Use a level to make sure you’re attaching it straight on the wall.
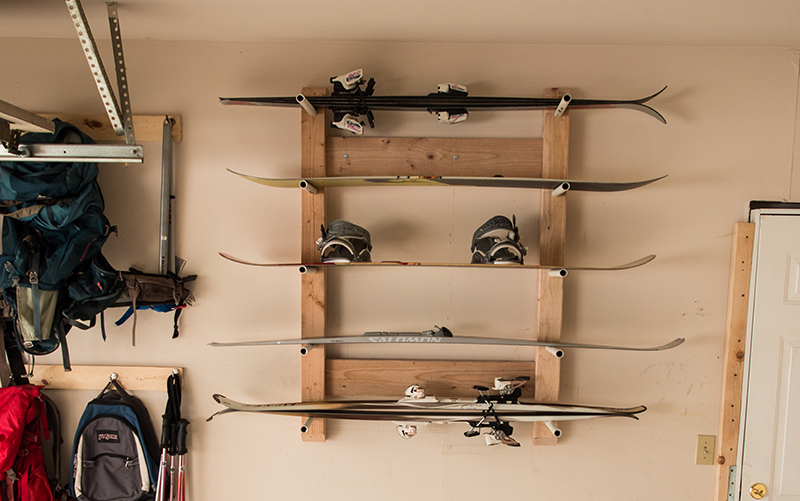
You’re done! If you want to hang ski poles from your rack, you can add the hooks to the edges of the rack. Now get out there and enjoy the snow!
