Alcohol stoves have long been a favorite of ultralight backpackers. Using aluminum cans for the stove and alcohol for fuel, they’re cheap to make, easy to operate and weigh less than 2 ounces. This step-by-step guide explains how to make a penny alcohol stove, which uses the copper coin to create pressure for more efficient cooking. Alcohol stoves can burn denatured alcohol, ethanol and HEET, which are all fairly cheap and easy to find.
A very important note about alcohol stoves: Alcohol burns practically invisible in daylight. Be extremely cautious when using, and always use common sense when choosing a spot to cook (flat rocks are great). Avoid brush and clear away dried leaves and other flammable material. Alcohol stoves are included in burn bans since they don’t have an off switch (we made a snuffer for ours), and some recreation areas prohibit their use altogether. Remember to check the regulations of your destination before taking along your new stove.
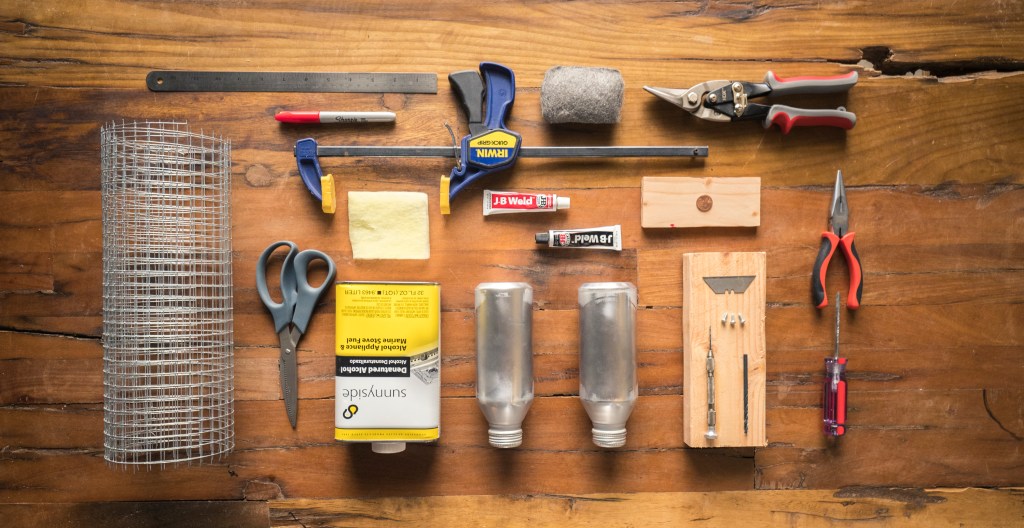
Materials:
- Two 12- or 16-ounce aluminum beverage cans
- Optional: 1.5-inch thick wood block
- Optional: 3 wood screws
- Optional: larger 24-ounce beverage can (to make a snuffer)
- Piece of paper
- Penny
- High heat epoxy (we used JB Weld)
- Fiberglass pipe insulation
- Metal mesh
- Lid of a jar or can
- Denatured alcohol
Tools:
- Sandpaper or steel wool
- Ruler
- Clamp
- Razor blade or utility knife
- Scissors
- Marker pen
- Drill with 1/16″ and 3/16″ drill bits
- Pliers
- Wire cutters
Directions
Overview: This alcohol stove is a fairly simple design composed of just two pieces: The bottoms of two cans become the top and bottom of the stove. The top piece has burner holes, the bottom serves as the base. The top slides into the base and is secured with epoxy.
Step 1: Prep the cans.
If you want a clean metal look for your stove, sand off the finish on the bottom 2 inches of both the smaller cans. This is easiest to do when the cans are full and whole, which prevents crumpling. Once you’re done sanding, empty the cans in whatever manner you see fit and rinse with water.
Step 2: Piece #1—Cut the stove top to size.
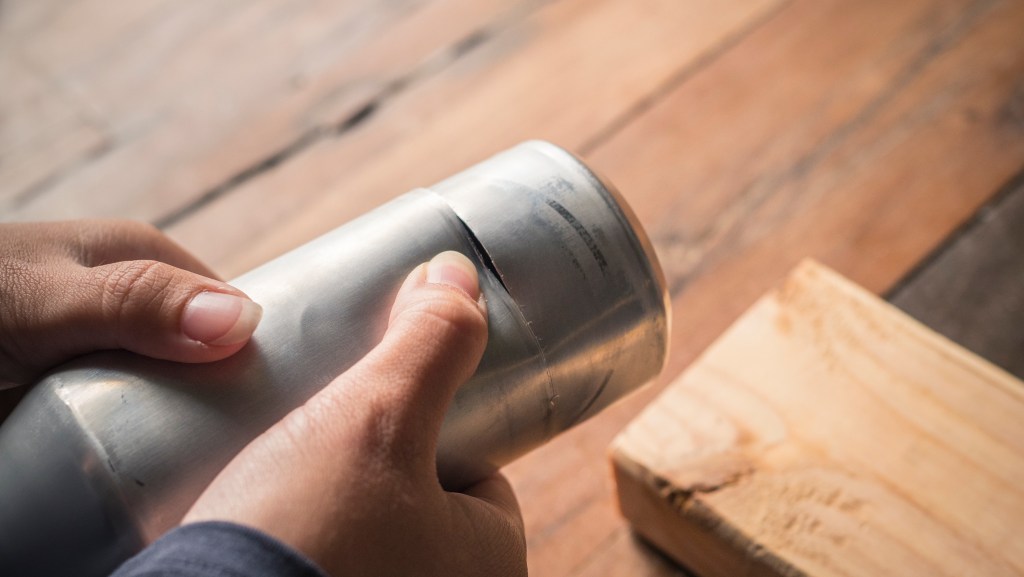
Use three screws to secure a razor blade to a 1.5-inch thick block of wood so that one edge of the blade extends just beyond the wood block (see photo). Secure the wood block to a flat surface with a clamp and leave space for the can to sit next to the blade. Rotate the can against the blade to score the metal all the way around and repeat several times. Alternately, measure 1.5 inches from the bottom of the can and mark all the way around. Use a utility knife to cut along the marker line. Make a small hole along the scored line with the corner of the blade, then use your thumb to gently press the metal just above the score line to separate the two halves of the can.
Step 3: Make the burner holes.
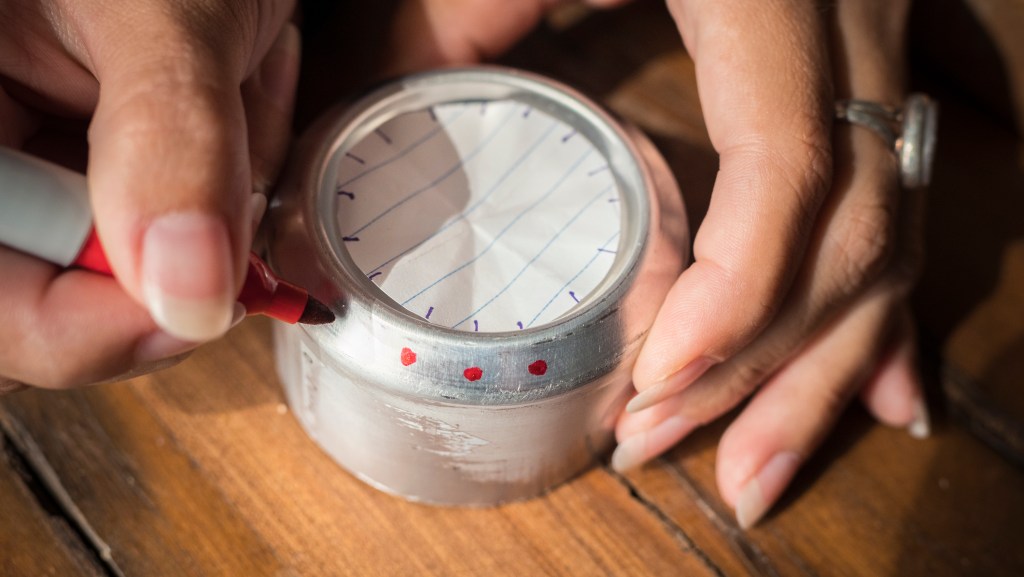
Turn one can upside down, and place a piece of paper on it. Trace a circle on the paper using the bottom of the can as a guide. Cut out the circle and fold it in half four times. Unfold and place on the bottom of the can. Use a marker to dot the can at each fold; there should be 16 evenly spaced marks. Drill each dot using a 1/16″ drill bit.
Step 4: Make the fuel port.
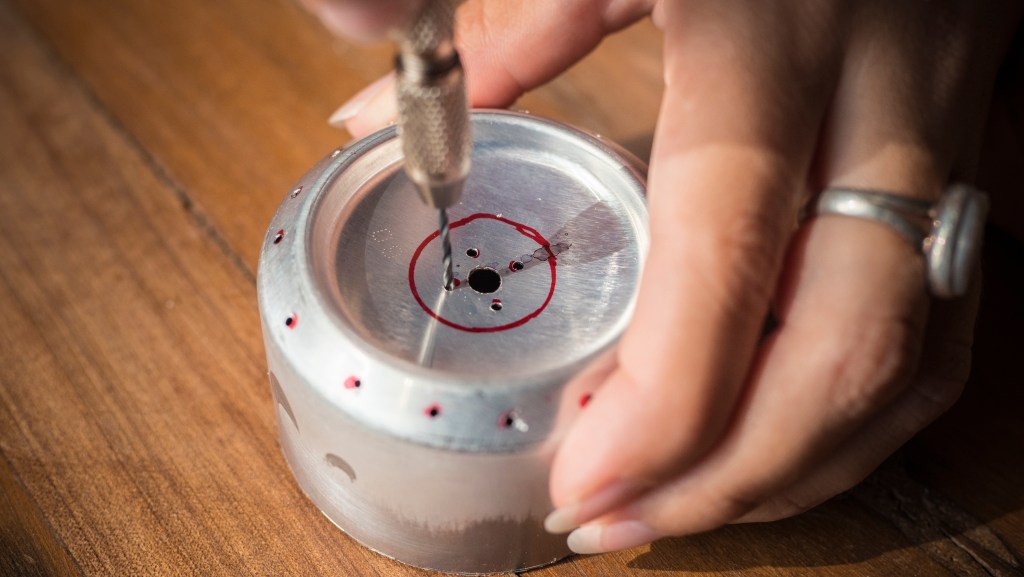
Place a penny in the center of the can bottom and outline it with the marker. Remove the penny and mark a dot in the center of the circle. Mark four additional holes around the center dot. Drill the center with a 3/16″ bit and the four outside holes with a 1/16″ bit.
Step 5: Piece #2—Make the stove base.
Repeat the method in Step 2 on the second can to create the stove’s base.
Optional: Repeat again with the larger 24 oz. can to make a snuffer for the stove. We made ours 2 inches tall to fit easily over the stove.
Step 6: Prep the two stove pieces for assembly.
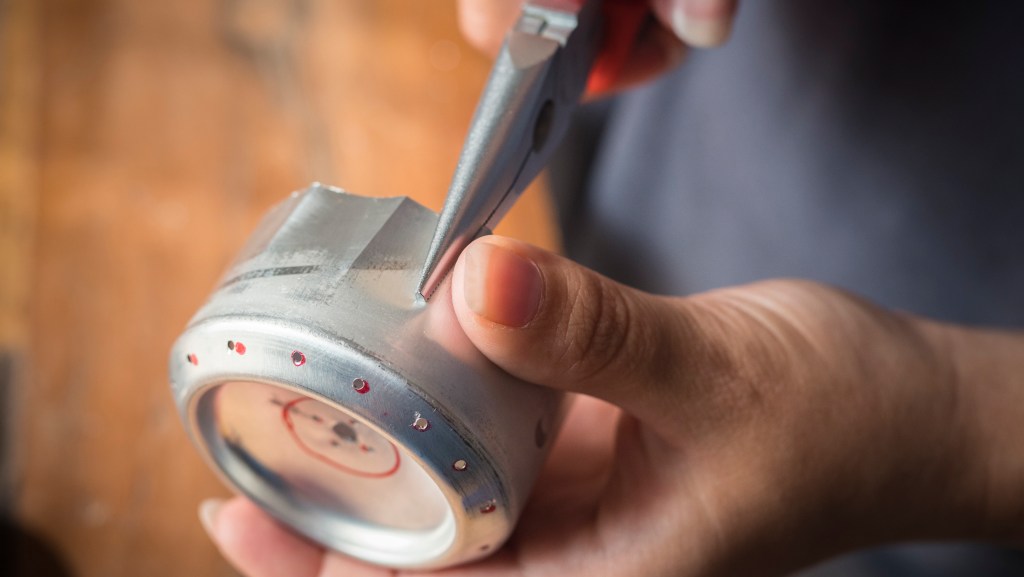
Prepare the two stove pieces to slide together more easily. Crimp all the way around the opening of the top piece with pliers. Use a different, full beverage can or similar object to work around the inside edge of the base piece to stretch it slightly.
Step 7: Insert the wick.
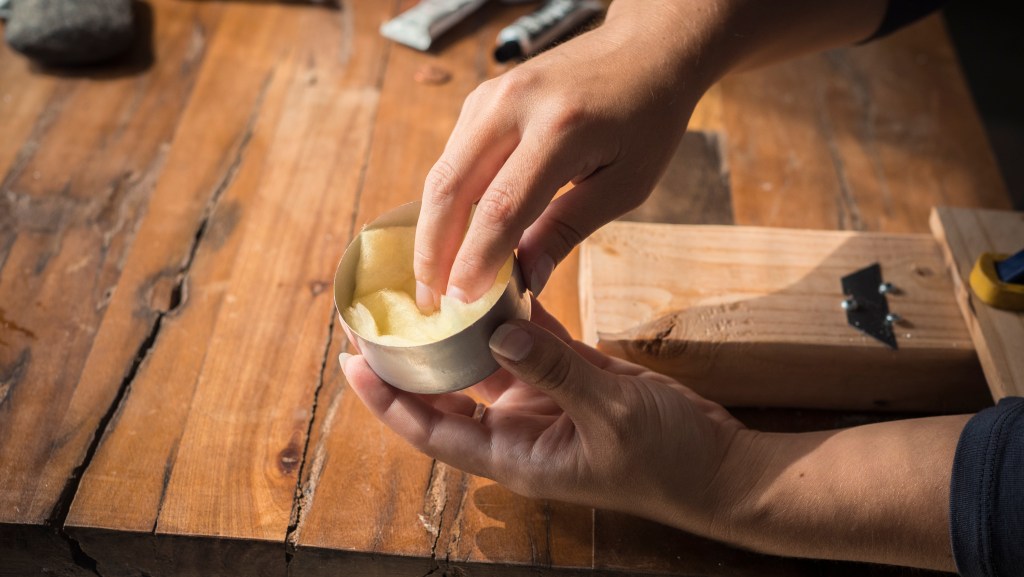
Cut a square of fiberglass insulation and insert it into the stove base piece. This acts as a wick for the alcohol fuel.
Step 8: Assemble the stove.
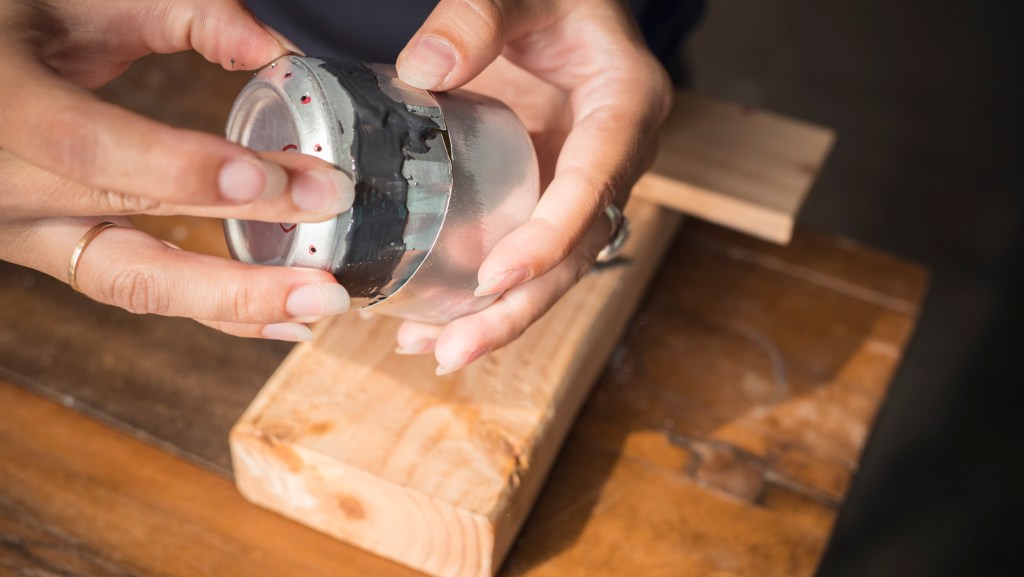
Mix up some high heat epoxy per the instructions and apply it to the outside of the crimped edge of the top piece. Carefully slide the top into the base piece, pressing evenly and firmly. Wipe off any excess epoxy and allow to cure per the package instructions. Sand off any remaining dried epoxy.
Step 9: Make the pot stand.
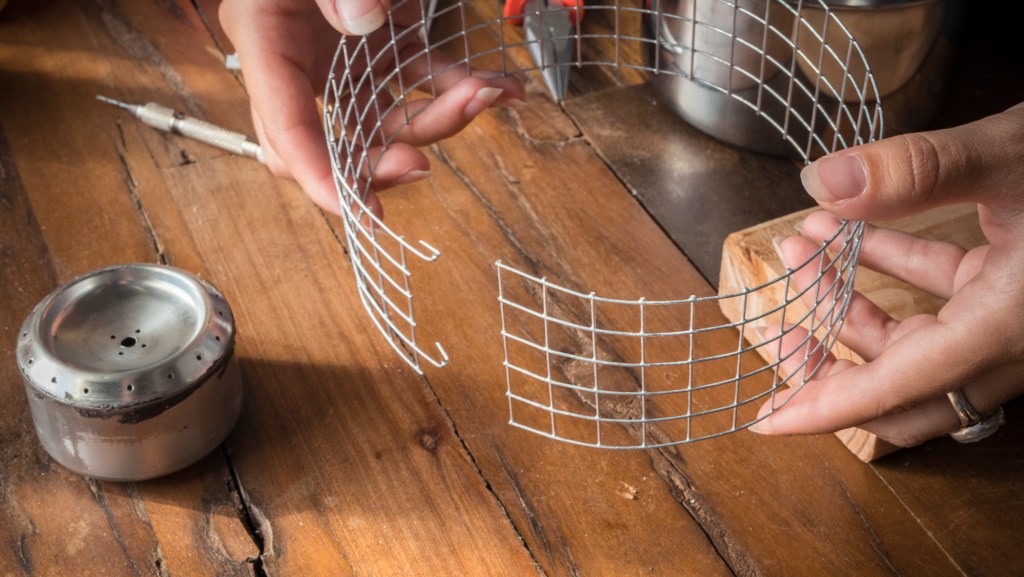
Using wire cutters, clip a piece of metal mesh to 2.5″ tall and 17″ long. On one short side, clip off all but two of the metal threads. Bend the remaining two into hooks. Clip off any extra threads. Form the mesh into a circle, and secure the hooks to stabilize. Place your cooking pot on top and adjust the stand size if necessary.
Step 10: Get Cooking!
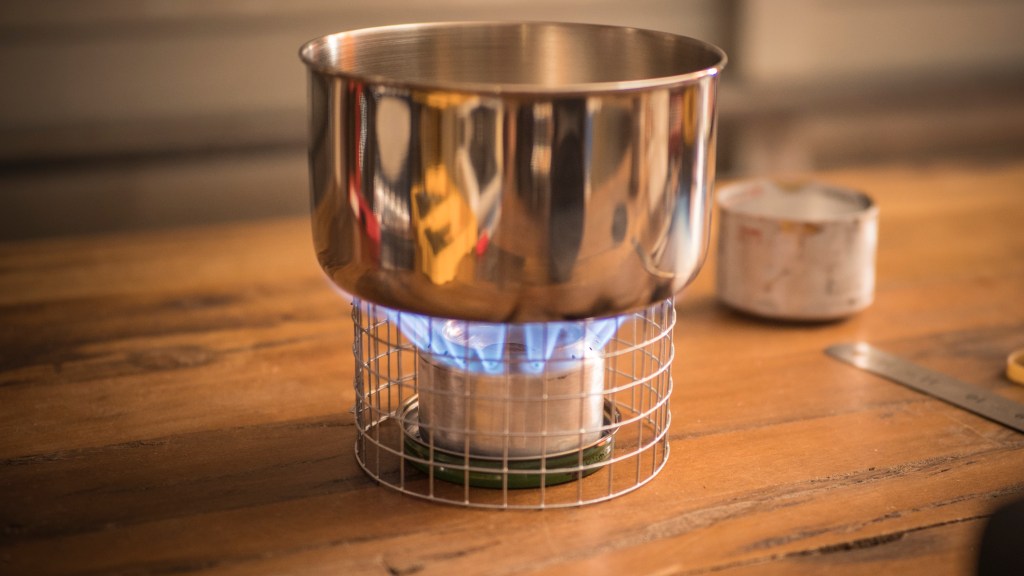
Place the stove on a jar lid or other rimmed piece of metal. Fill interior of your stove with denatured alcohol through the fuel port (1 ounce generally burns for 10-12 minutes, depending on conditions like temperature and wind). Place a penny on top of the fuel port and pour a few milliliters of alcohol on top of the penny. Pour a small amount of fuel in the rim of the metal lid; this serves to prime the stove.
Light the fuel in the lid and on the penny, and carefully place the pot stand around the stove. Once the flames are coming out of the burner holes, place pot on the stand. When and if you want to extinguish your stove, remove the pot and carefully drop the snuffer can over the top of the stove. Enjoy your hot food!
When you’re ready to pack it all up, the snuffer can and jar lid make a great container for the stove and penny when secured with a rubber band.
