An organized kitchen is the secret to a happy camping trip. That said, it’s not always easy to keep all of your camp cooking gear and ingredients readily accessible when you’re at the campsite.
Let’s face it; tossing everything randomly into cardboard boxes will only get you so far. This tutorial provides instructions for a do-it-yourself wooden camp kitchen box that’ll solve your culinary organizational quandaries once and for all. Plus, it looks good and is pretty much guaranteed to impress the heck out of your camping buddies.
Download the camp kitchen box supplies list and cut sheet and get started: Camp Kitchen Cut Sheet.
Supplies needed:
- 4′ x 8′ sheet of ½” plywood
- 4 sets of hinges
- 2 latches
- 2 magnetic closures
- Wood glue
- Screws
- Lid prop (recycled tent pole section)
Tools needed:
- Screwdriver
- Tape measure
- Drill with small bit
- Pencils
- Construction square
- Skill saw (many hardware stores offer cutting services)
- Small handsaw
- Safety glasses
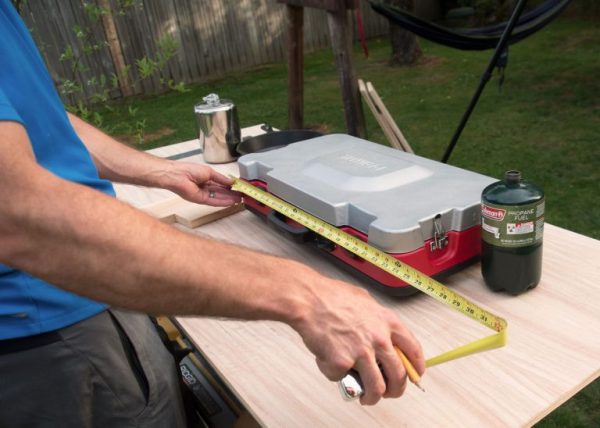
Step 1
Measure your gear. First, measure your stove with the fuel bottle attached. This will give you the overall length and width of your box. Make sure to add some space in order to allow the stove lid to open and to hold any items you might want to store next to your stove. Measure the height of any gear you want to store upright (maximum height) in order to help determine shelf spacing.
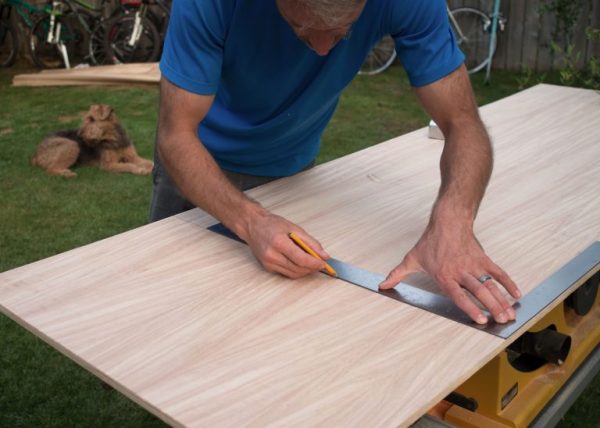
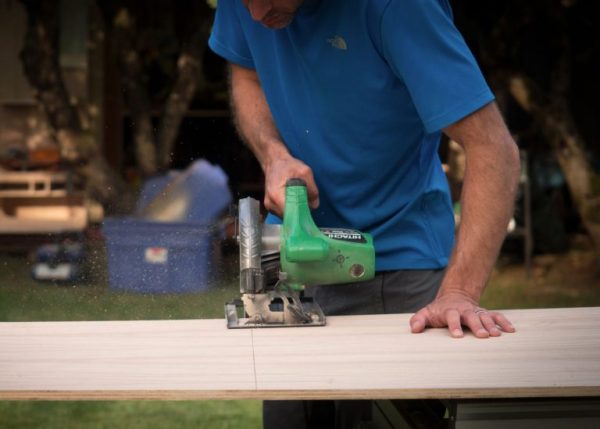
Step 2
Lay out all your measurements on the sheet of plywood. Try to make the most out of the sheet. Line up all similar cuts and start cutting. If you don’t own a saw, most hardware stores offer cutting services when you purchase wood. If you plan to have the hardware store do the cutting, you’ll want to provide a cut list and a diagram to help the hardware store determine the best way to cut.
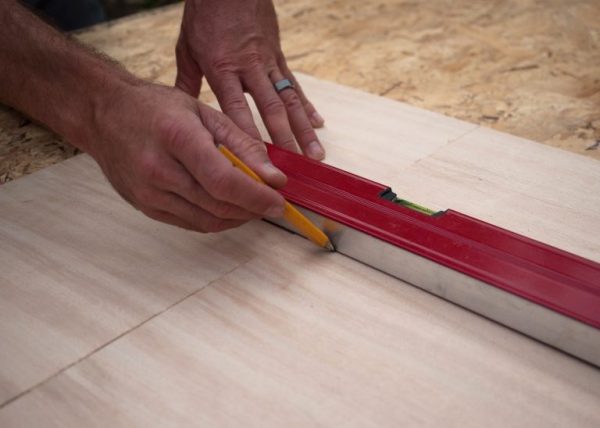
Step 3
Line up the back and side pieces and mark your shelf height location with a pencil; this will make it easier to screw in your shelves after the outer box is built.
Step 4
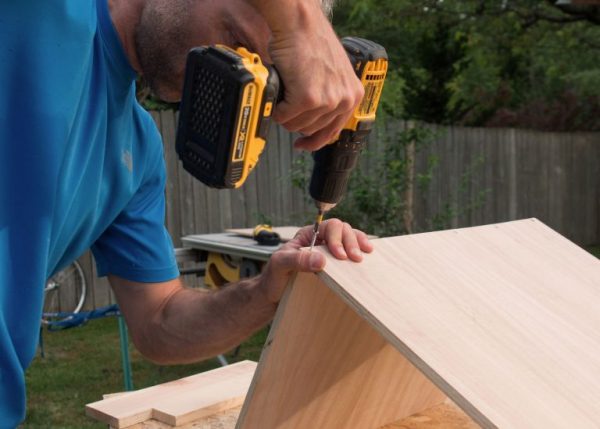
Start by assembling the sides and back of the box. If you are not using self-drilling screws, you should predrill holes for best results. Screw and glue all seams.
Step 5
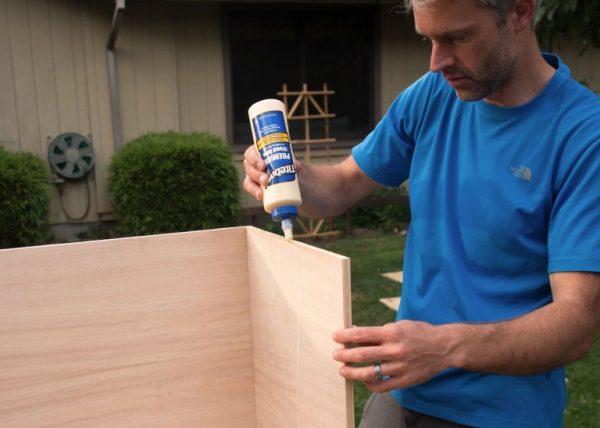
Attach the bottom of box, screw and glue all seams.
Step 6
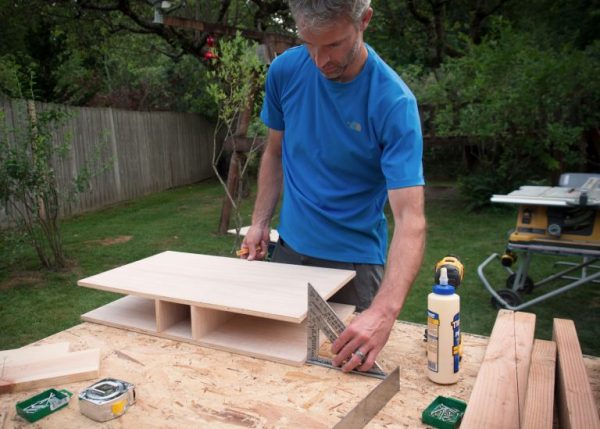
Preassemble the shelves outside of the box. Make sure to square the top and bottom, as this will make them easier to install. If you’re adding a top shelf face board, install it now. Screw and glue all seams.
Step 7
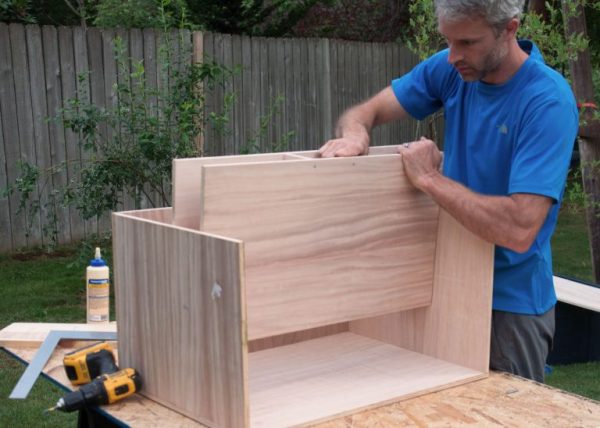
Install the shelves using the pre-marked lines. Screw and glue all seams.
Step 8
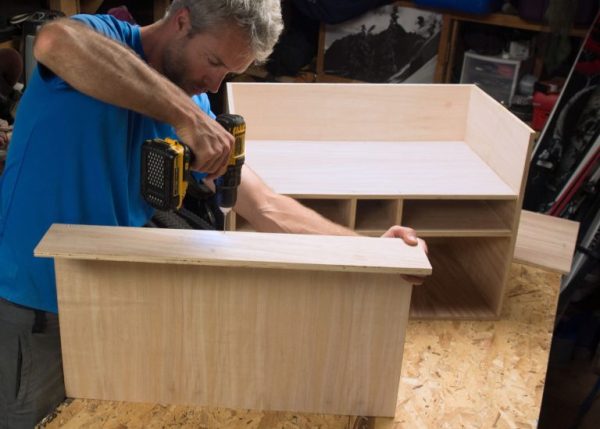
Attach the top/lid to the short face board. Screw and glue all seams.
Step 9
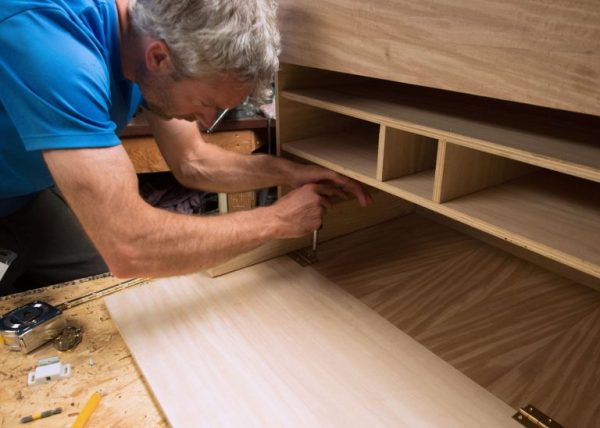
Attache hinges to top/lid and front face board.
Step 10
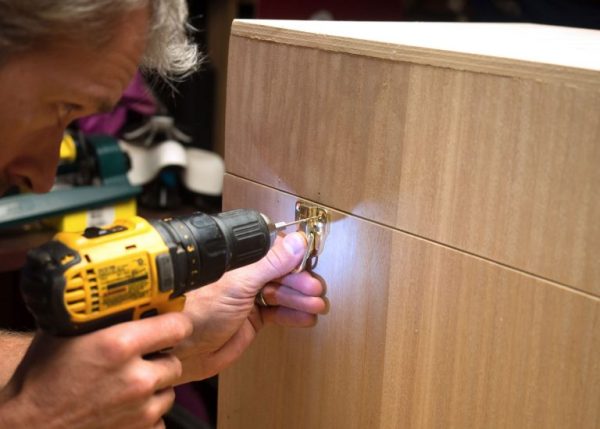
Install remaining hardware (latches, magnets, etc.). Locations will vary based on the design and dimensions of your camp kitchen chuck box.
Step 11
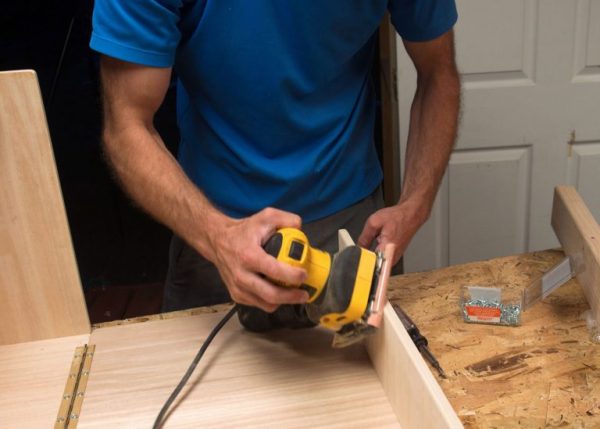
Sand all edges round and stain/seal plywood.
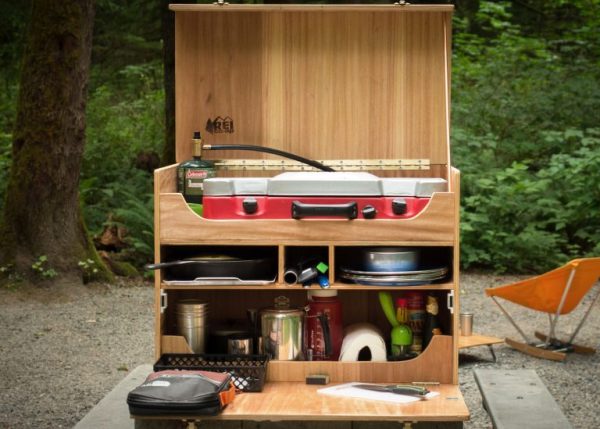
Step 12
Post pictures of your completed camp kitchen to your favorite social media sites and then go camping!
For more camping tips, check out our camping checklist.
