Warm weather is the ideal time for cookouts at camp, picnics at the park or just a refreshing drink in the backyard with friends. Key to DIY dining outdoors is keeping your bevvies cold and food fresh—but that’s easier said than done on a sweltering day. That’s why we’ve compiled our favorite tips and tricks for packing a cooler, so you can keep your drinks and perishables chilled whether you’re heading out on an overnight trip or kicking back in the neighborhood. We’ll raise a (cold) glass to that.
Choose the Right Cooler
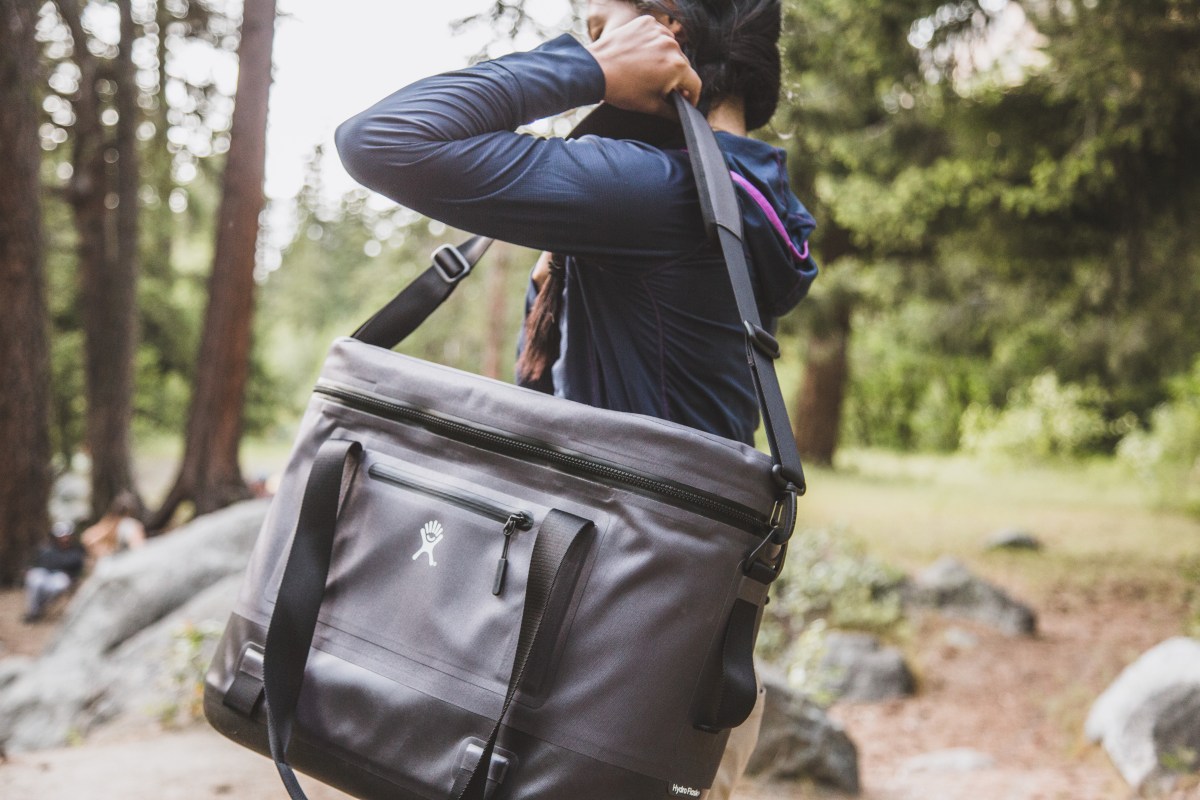
Grabbing the most convenient cooler—like a cheap foam one at a grocery store—is tempting, but being strategic about the chiller you use will pay off when it comes to keeping your stuff cool. Two big factors when selecting a cooler are the length of your excursion and the distance you’ll carry it. Hard coolers are a better option for longer trips because they tend to have burlier insulation, which helps keep ice frozen longer. But because all that heft can add weight, it’s best if you don’t have to carry it far—for instance, a car-camping trip or your yard, rather than a weekend of backpacking. A soft cooler is better if you intend to haul it to, say, a far-away campsite because they’re lighter to carry and more flexible, meaning they can fit more easily in tight spaces, like a tent.
Freeze Your Water Bottles
Instead of throwing ice in your chilling system, add a few frozen water bottles (preferably reusable ones, though make sure to check the manufacturer’s directions on how full to fill the bottle before freezing). They’ll do the work of cold packs, and you can drink the water in them after they defrost, reducing the amount you need to carry. Plus, a block of ice in a water bottle will melt more slowly than ice cubes because the ice is protected from directly touching warm surfaces.
Strategize the Setup
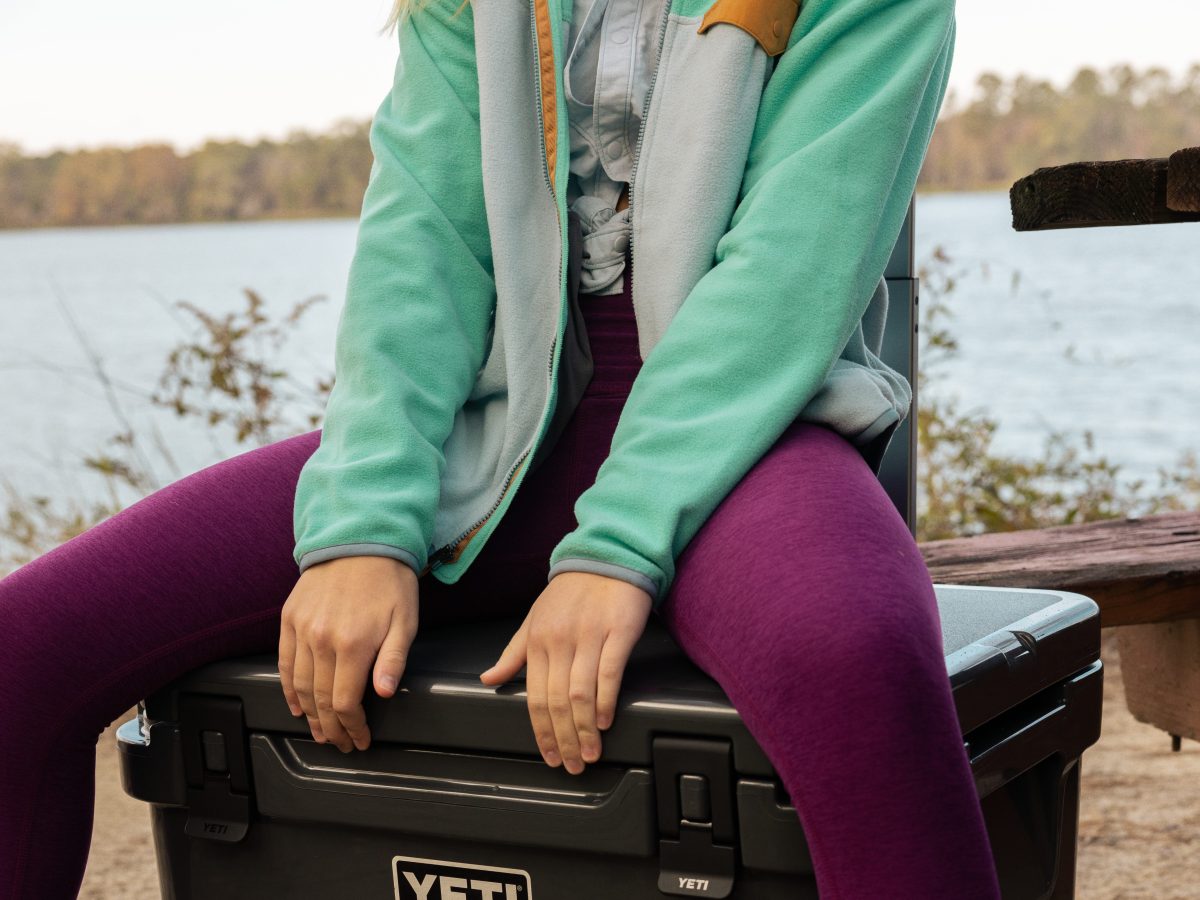
Coolers make great makeshift seats—until someone wants to grab something from inside one of them. If you’re planning for one of your coolers to double as a bench, bear in mind which one folks will want to sit on. Put less-popular items (like uncooked ingredients) in the “sitting” coolers and more desirable items (like beverages and snacks) in coolers that can’t be easily sat on, like a soft or smaller cooler.
Prechill Your Cooler
Do you store your cooler in a warm garage? The evening before your adventure—or even the hour before you leave—fill it with a bag of ice, or hose it down with cold water if you’re in a time crunch. Cooling it off before filling it with fresh ice will help its contents stay colder.
Separate Your Food and Drinks
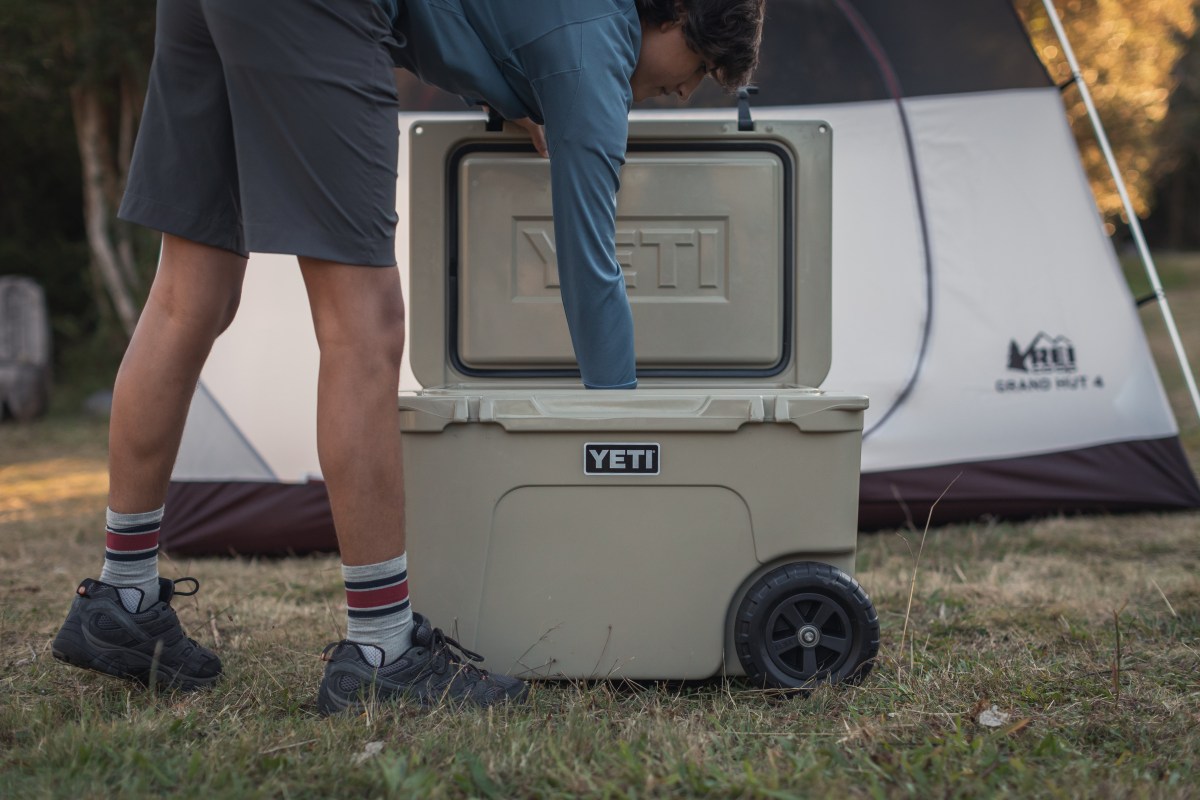
People tend to reach for beverages more frequently than food, especially on hot afternoons. But repeatedly opening a cooler lets the cold escape and the heat creep in. To keep your food cold (and fresh), consider stowing the bevvies in a separate cooler—then label them so people don’t accidentally reach for the wrong one.
Check for Leaks
Just like your camping gear, coolers may require regular maintenance. Look for leaky spots on yours that might be letting warm air in and cold air out. When you fill your cooler with cold water to prechill it, see if any trickles out the sides or bottom. The more tightly sealed your cooler is, the colder its contents will stay.
Bring a Lock
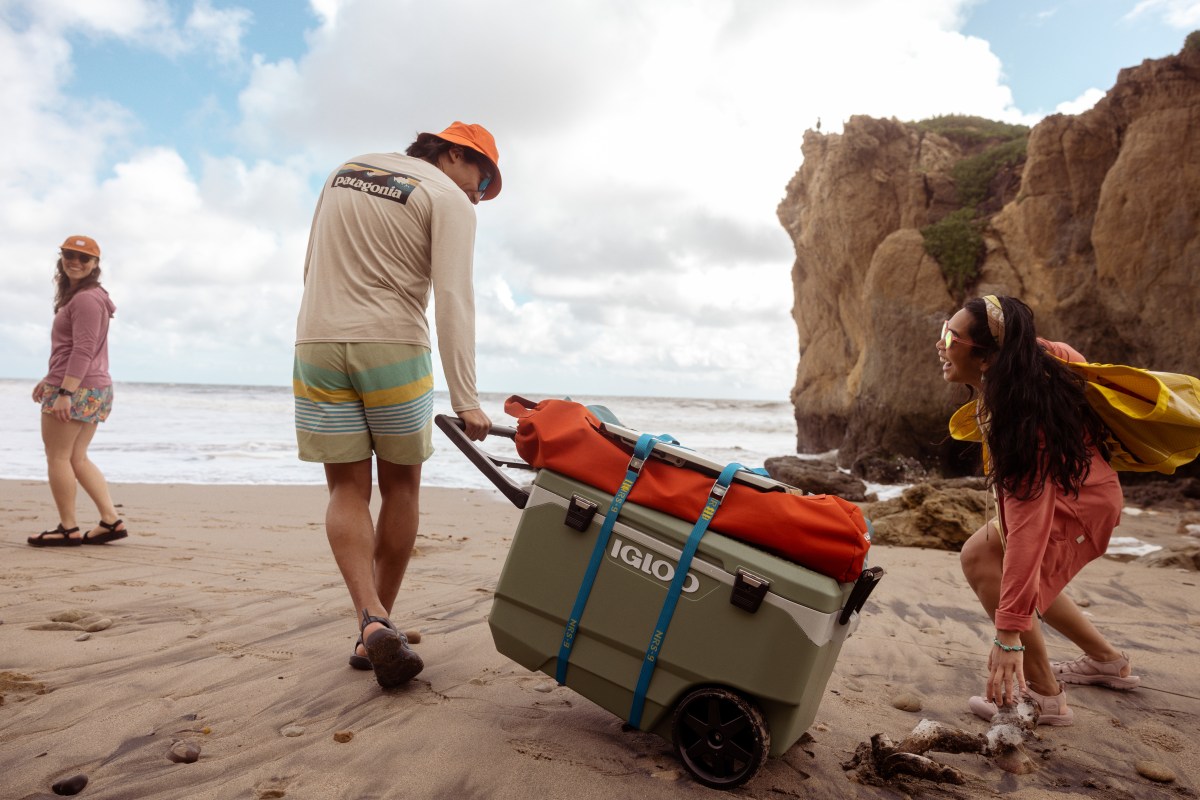
Heading into the wilderness? (Or an area known for its curious squirrels or raccoons?) Use locks (or bungee cords, if your cooler isn’t lock compatible) to keep your cooler safe from prying paws. This will also help seal the lid on a hard-sided cooler and keep the zipper on your soft cooler from opening accidentally. Locks can even be used to turn your hard-sided cooler into a bear-resistant container. Learn more about protecting food from bears by reading our article Bear Canister Basics. (Of course, always check with your wilderness area’s regulations for bear containers.)
Add Insulation
Layer ice or cold packs along the bottom and sides of your cooler. This gives you a layer of insulation from the hot ground or trunk of your car that could warm your cooler faster. If there’s an empty front or side pocket, fill it with ice. Colder coolers keep food chiller.
Practice Good Manners
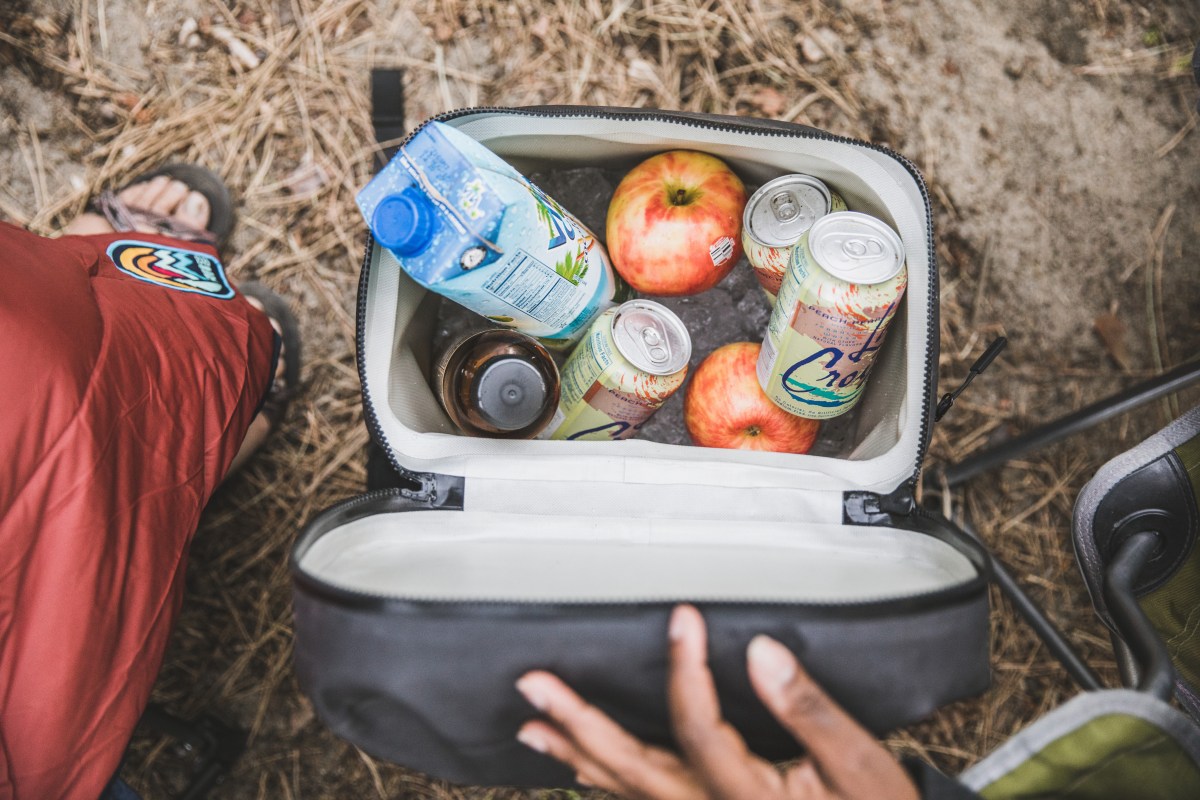
Like offering to help with camp cleanup or bringing a dish to share, limiting the amount of times you open your cooler (and let precious cold air out) at an outdoor gathering is just good manners. When you get up to grab yourself another seltzer, be a friend and ask who else wants one as well. Making a single big grab, rather than opening your cooler a half-dozen times, will save your ice (and your friendships).
Freeze Your Food
Freeze as much of your food as possible before you pack it and let it thaw throughout the day. The frozen items will act as ice blocks and keep the rest of your food cold as well. Hot dogs, burger patties, bread, sauces and even cheese can all be frozen and thawed before cooking and eating them.
Pack Food Based on Mealtime
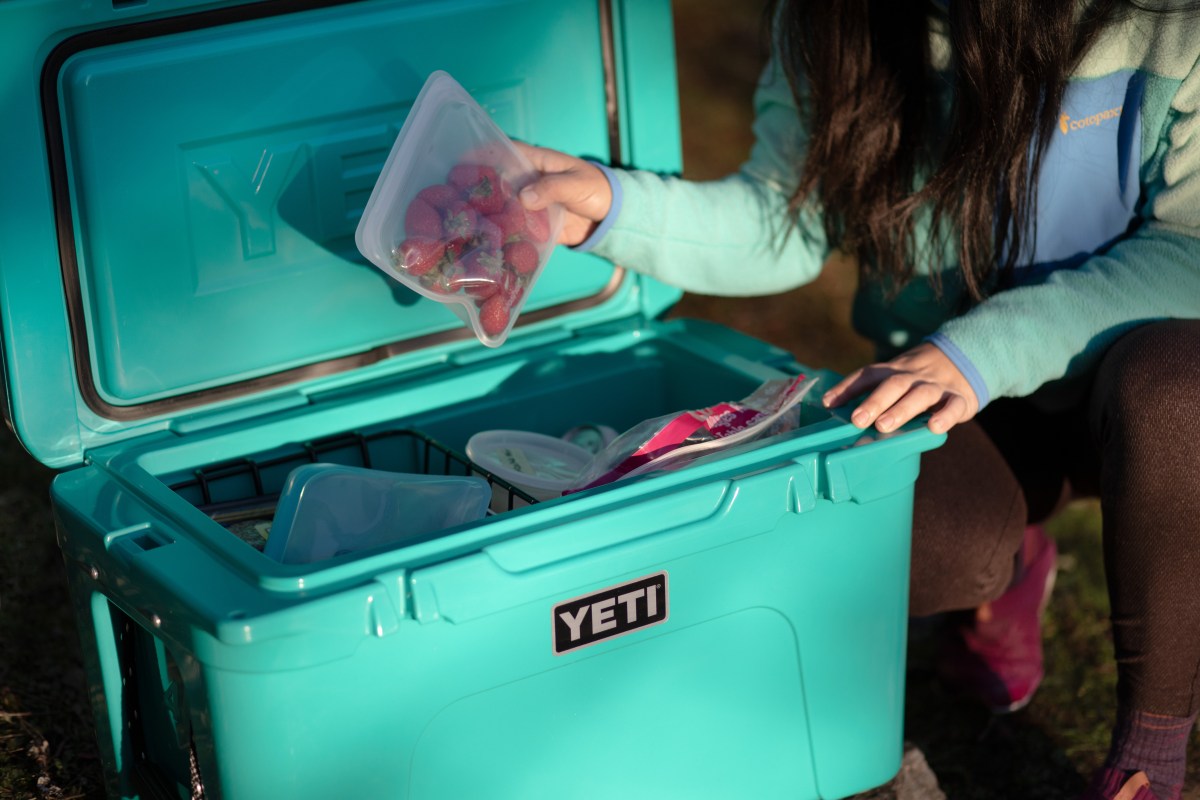
Prepping multiple meals? Place the food you’ll eat first at the top of the cooler and subsequent meals on the bottom, where they’ll be better covered by ice and less exposed to warm air from opening the lid. This method also saves you from digging through the cooler for every ingredient, reducing the amount of time you let cold air escape.
Optimize the Space
Are you in charge of the drink station? Here’s a trick for fitting a pack of pre–chilled cans into a hard-sided cooler with ease: Remove the cardboard flaps on one end of the box. Place one hand over the opening and flip the box upside down, then ease it down into the cooler before removing your hand. Surround the cardboard box with ice (creating a stabilizing wall of sorts), then pull the cardboard off the cans. Voilà. You’ll have perfectly stacked cans, and, depending on the cooler’s size, the whole case will fit without you fighting to push individual cans “deeper” into the ice.
Get Creative
In a pinch, dry bags make great alternatives to coolers. Fill an empty dry bag with food or beverages and, if possible, ice. Press out excess air (to prevent floating), seal the top and place the dry bag in a lake, calm river eddy or tidal pool. Make sure to attach it to a boat or the shore—there’s no greater party foul than all your drinks floating away. The cold water will help keep the items in your dry bag chilled, with or without ice.
