When you can’t get out to your favorite gym or crag, you can still get your training in with a hangboard at home. Finger strength is critical for tackling difficult crimps, edges and jugs. A DIY hangboard lets you personalize it to fit your climbing style and routine. More importantly, it’s a mental and physical challenge you can have fun with inside.
This design lets you interchange different modular panels depending on how you want to train. Want smaller crimps or screw-on holds? Go for it. Just make sure you’re using strong hardwood and sanding everything well to avoid getting any splinters. Have limited space to hang your board? Make it narrower. The beauty of DIY is customization, so have fun with it. Use materials you already have or can order online. We made three different panels with different style holds on each.
Make sure you evaluate your hang location carefully for strength and use a stud finder. Drywall alone is not strong enough to support your body weight. You should be comfortable working with power tools for this DIY, and always wear eye protection (and ear protection if necessary) when using power pools.
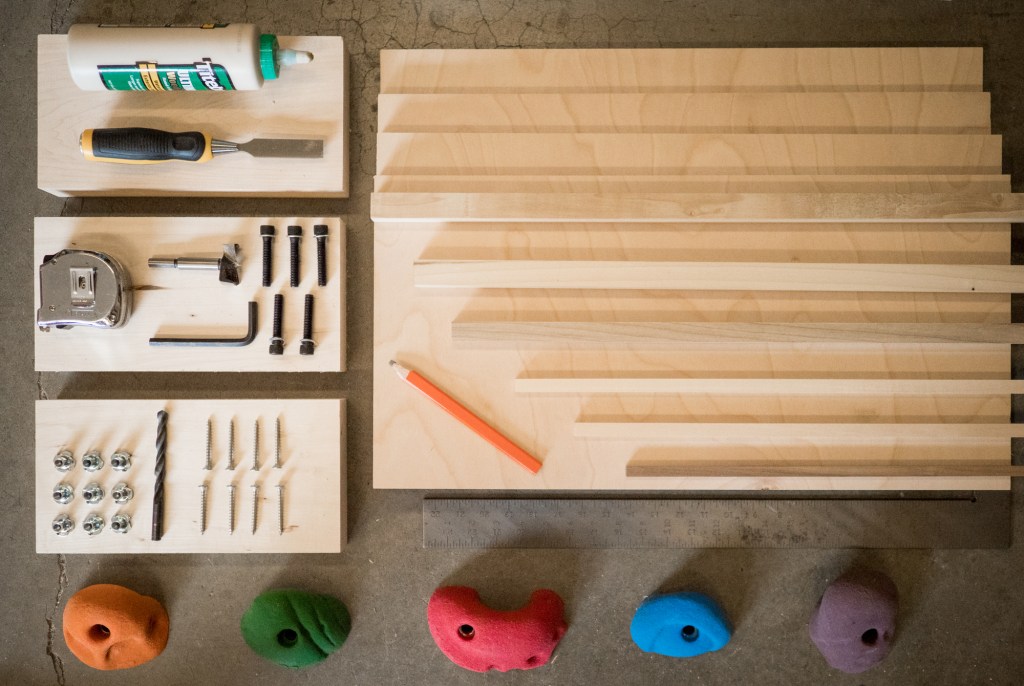
Materials:
- Three 12 x 6 x 2 in. wood blocks; choose a harder wood (for example, pine won’t last as long)
- 2 x 4 ft. sheet of ¾-in. plywood, cut into four 12 x 24 in. pieces (your hardware store can do this for you)
- Wood glue
- 12-16 1½-in. screws
- Variety of hardwood trim in different sizes; choose sizes based on the level of difficulty you want
- Variety of screws for trim, based on size
- Four 3/8th T-nuts and 3-in. bolts with washers
- Screws for mounting, size dependent on your wall construction (we used 2-in. screws)
- Screw-on climbing holds, optional
Tools:
- Pencil
- Square
- Radial saw
- Table saw or handsaw
- Clamps
- Drill
- Router, drill press with Forstner bit or hole saw
- Chisel
- Sandpaper
- Pocket jig
- Allen wrench
Directions:
1. Outline your holds
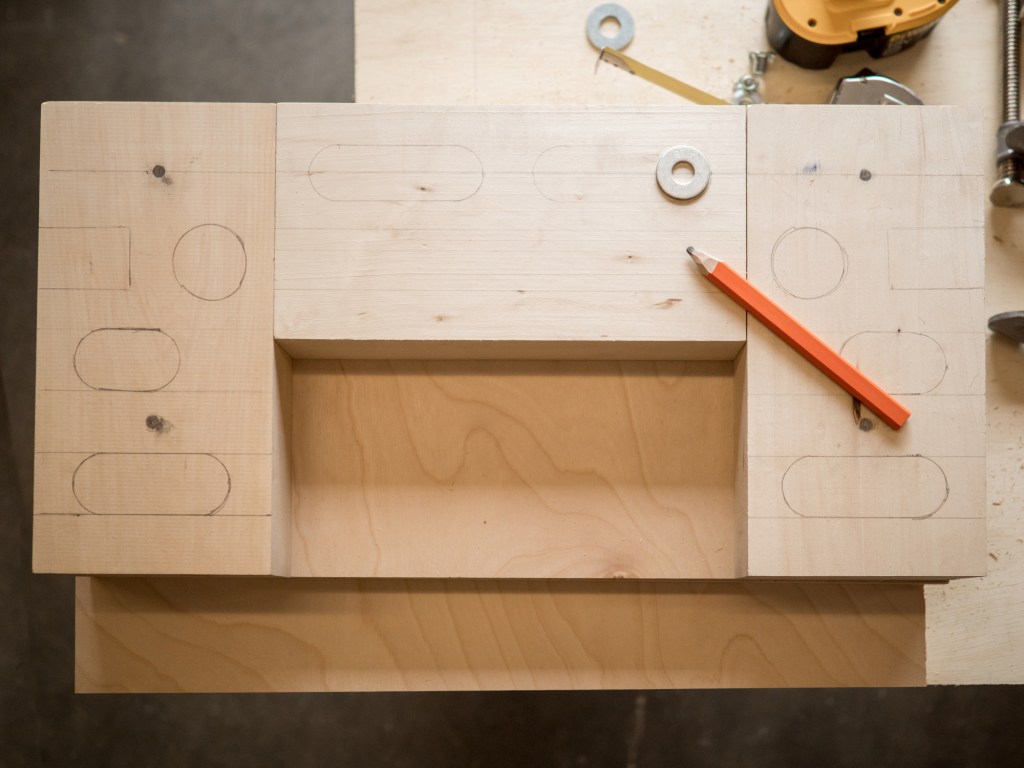
Place the three 2-inch blocks onto one of the 12 x 24 inch plywood panels in the layout pictured above. Use a pencil to outline shape and placement of the holds you want to create. We used a square and large washers to make even shapes. Make sure to leave at least 1½ inches in between holds and edges to maintain the strength of the wood. Look at other hangboards for inspiration and consider your skill level and climbing goals when choosing types and depths of holds.
Note the four dark dots on the two outer blocks. These are where you’ll drill holes later for mounting the panel to the backboard.
2. Add slopers
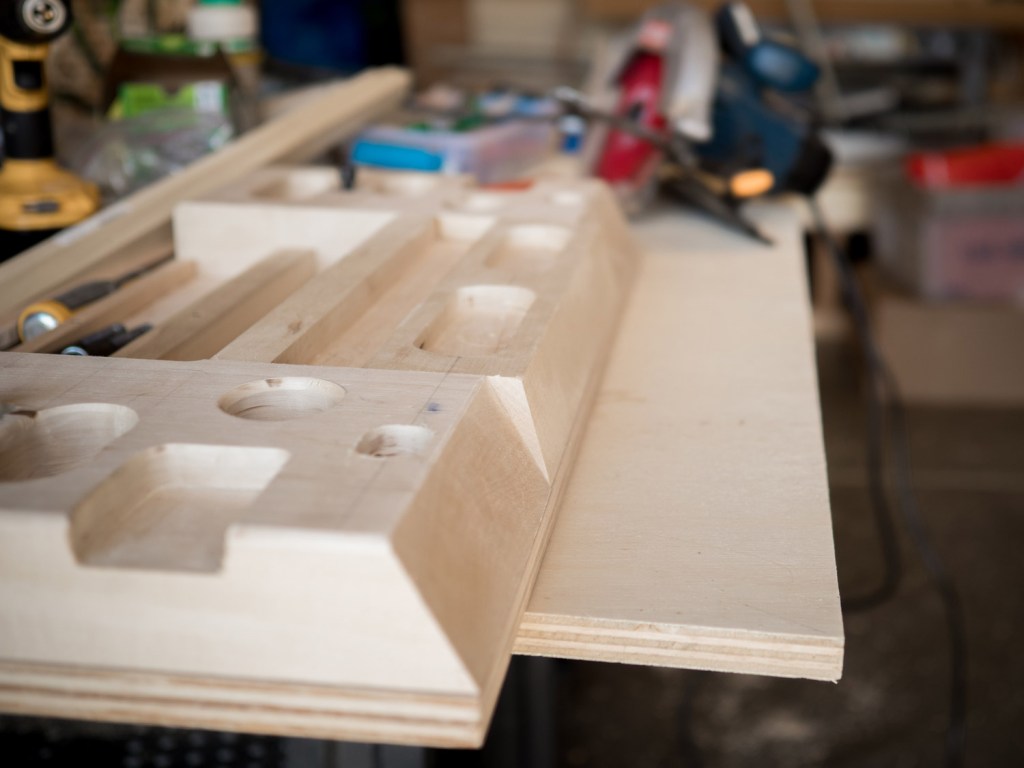
We added slopers to the top of our board. Use a radial saw or handsaw to make downward-angled cuts to the tops of each 2-inch block. We made the outer slopers 30 degrees and the middle sloper 10 degrees for varied difficulty.
3. Drill out the holds
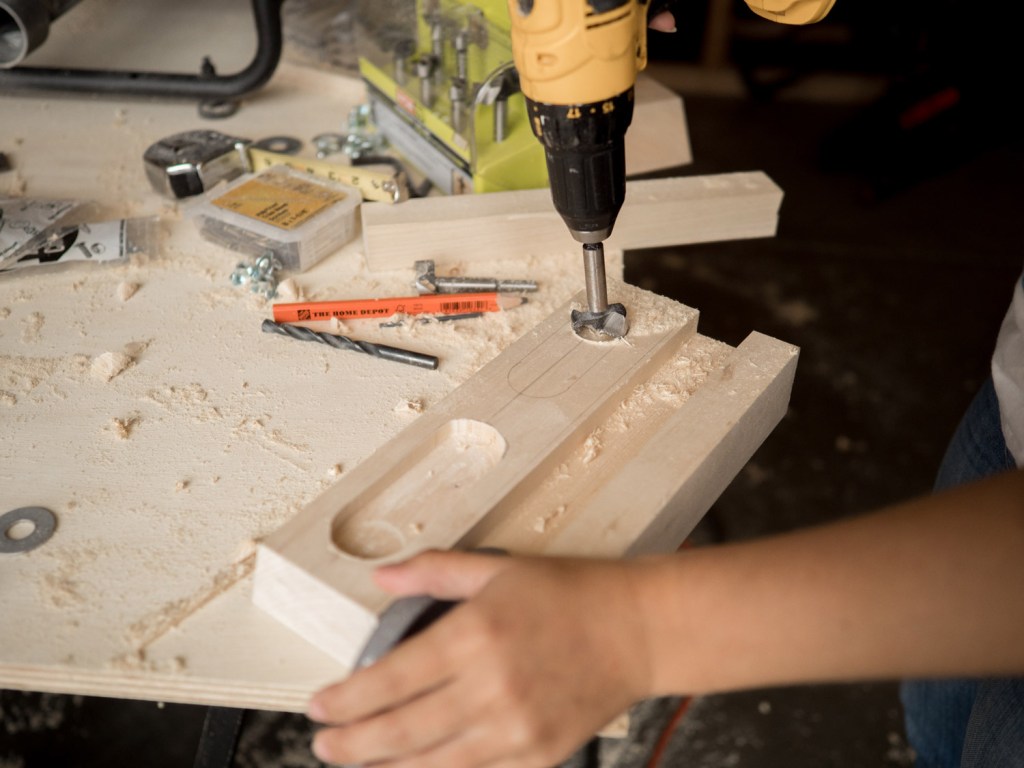
Drill out the holds using your preferred method. A router with a guide is the easiest way (you can rent one from the hardware store), but you can also use a hole saw or a drill with a Forstner bit like we did. Follow the lines of your hold outlines and work slowly. Make sure to keep the depths of your matching holds consistent.
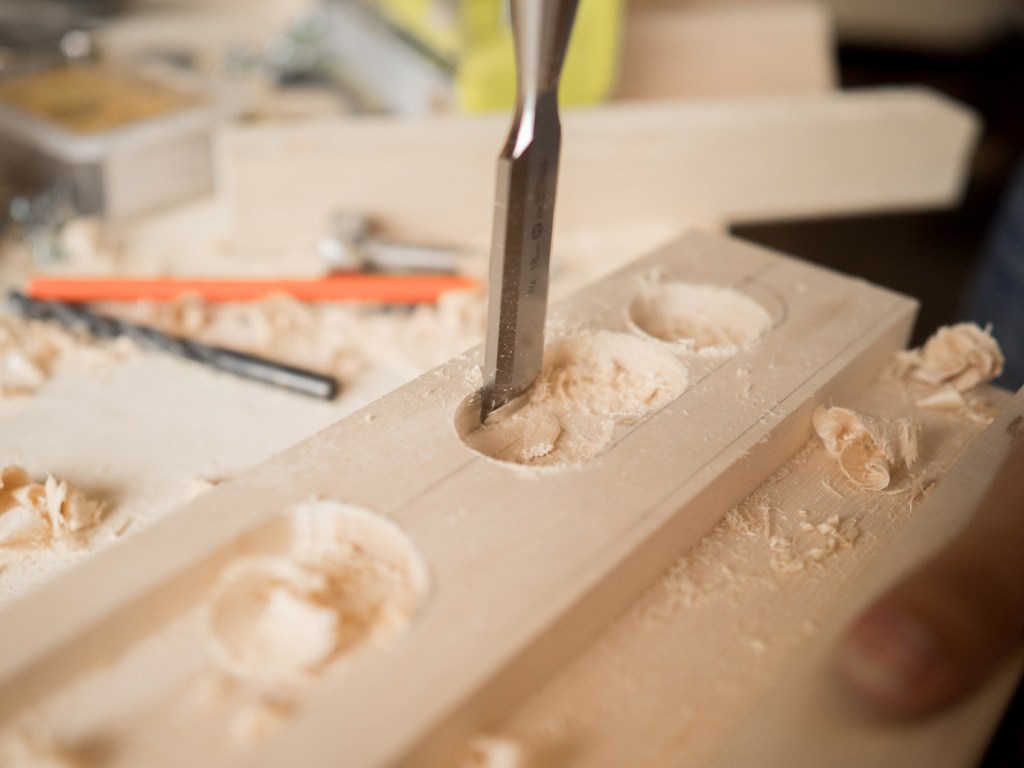
Use a chisel to smooth out the sides.
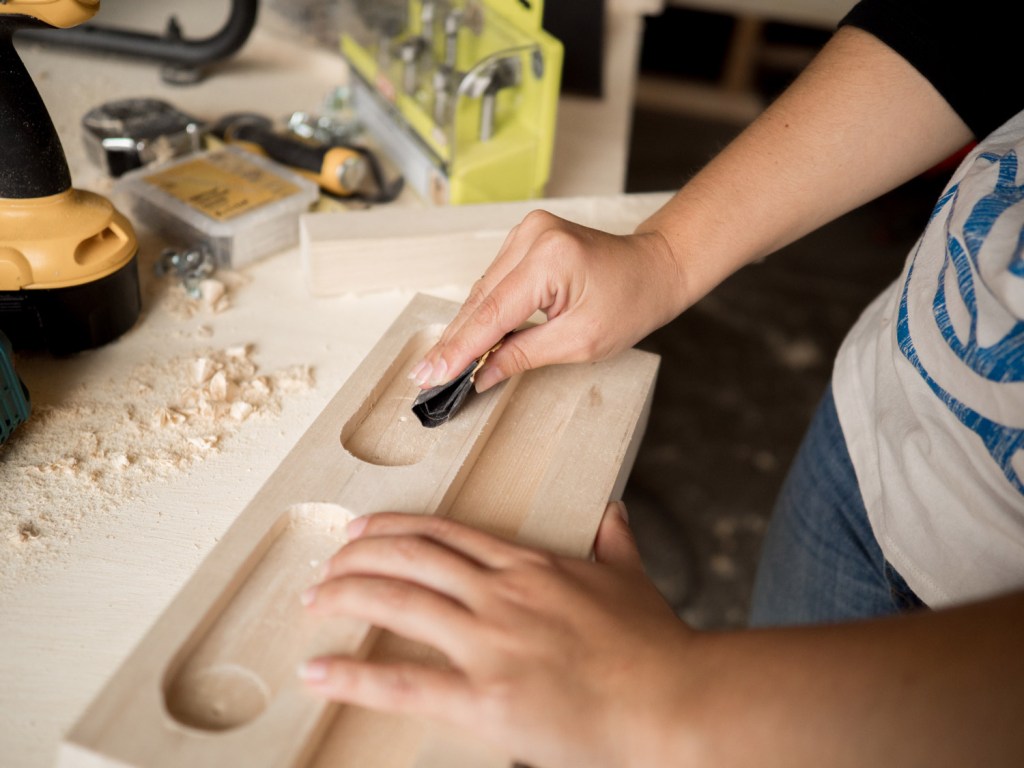
Sand thoroughly to prevent splinters.
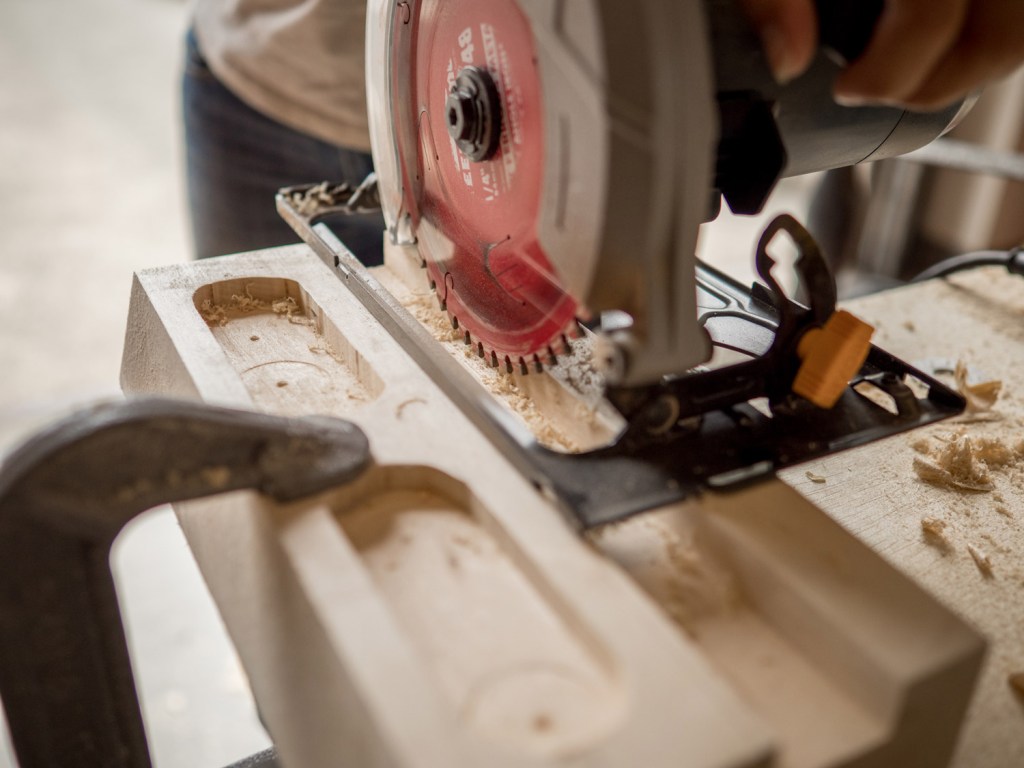
Now, you’ll make a full-length edge hold. Use a radial saw to make a series of close-set cuts across the length of the board. Make the cuts whatever depth you’d like for edge difficulty. Chisel out the wood until you have a smooth 1½-inch wide slot; finish with sandpaper.
4. Connect blocks
Note: If we did this project again, we’d place the pocket screws in the center block, connecting to the outer blocks for more strength. (Thanks to a reader comment for pointing that out!)
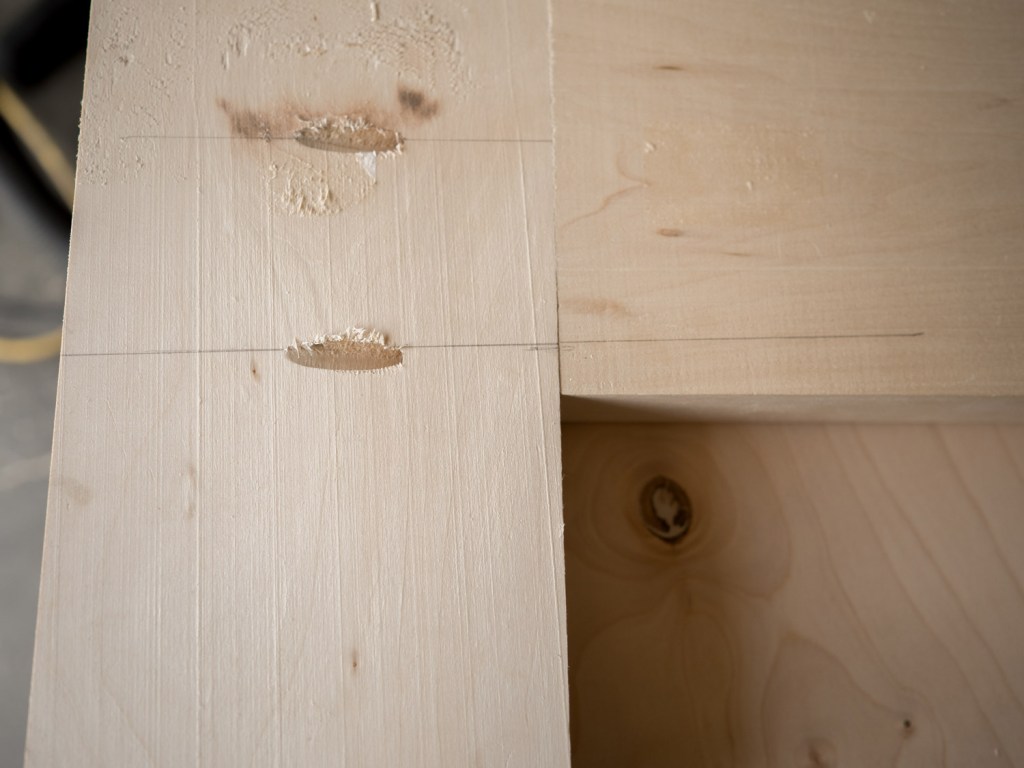
Use a pocket jig to countersink two holes in the back upper halves of both outer blocks. Make sure to place the holes so they don’t hit any of your holds; we marked where to place ours with pencil.
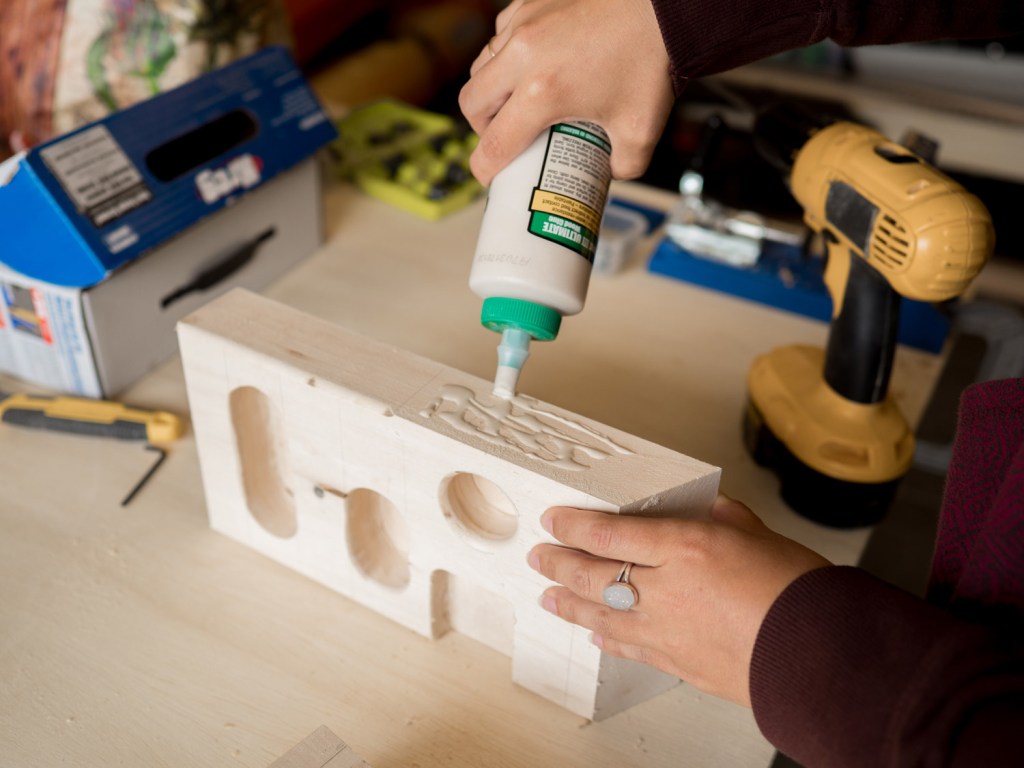
Apply wood glue to the parts of the walls that touch the center block.
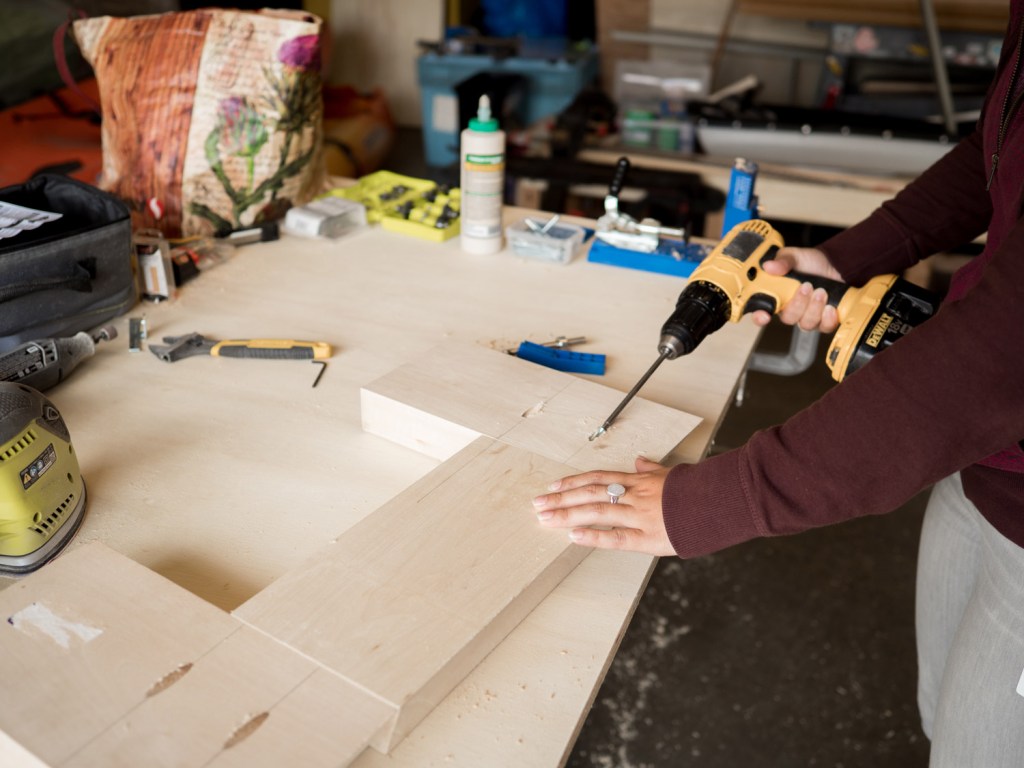
Screw 2½-inch screws into the pocket holes to secure the blocks together.
5. Mount blocks
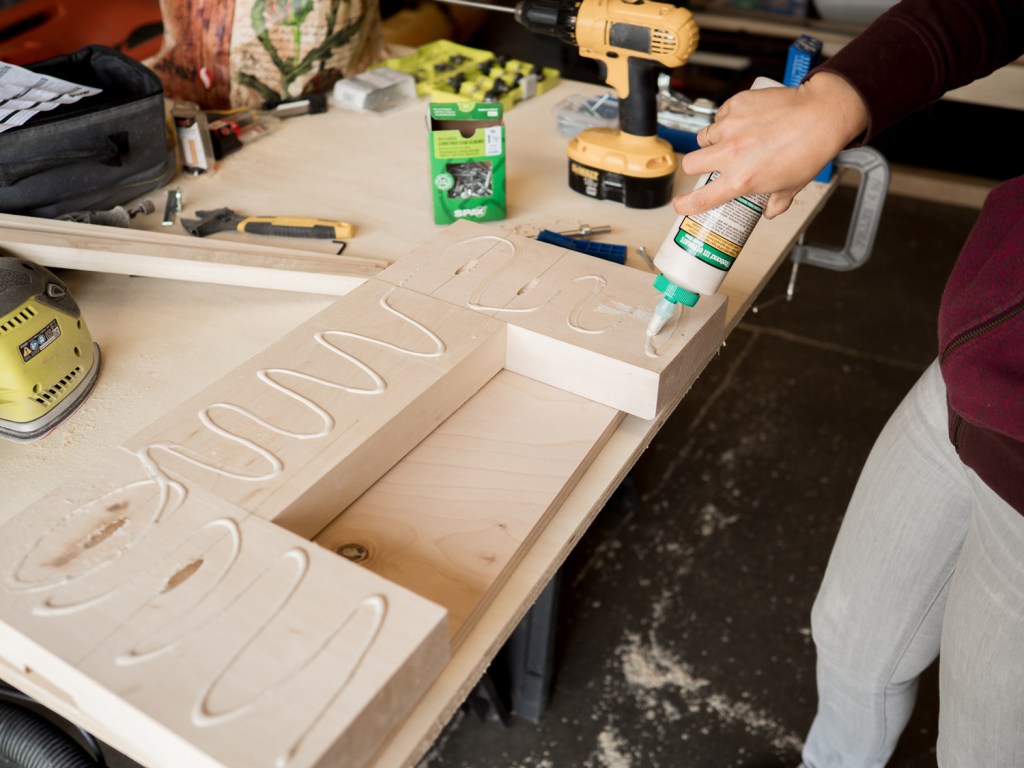
Apply wood glue to the back of the blocks.
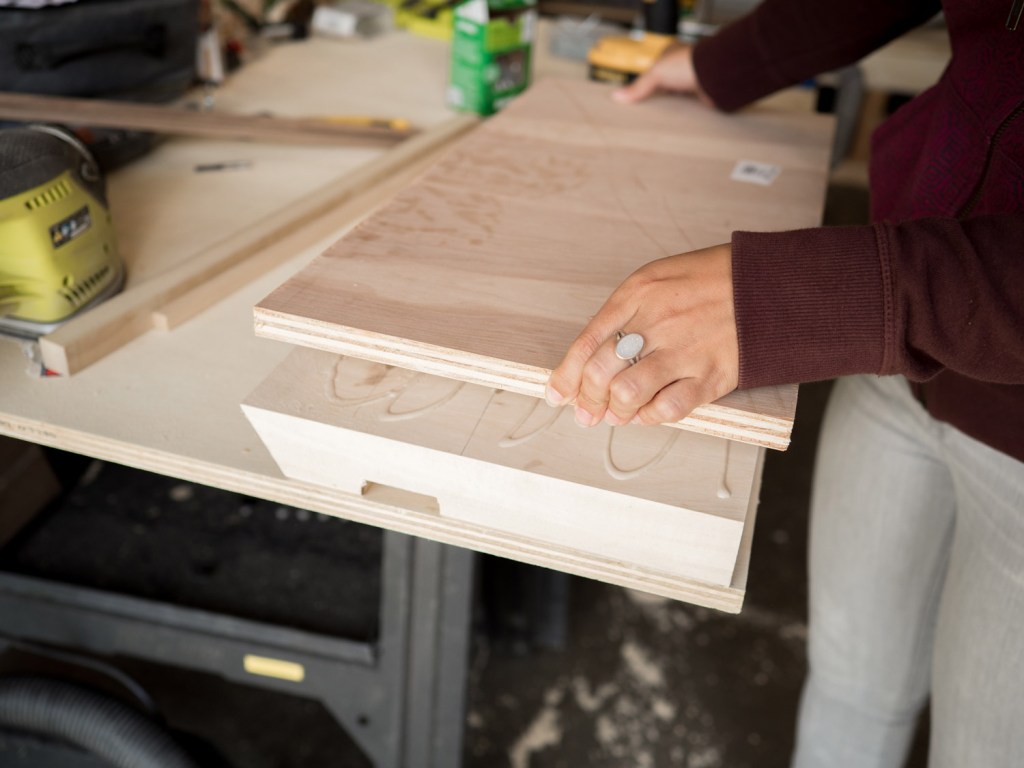
Carefully line up a piece of ¾-inch plywood and lay it on the blocks.
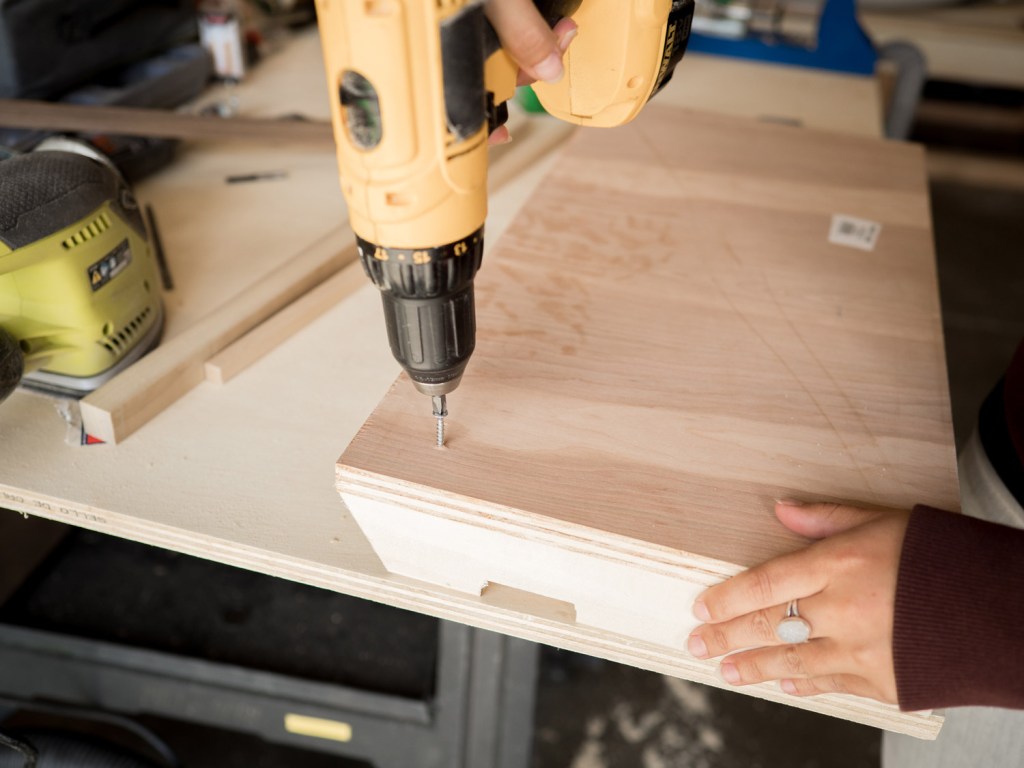
Screw 1½-inch screws into all 4 corners, holding the plywood in place so it doesn’t turn.
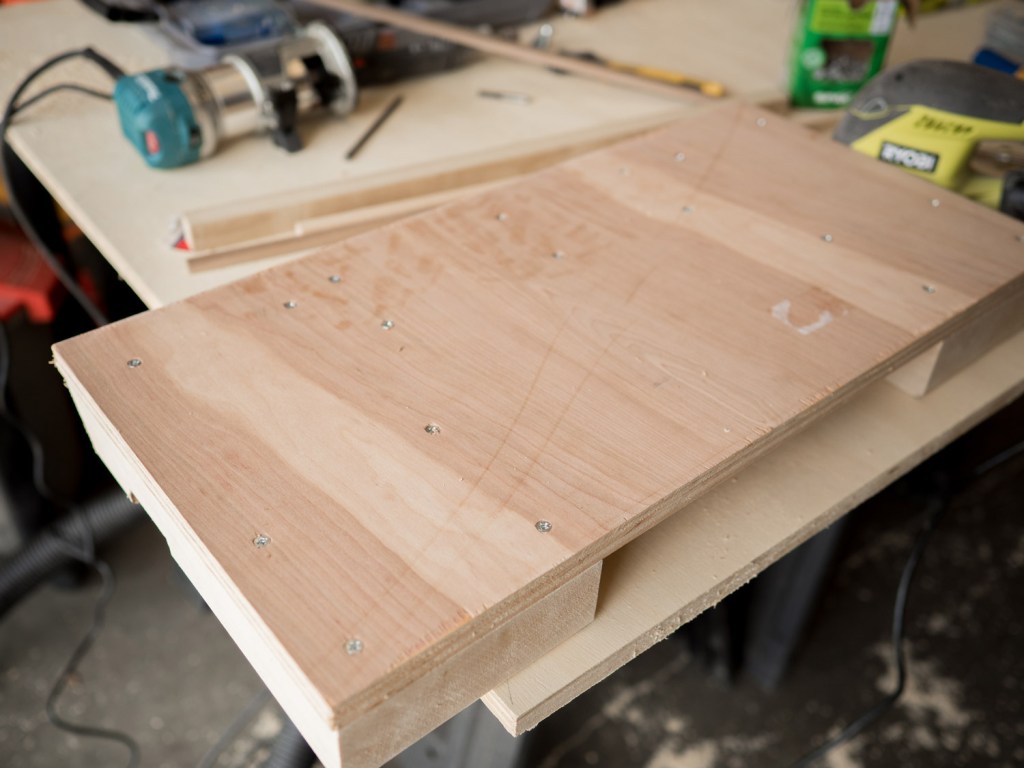
Add at least 4 screws to each block section for extra strength, making sure you don’t hit any holds with the screws.
6. Add edge trim
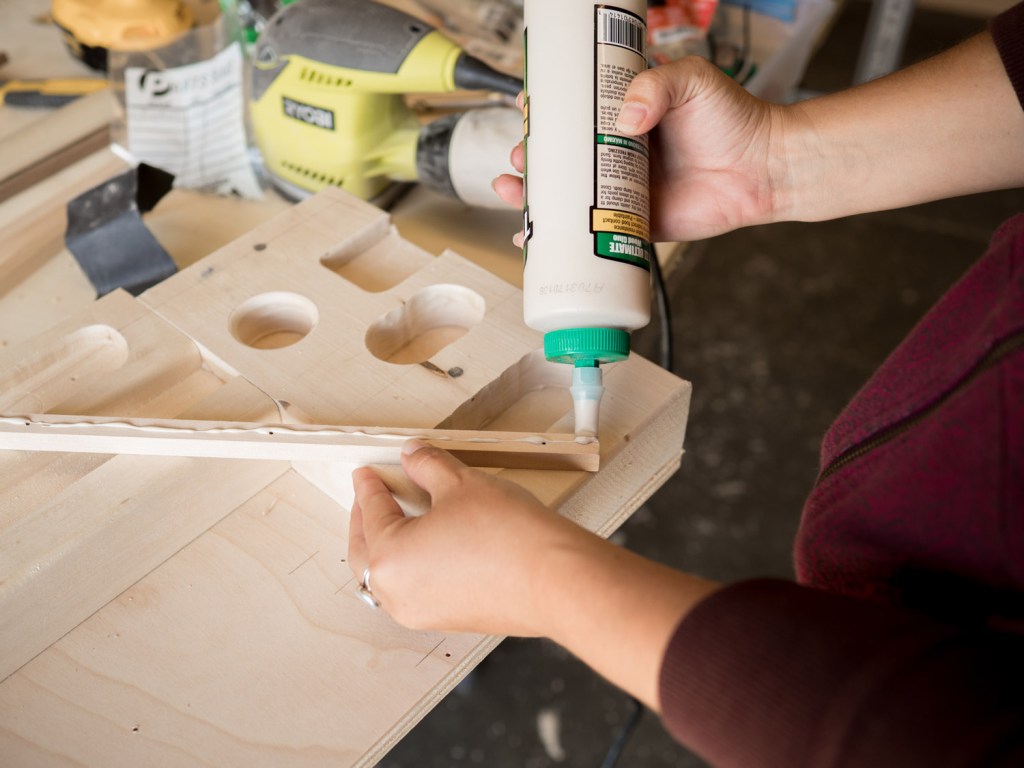
We used the block-free center section of plywood to add edge holds to our board. The smallest trim should be at the bottom so larger holds don’t get in your way. Apply wood glue to a piece of hardwood trim that has been cut to fit.
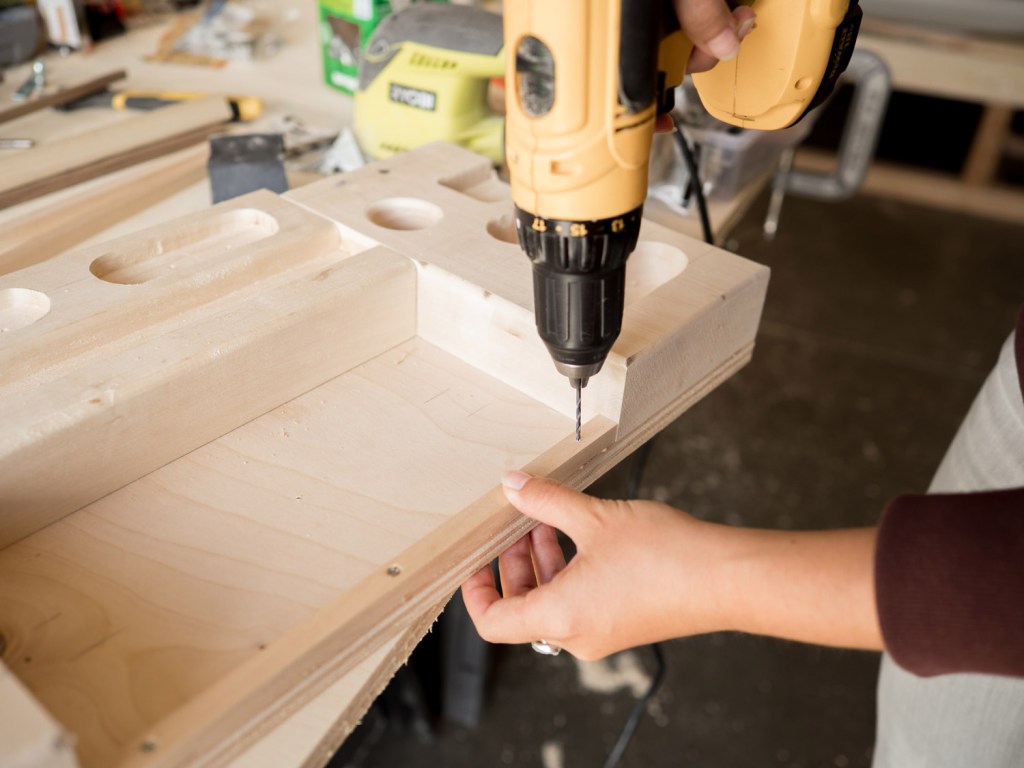
Place the trim where you want it and gently press down. Predrill 3 holes for the size screws you’ll use (this depends on the trim size). Predrilling helps prevent the wood from splitting.
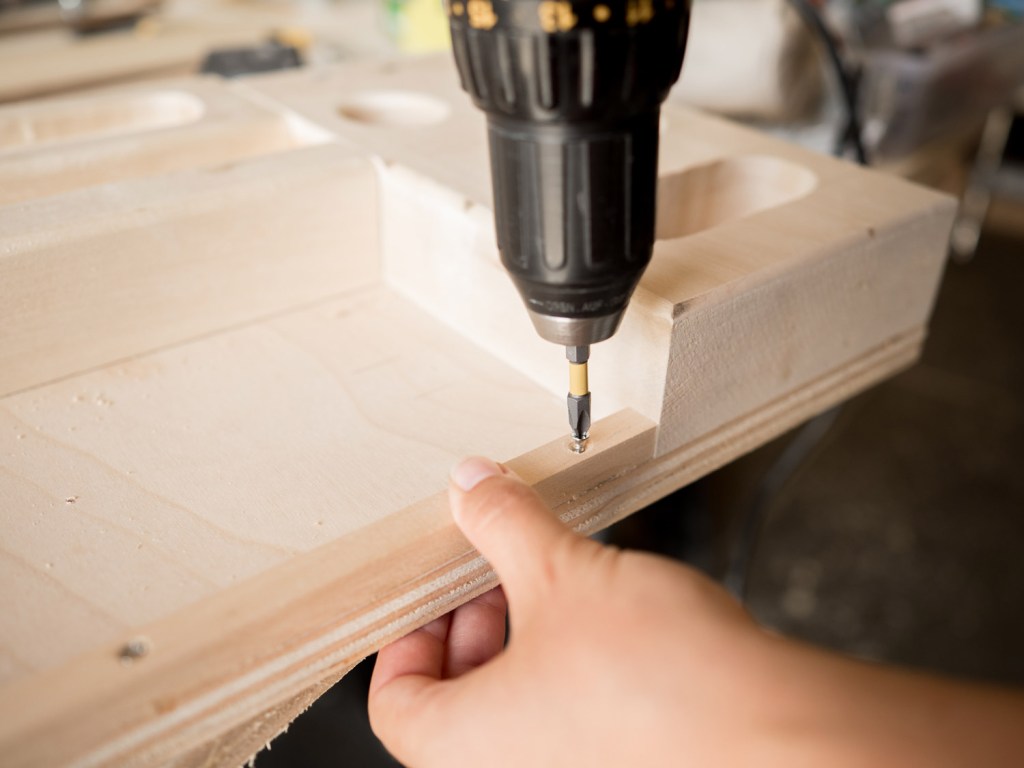
Insert screws carefully to avoid splitting the trim. We used #12 screws for the smallest piece of trim. Repeat with 1–2 additional pieces of trim.
7. Prepare the mounting backboard
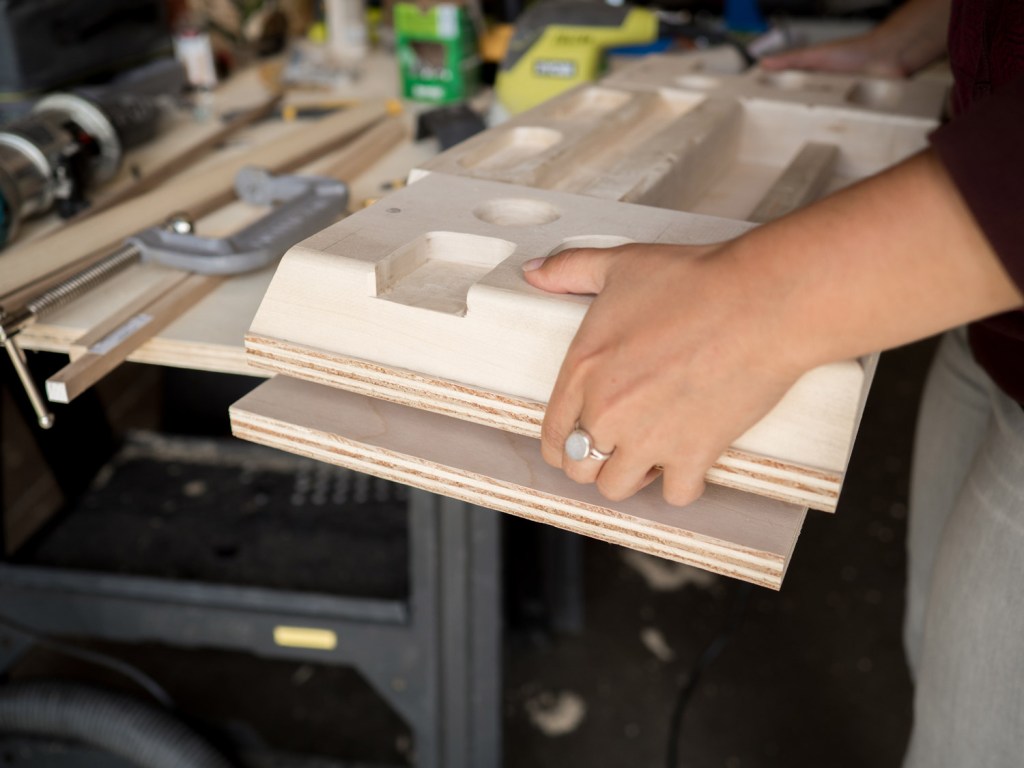
Place the blocks and board onto a second piece of 12 x 24 inch plywood. This will be your mounting backboard. Clamp the pieces together.
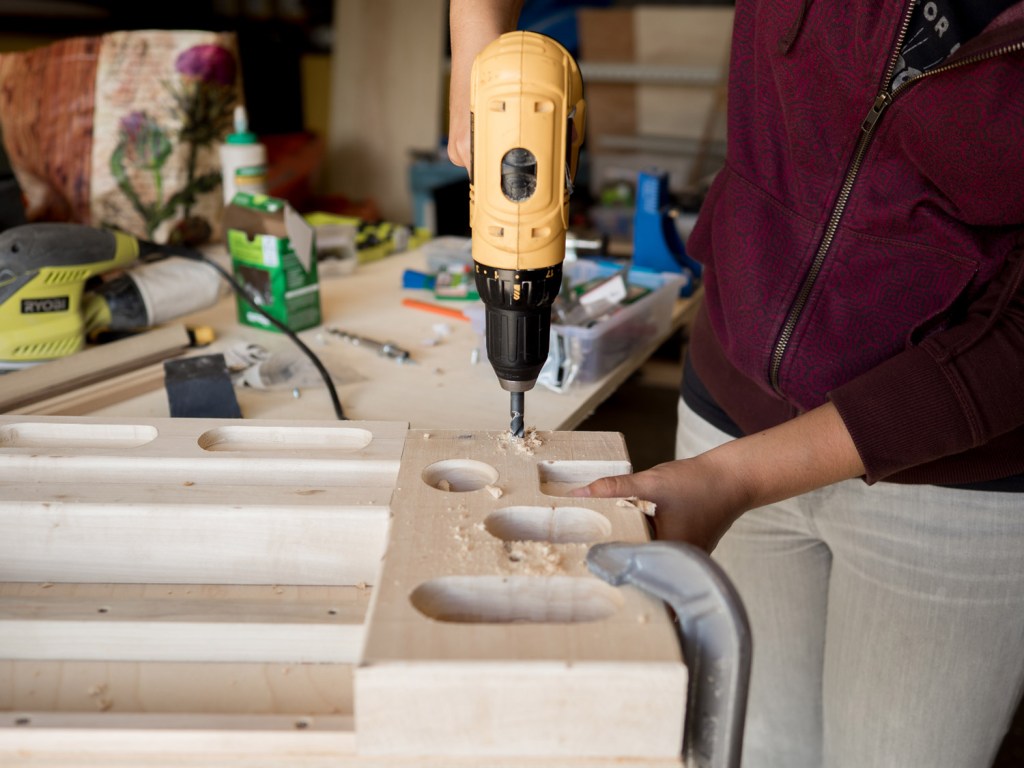
Use the 3/8th bit to drill 4 holes where you marked them when outlining your holds. You will drill all the way through each piece of wood, so make sure the spot you’re drilling is moved off of your workspace.
8. Prepare the other plywood panels
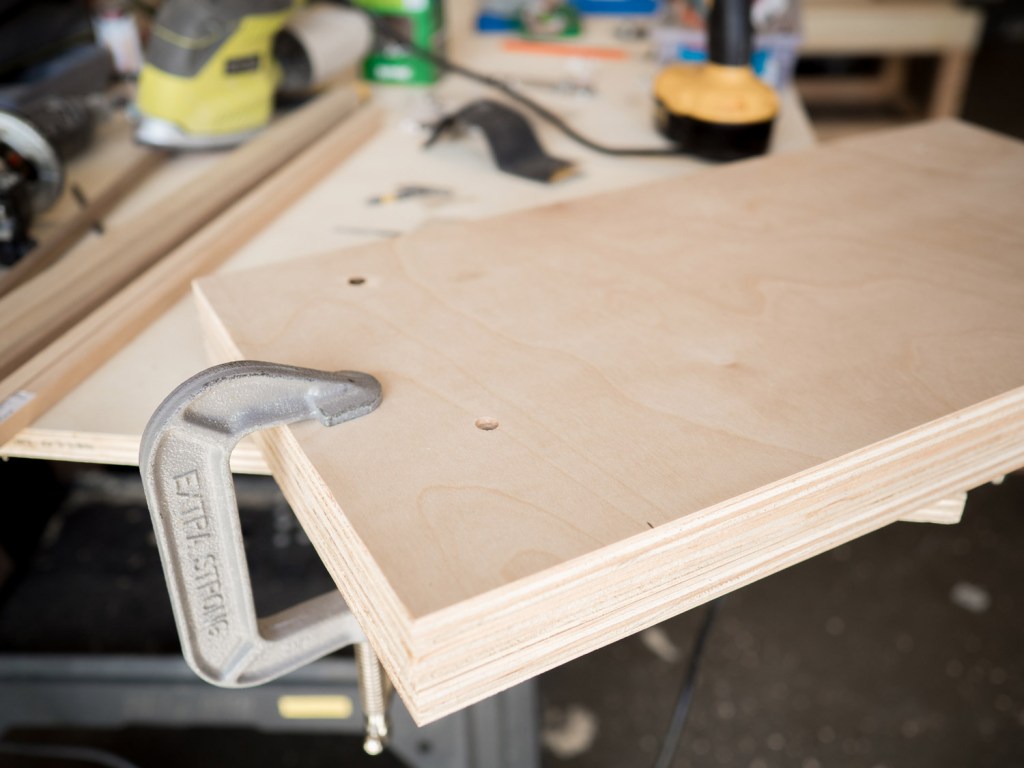
Use the backboard as a template for the other 2 modular panels. Place the drilled backboard on top of the 2 remaining plywood pieces and clamp them together. Use the 3/8th bit to drill all the way through at each hole.
9. Add T-nut inserts
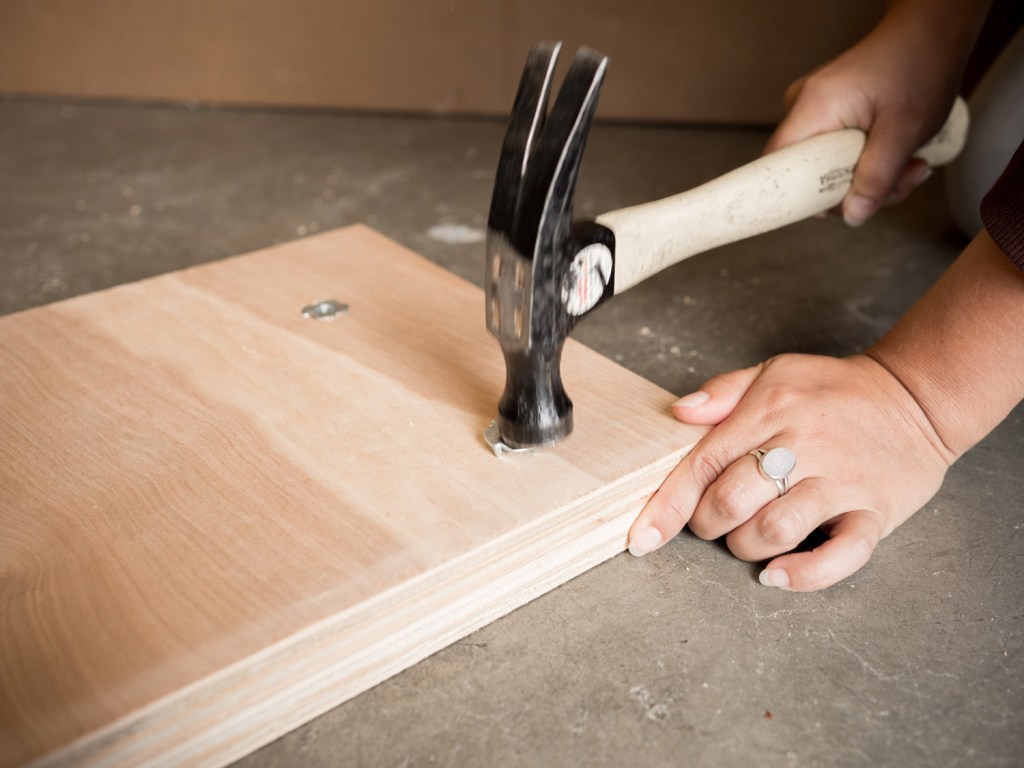
Using a ½-inch bit, re-drill the holes in the backboard panel. Hammer the T-nut inserts into one side of the board until they’re flush with the wood. Take your time and make sure the T-nuts are straight and didn’t bend. This will be where you’ll mount the front modular panels.
10. Mount the backboard
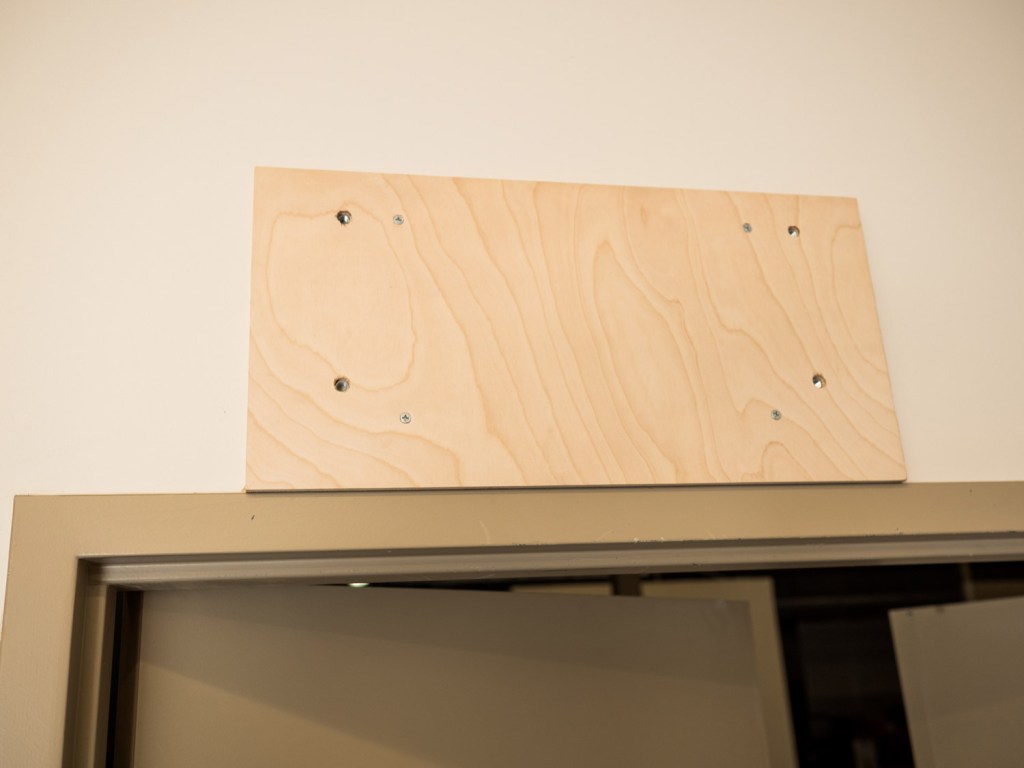
Use a stud finder to locate two studs in the location where you want to mount your hangboard. Insert anchoring-style screws through the panel into the studs.
11. Attach the front panel
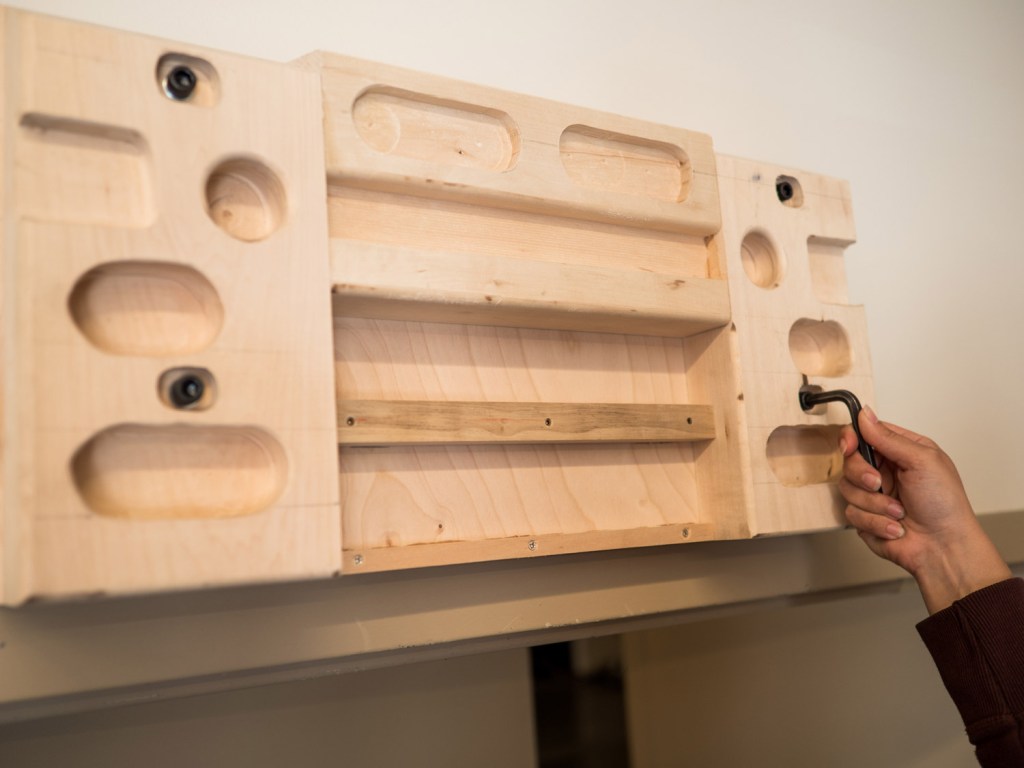
Have a friend hold the front hold panel up to the backboard. Insert the T-nuts and use an Allen wrench to tighten them until they are flush with the wood so they don’t get in your way when using the holds.
12. Bonus panels
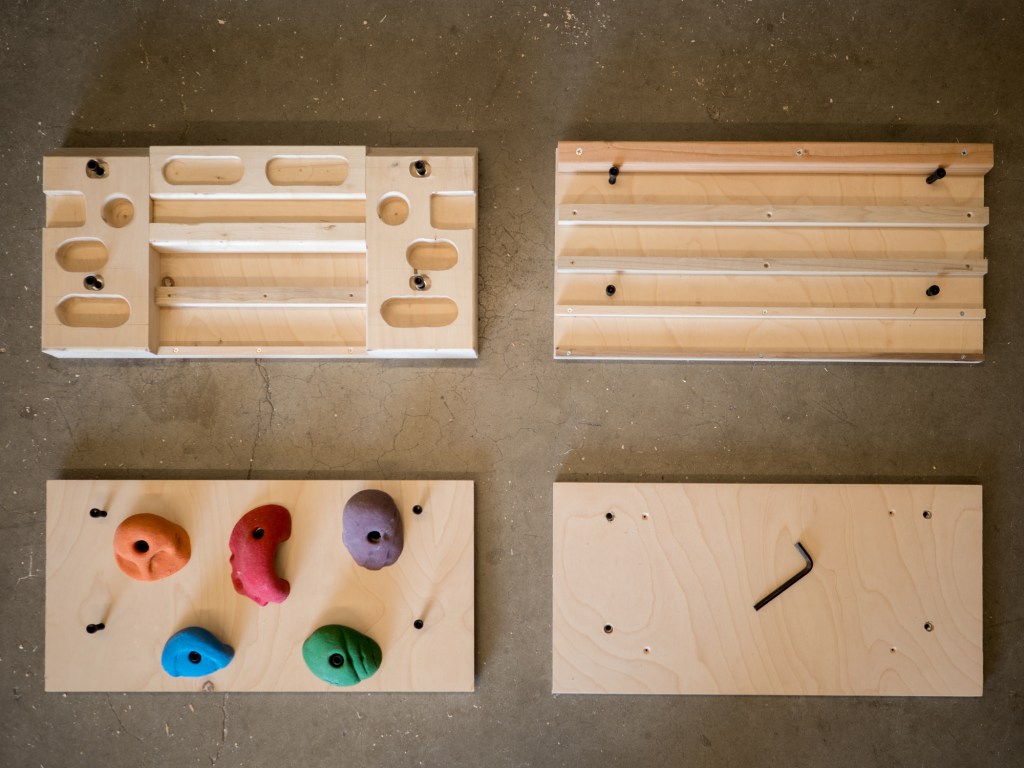
We made two additional panels for different training options with the plywood pieces we drilled in Step 8. One has a variety of edge holds and one has screw-on holds designed more for kids to have fun hanging on the board (always with adult supervision!). Get creative and have fun designing your own custom panels.
13. Get your hang on
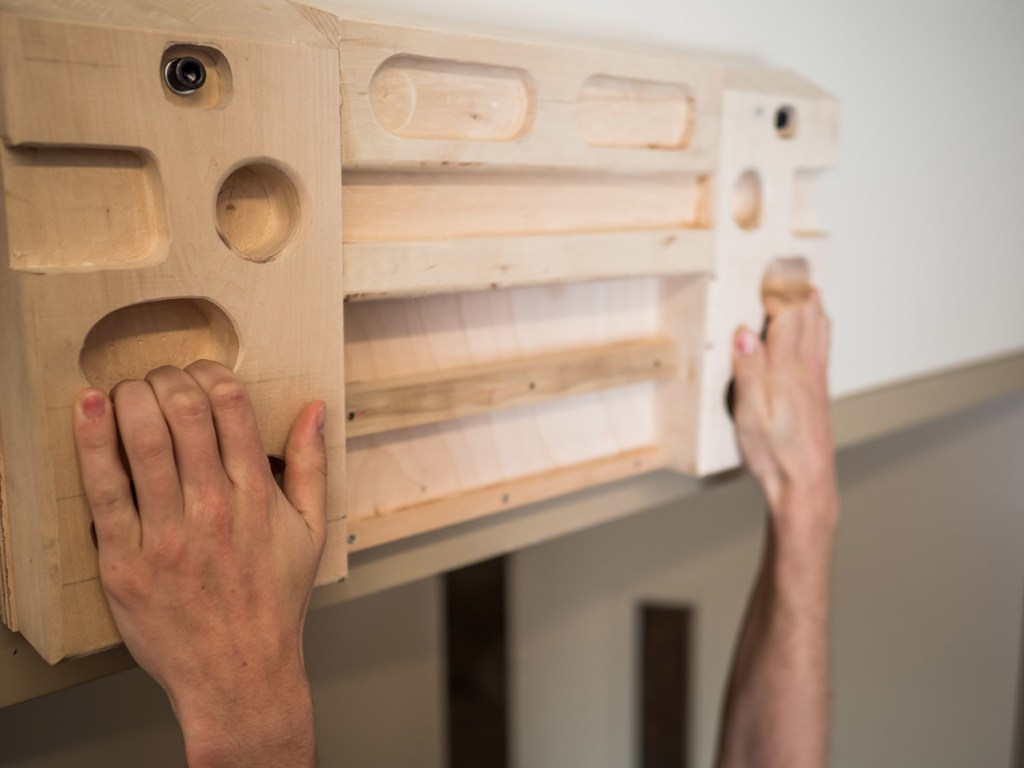
Time to train! Use your new hangboard as part of your regular climbing routine. For tips on how to train, read Hangboard Training 101.
