Here’s the thing about ice climbing: It looks impossible. Climbers scale frozen waterfalls with tiny slivers of metal strapped to their hands and feet, generally defying gravity while looking like the badass villain in an action movie. But here’s the well-kept secret: With some simple instruction, it’s actually quite possible for us mortals to climb features like frozen waterfalls, glaciers, icefalls and rock slabs covered in ice. It’s fun, it can be reasonably safe, and it’ll take you to some of the most interesting winter environments you’ve ever seen.
Broadly speaking, there are two kinds of ice to climb: alpine ice and water ice. Alpine ice is almost always found in the mountains, usually requires a long approach to access, and is most frequently climbed as part of a summit attempt—think of the more technical routes on Denali, for example, or Mount Rainier. Water ice, on the other hand, is usually formed by running water on a cliff or other outcropping beneath water flows. Water ice can form naturally in places where the temperature varies between freezing and just above freezing, or it can be made and groomed by humans in ice parks like the one in Ouray, Colorado. Around the world, ice-climbing routes range from beginner to expert, with technical grades that vary as the ice conditions change throughout the winter. For most beginners, water ice is the place to start.
Just as in rock climbing, ice can be climbed on top rope or on lead. Climbers use ice tools and technical crampons to climb, and ice screws, ropes, and other protection are used to protect against falls.
How To Start: Get Lessons or Check Out A Festival
“In this sport, it’s really worth investing in the learning process,” says Mark Allen, a mountain guide and owner of Washington-based Mountain Bureau. “The first several times you go ice climbing should be on top rope with an experienced friend or guide, not just a fellow novice ice climber. Make sure you find somebody who can give you real instruction on the foundational technique. If you learn the basics well, you’ll be more safe, have more fun, and be a lot less uncomfortable. The proper instruction could easily determine whether you love or hate ice climbing.”
Many guide services in North America offer introductory ice-climbing courses, and some private guides also offer one-on-one instruction. But Allen, who is certified by the International Federation of Mountain Guides Associations, also suggests another option—check out an ice-climbing festival. Throughout the winter, several festivals around the country offer the chance to attend clinics taught by professional athletes and guides, test a variety of different gear, see slideshows and trip reports from alpine adventures around the world and meet like-minded ice enthusiasts. Here are a few to check out this year:
- Adirondack International Mountaineering Festival, Jan. 18-21, 2019.
- Ouray Ice Fest, Jan. 24-27, 2019.
- Smuggs Ice Bash, Jan. 25-27, 2019.
- Mount Washington Valley Ice Festival, Feb. 1-3, 2019.
- Michigan Ice Fest, Feb. 13-17, 2019.
- Valdez Ice Festival, Feb. 15-18, 2019.
One word of warning: there are sometimes “ice festivals” or “gatherings” in places where there isn’t actually outdoor ice available to climb. These events can be great fun—you can see films, attend indoor clinics, and generally share the stoke—but if you’re looking to actually go climbing outdoors, it’s worth reading the fine print.

Photo Credit: Kat Carney
Gear and Clothing Tips
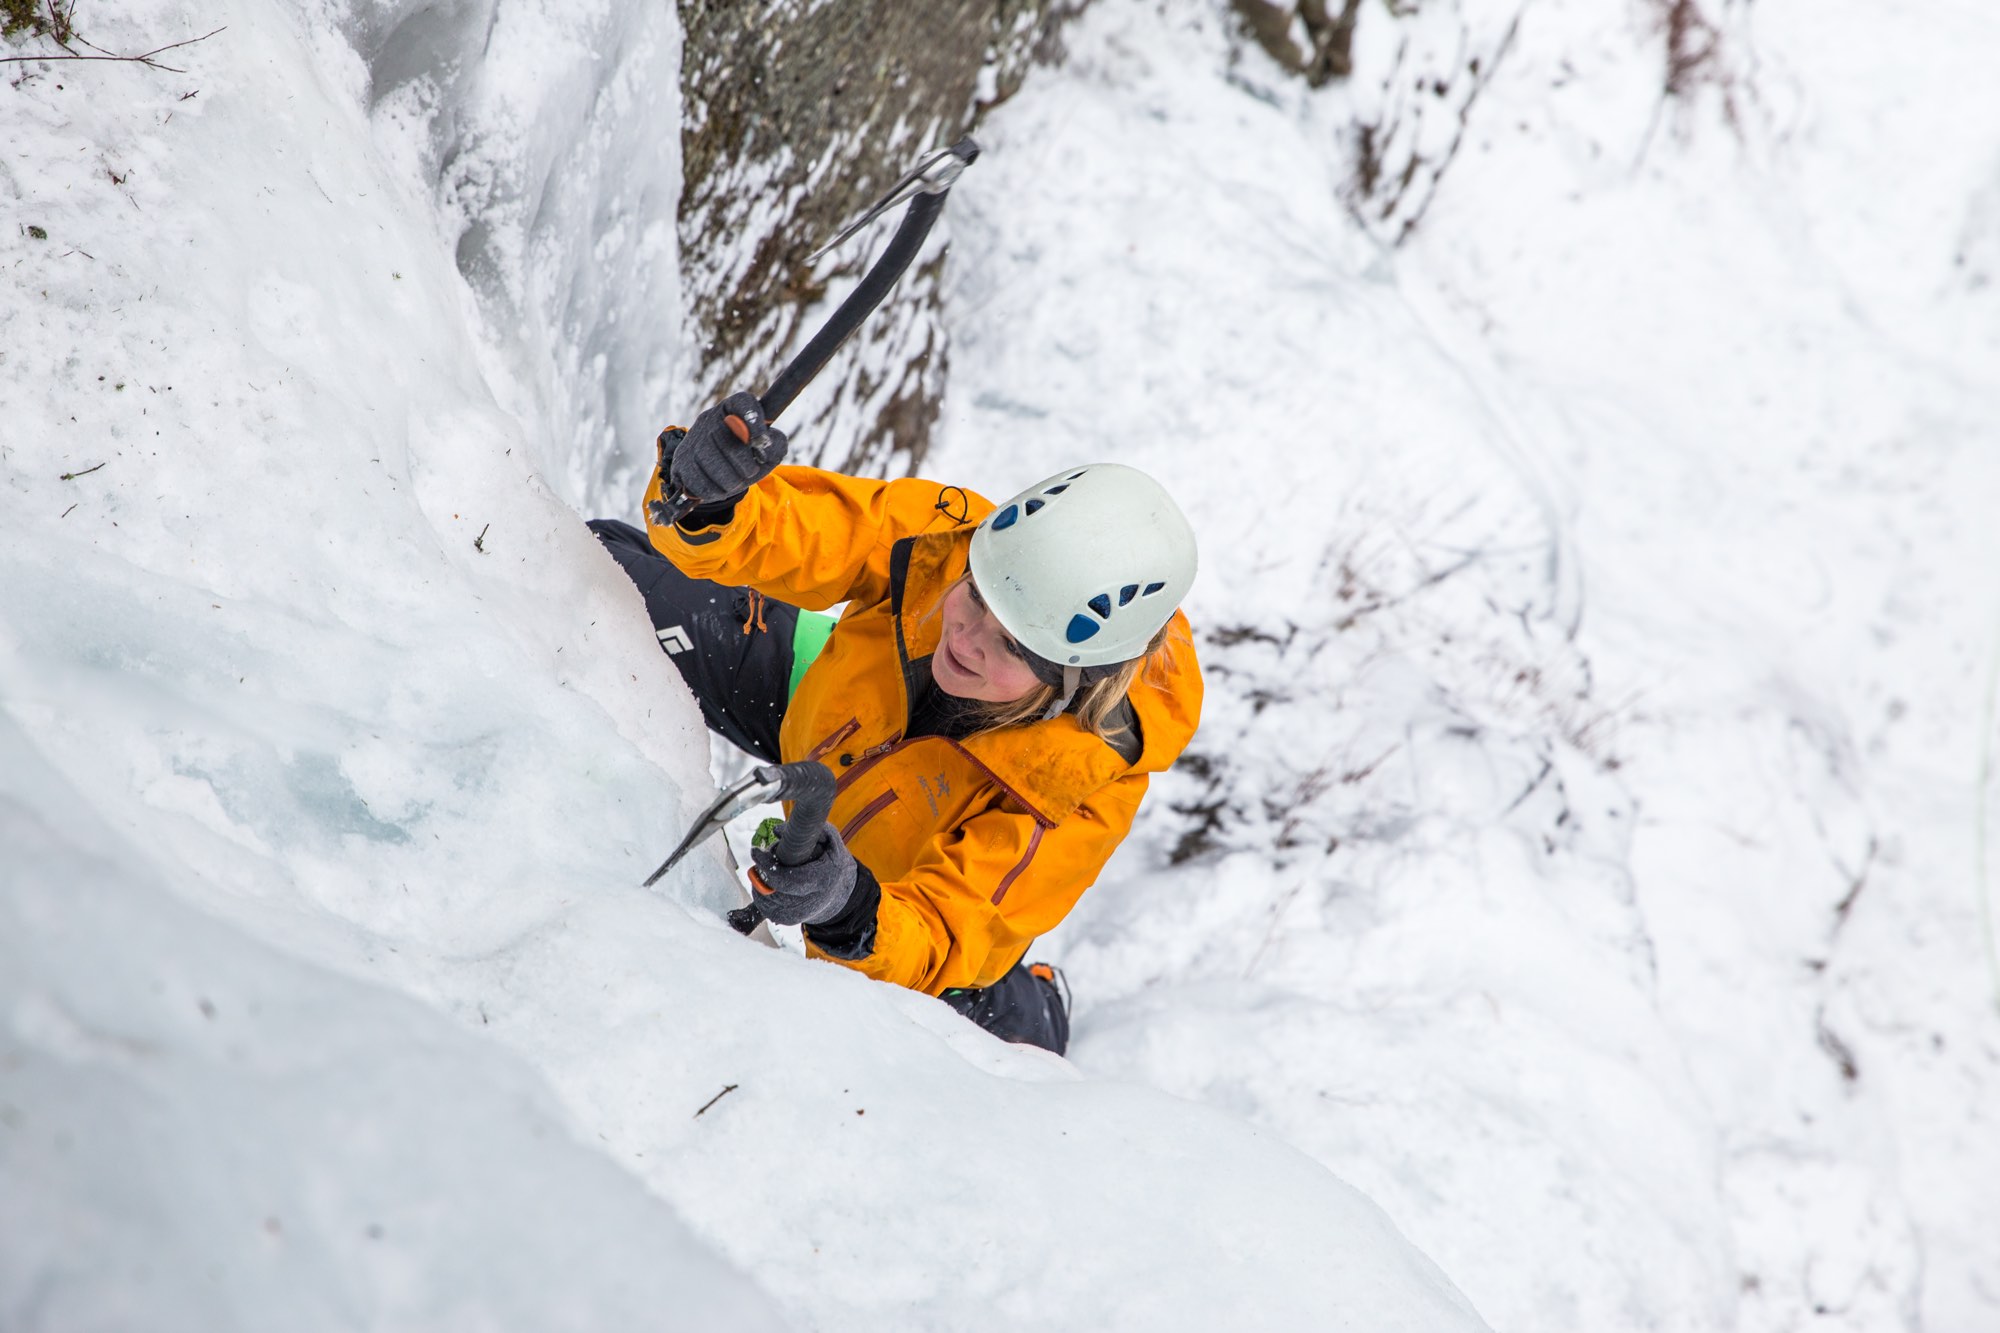
On your body, you’ll want to dress in layers. Ice climbing involves a lot of stopping and starting as you climb and belay, so you’ll alternate between intense exertion and standing around trying to stay warm. Think of wool or synthetic (not cotton) base layers, a handful of insulating layers (think light or midweight fleece, a thin down or synthetic jacket, and maybe a vest), and a waterproof GORE-TEX® jacket and waterproof pants. You’ll also want a big, warm down parka to wear when you’re belaying or waiting to climb—and don’t forget a warm hat, socks and gloves. These soft goods are all versatile and size-specific, so most climbers buy their own warm and waterproof layers.
The role of gloves is often underestimated, and many climbers say that choosing the right glove system is one of the most important decisions you’ll make when you’re planning your day. You’ll want big ski-style gloves to stay warm when you’re standing around or belaying, but you’ll always want a light, high-dexterity work glove for when you’re actually climbing. (With good dexterity, you’ll have an easier time gripping the handles of your ice tools. Gloves that are too bulky will tire out your hands more quickly.) It’s worth throwing a pair of disposable hand warmers in your pockets, too.
For technical gear, you’ll need boots, climbing-specific (not general mountaineering) crampons and ice tools. Before you invest in your own kit, many guides recommend that you rent or borrow from a friend who’s comparably-sized. While that’s good advice for any expensive hobby, it’s especially true for ice climbing, which requires very nuanced equipment. Rent it, see what you like and don’t like, then gradually start investing.

Photo Credit: Kat Carney
When You’re Actually Climbing
Basic climbing technique. As you’re standing on your crampons, try to get your hips close into the ice, directly over your feet. Move your feet up one at a time, aiming for small vertical distances—it’s much easier and more stable to take smaller steps.
Find good ice. As you’re climbing up the ice, you’ll be looking around for the best places to place your ice tools and crampons. Generally speaking, ice bulges are weak and ice concavities are strong. If you try to kick, swing, or place a screw into a bulge, often you’ll fracture the ice. When there’s a dusting of snow on the ice, the patches of ice with snow on them are concavities. Aim for those when swinging and kicking.
When you’re standing on your crampons, keep your heels low. It’s very easy to let your heels creep up, which feels like you’re standing on your tiptoes—and burns out your calves almost immediately. Dropping your heel prolongs endurance and engages all of the front points on your crampons, both the primary and secondary.
Practice your swinging technique. Swing so that your shoulder, elbow, wrist, and tool head are all in one vertical line. If you swing correctly, you’ll hear a satisfying “twang.”
Training For Ice Climbing
According to Matt Holland, co-owner of the Northwest Fitness Project, “ice climbing involves a lot of grip strength, core stability, and overall endurance.” When he trains climbers, these are some of the exercises that he suggests athletes do at home to prepare for the ice season.
Dead hangs. Hook your ice-climbing tools high on a secure surface, like a pull-up bar. Hold both tools and hang with shoulders engaged—think of squeezing your shoulder blades together. Hang for 10 seconds and then rest 10 seconds; do 10 rounds for one set. Do three sets total with a few minutes of rest between each. Add five to 10 seconds to each hang every week.
Stability ball body saws. Get in plank position with elbows on the ball directly below shoulders. Extend your elbows out as far in front of you as possible while keeping your hips level, then pull back. Aim for 10 reps.
Overhead weighted lunges. Stand with feet shoulder-width apart and slightly bent, holding a weighted plate above your head. Step back into a lunge, making sure your lunging knee doesn’t extend beyond your toes, your arms don’t bend, and your chest is open and level. Complete 10 reps on each leg.
Tool pull-ups. First, find your max by doing as many pull-ups as you can on tools without stopping. For week one, do 80 percent of your max for four rounds, resting one to two minutes between each round. Each week, add one more pull-up to the set.
For more information, check out Ice & Mixed Climbing: Modern Technique by Will Gadd.
