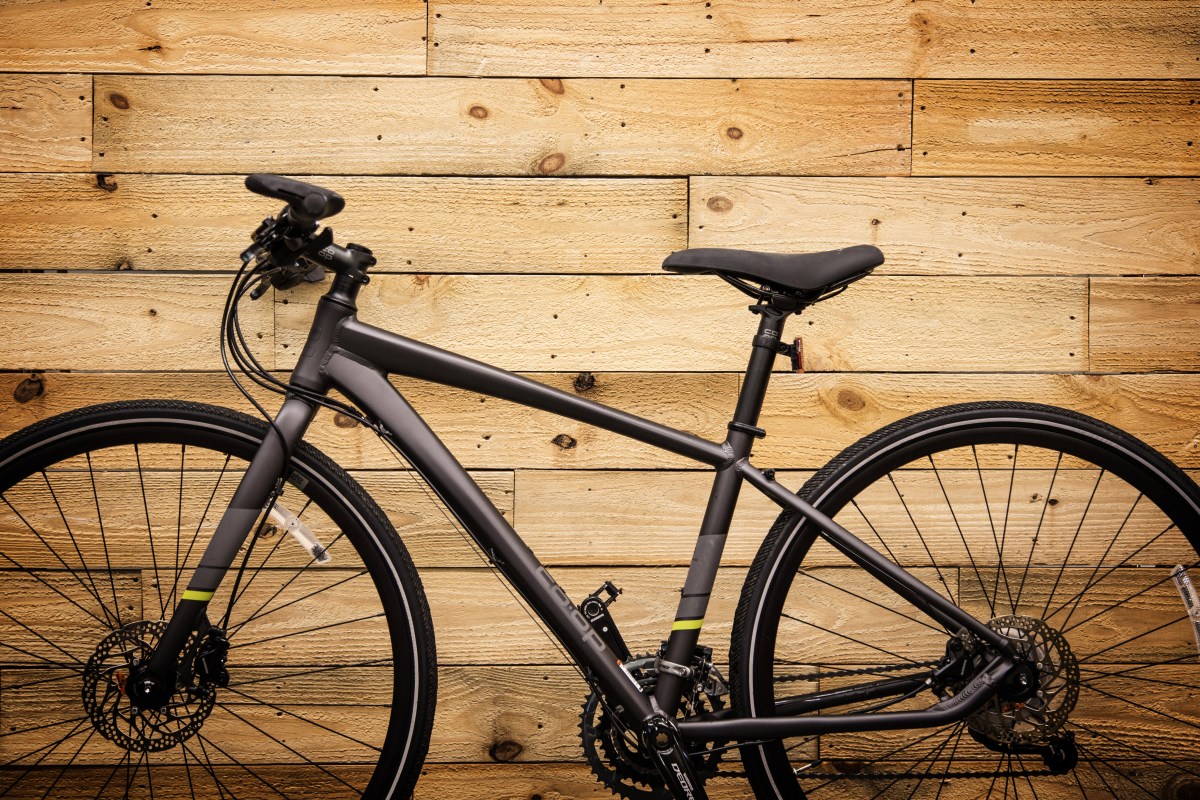
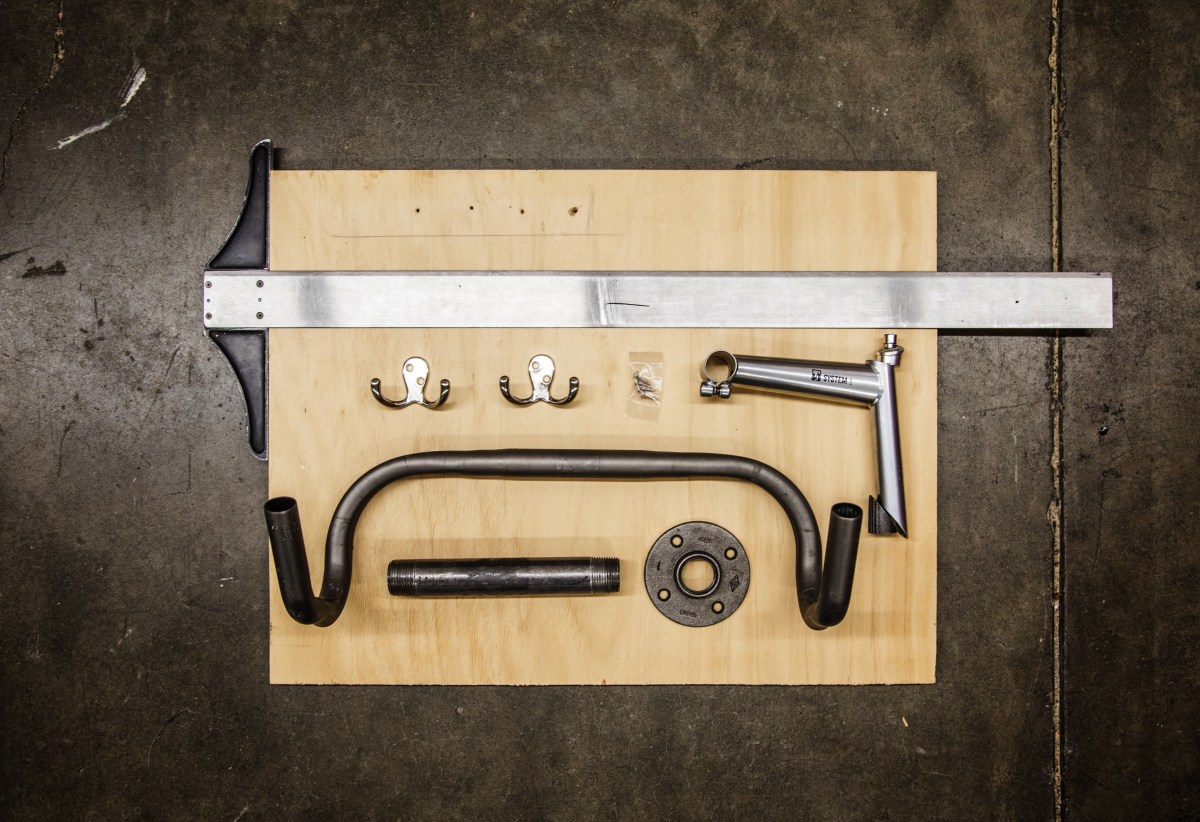
Bike owners rejoice: The days of storing your bike leaning up against a wall are numbered. Grab a drill, some plywood, and the drop bars from that old bike you’ve kept in the garage all these years. We’ll show you how to create some handlebar wall art that doubles as a hanging bike rack and gear storage shelf for your wall.
There are all kinds of possibilities for this style of rack. Use ours as inspiration for your own design, or follow the steps below to make this version. You’ll need:
Tools:
- Pencil
- Tape measure
- T-square
- Safety glasses
- Two C-clamps
- Jigsaw
- Circular saw
- Hex key
- Stud finder
- Level
- Two #8 construction screws
Materials:
- Scrap plywood or rustic-looking barn wood
- Wood glue
- One small box of wood screws
- 1-inch threaded steel pipe, approximately 6- to 10-inches long (the length determines how far your bike sits from the wall)
- 1-inch steel wall-mount flange
- At least five 3-inch anchoring wood screws
- One set of old bicycle drop bars (tape on or off) with a 1 -inch quill stem
- One package wall-mount coat hooks
Step 1: Make Your Plan
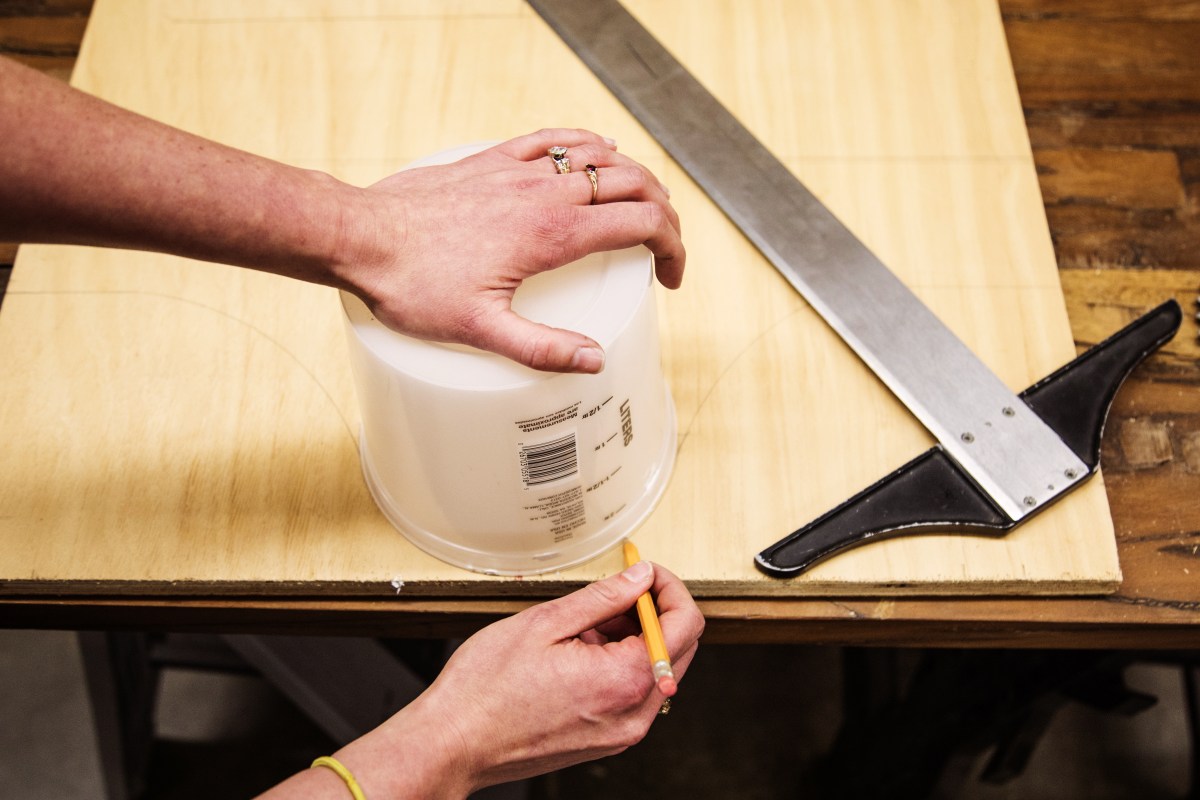
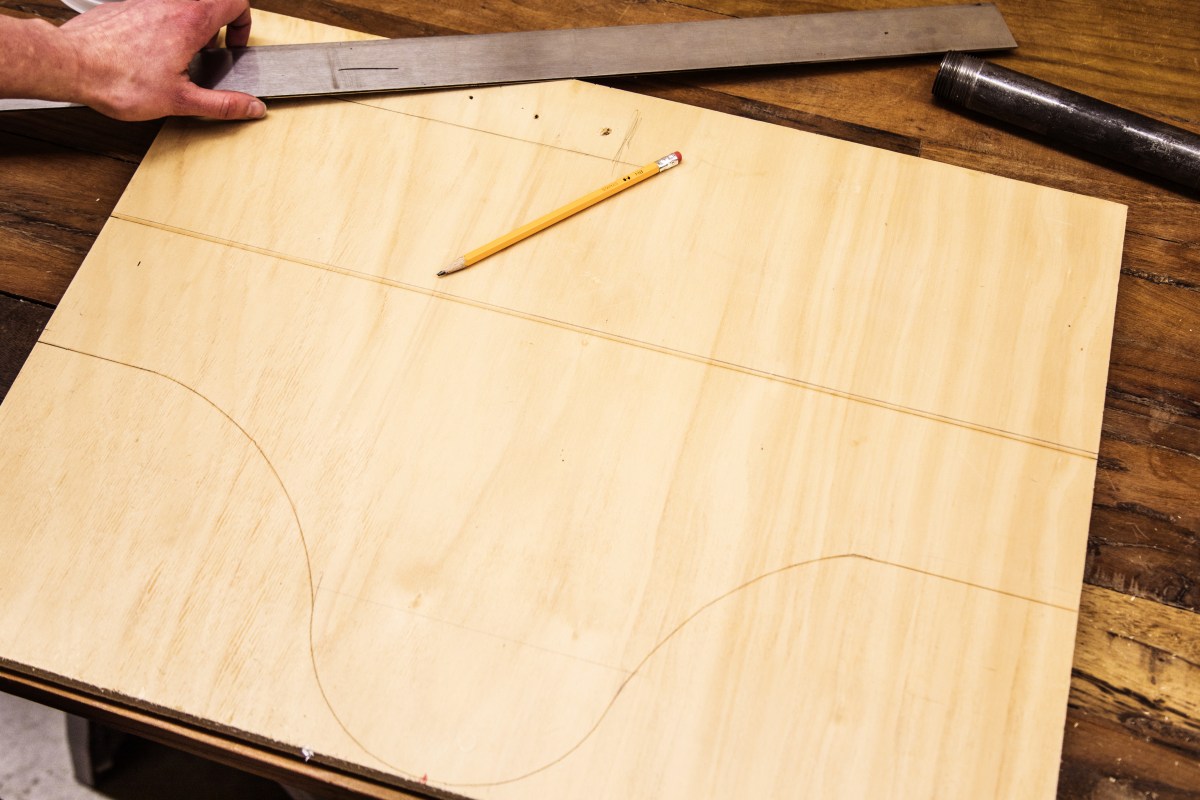
Grab your plywood, pencil and ruler and draw out the base and top shelf for your rack. The main requirement for the shape of your base is that it should be at least 2 feet wide—you’ll need this for adequate support and to span the load between two wall studs. We chose to give our rack a little style and used a small paint bucket to trace a curve for the bottom of the rack mount. We made our top shelf the same width as the base, and deep enough to store a water bottle or bike helmet on it.
Step 2: Make Your Cuts
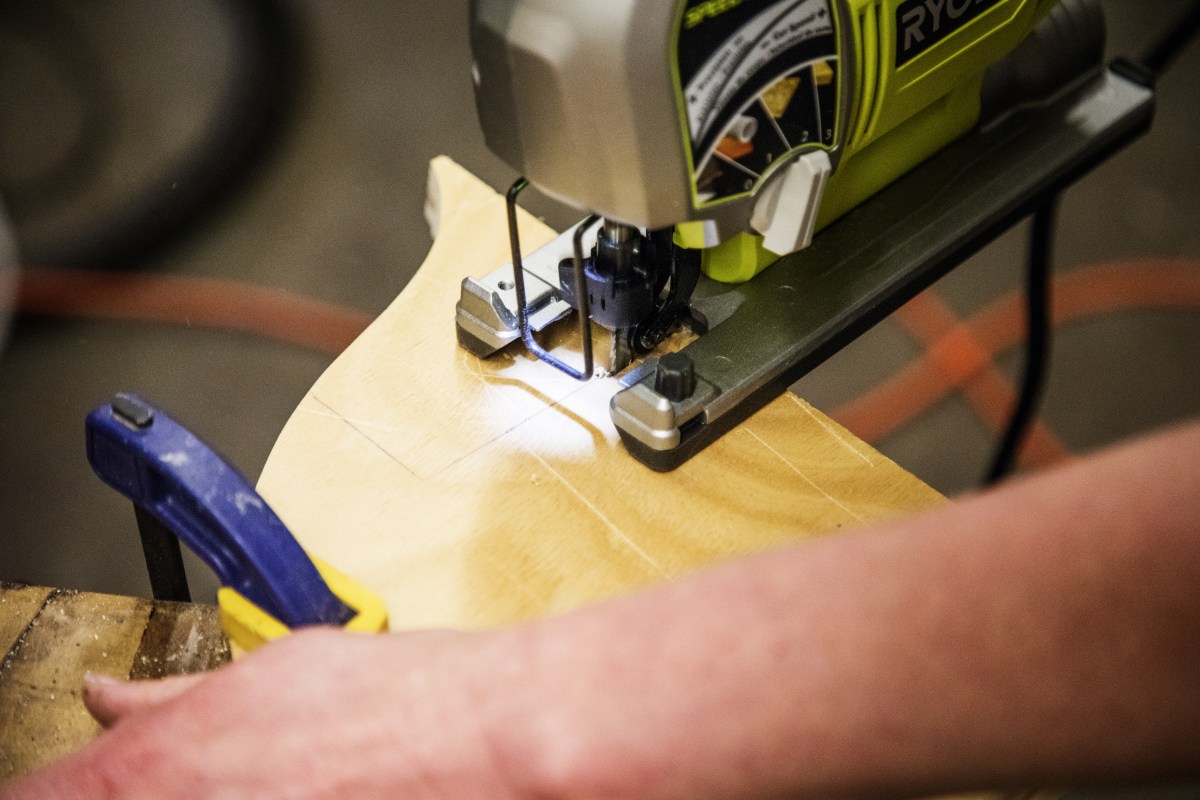
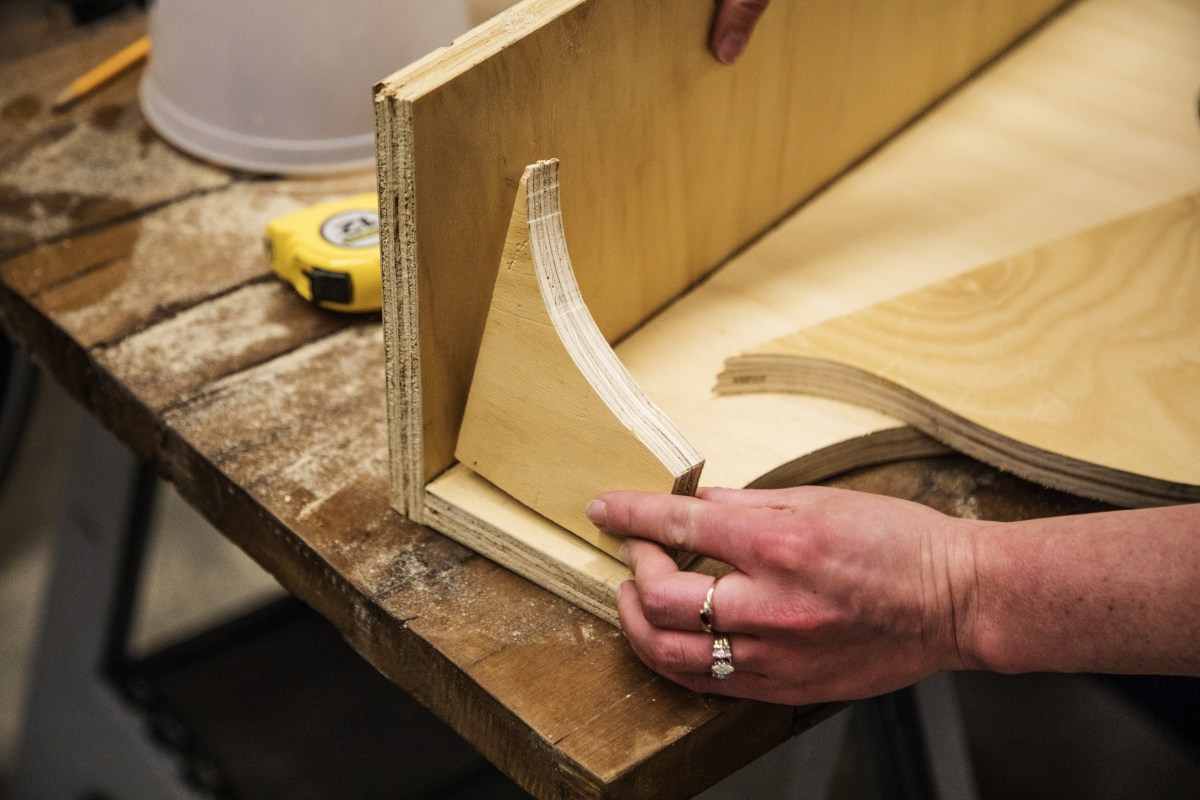
With your lines drawn, grab your safety goggles and jigsaw to cut the curved side of the rack. Always firmly secure your wood to your work surface with your C-clamps before using power tools. Don’t discard the scraps; those make great L-brackets for supporting your top shelf.
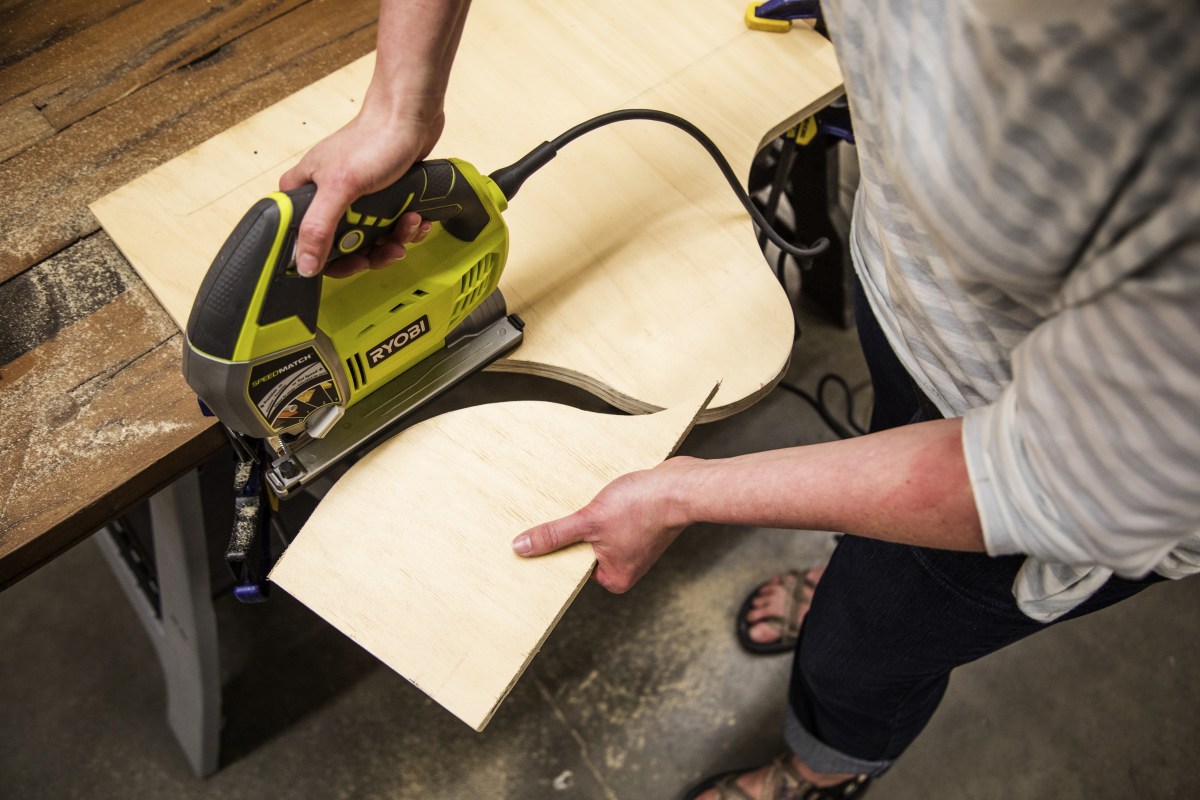
With the wood secured and safety glasses on, cut the straight line for your base and top shelf using your circular saw.

With your main pieces cut, grab your scrap pieces, measure and then cut two L-bracket supports for your top shelf. (You can use the scrap pieces as-is; we trimmed ours so they’d look nice.)
Step 3: Assemble the Shelf
Grab the drill, screws and glue and begin your assembly. Start by applying a thin layer of wood glue to the top edge of your rack base (remember, a little goes a long way).
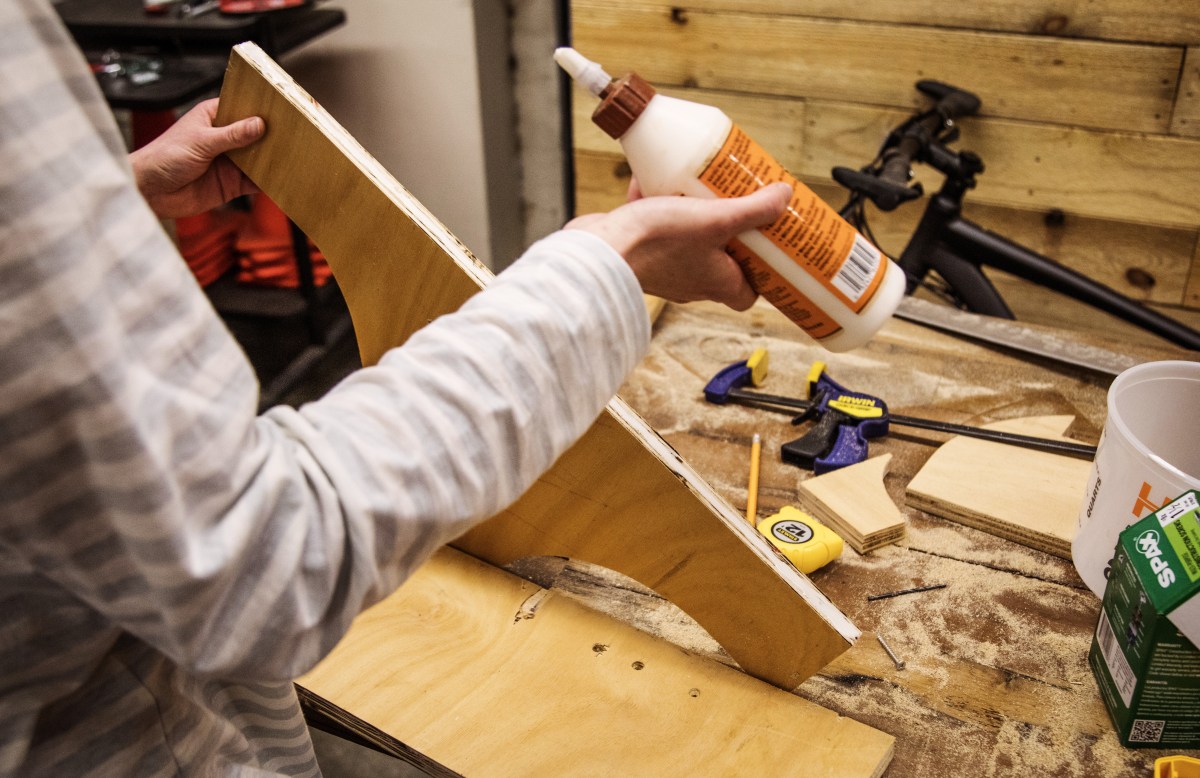
Once the glue is applied, firmly secure your base to your work station and screw the shelf to the base using the small wood screws and power drill.

Step 4: Add the Brackets
With your base still firmly secured to your work station, grab your L-brackets, apply a thin layer of wood glue where the brackets will meet the top and base, and then screw the brackets to the main piece.

Step 5: Add Your Support
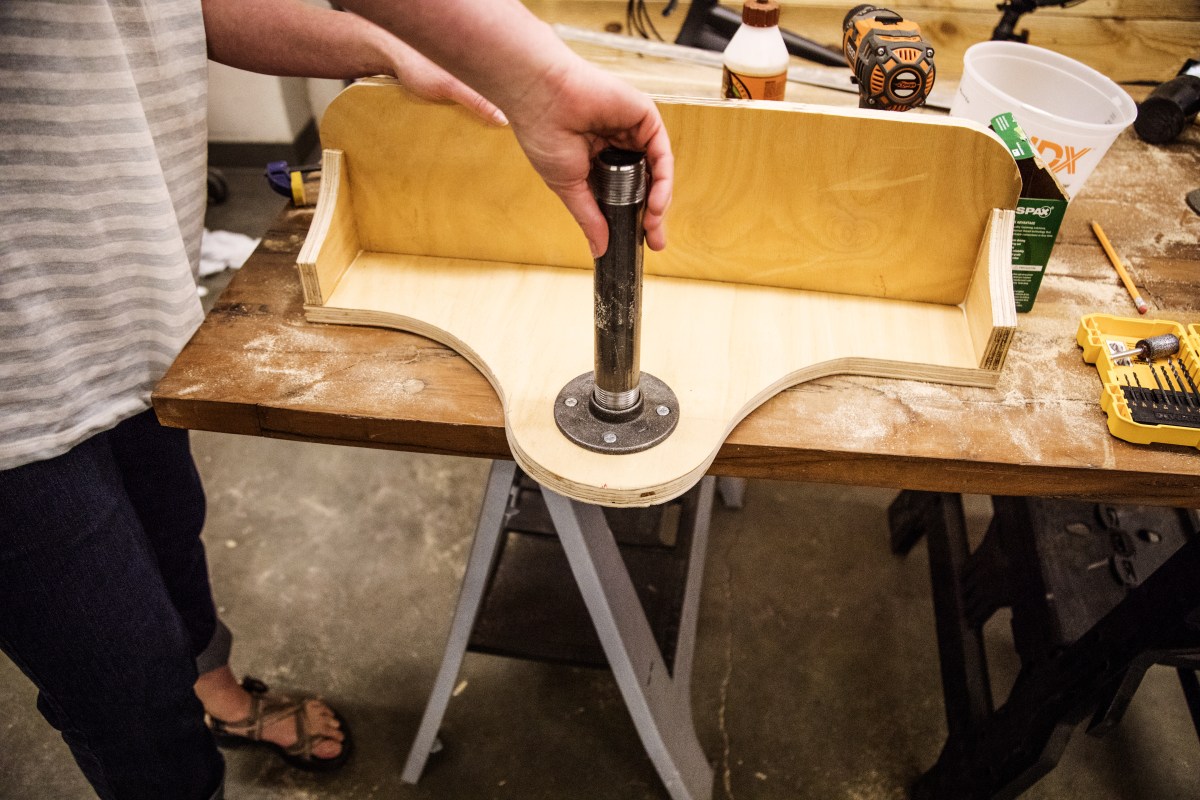
Now that your base and shelf are assembled, it’s time to add the parts that’ll support your bike. Grab the 1-inch steel flange and secure it to the wood base with your drill and four screws. With the flange secured, take your threaded piece of steel pipe and hand-thread it onto the steel flange. Give a good twist here; this is the part that’ll bear most of the weight.
Step 6: Add Some Flair
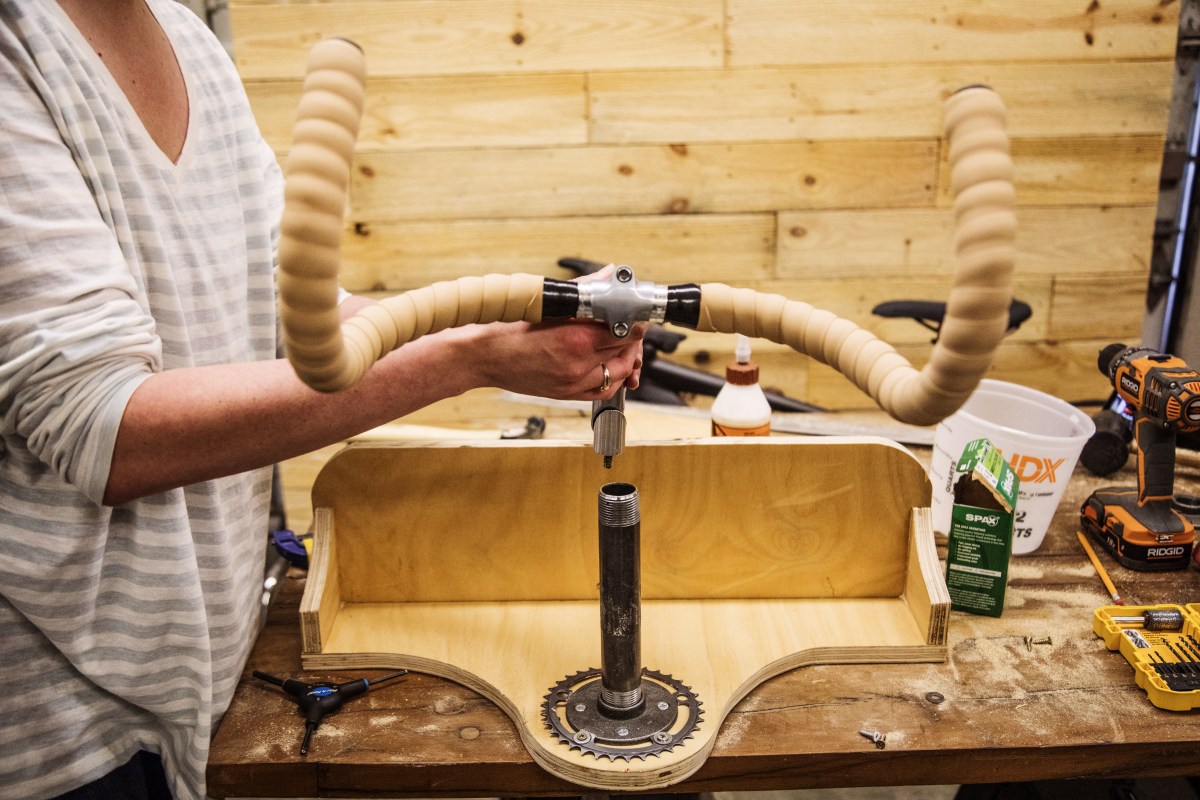
We used an old sprocket to add a little character. Use your imagination!

Step 7: Bring it All Together
Assemble your handlebars and quill stem if they’re not already together. Insert the stem into the steel pipe and tighten the stem with your hex key so the bike won’t sway and scratch your wall.

Finally, we added some coat hooks for more usability.

Step 8: Pick a Prime Spot
Arguably the most important step in the process is picking a place for your rack to live. Measure how far off the ground you want your bike to be (a second person is handy here). Then, use your stud finder to find your studs (they should be 16 inches apart). At the height you’ve chosen, center your rack between the studs and mark the location of your first wall mounting screw over a stud, then drill in the screw. Then, making sure your rack is level, mark and insert your second screw into the other stud.
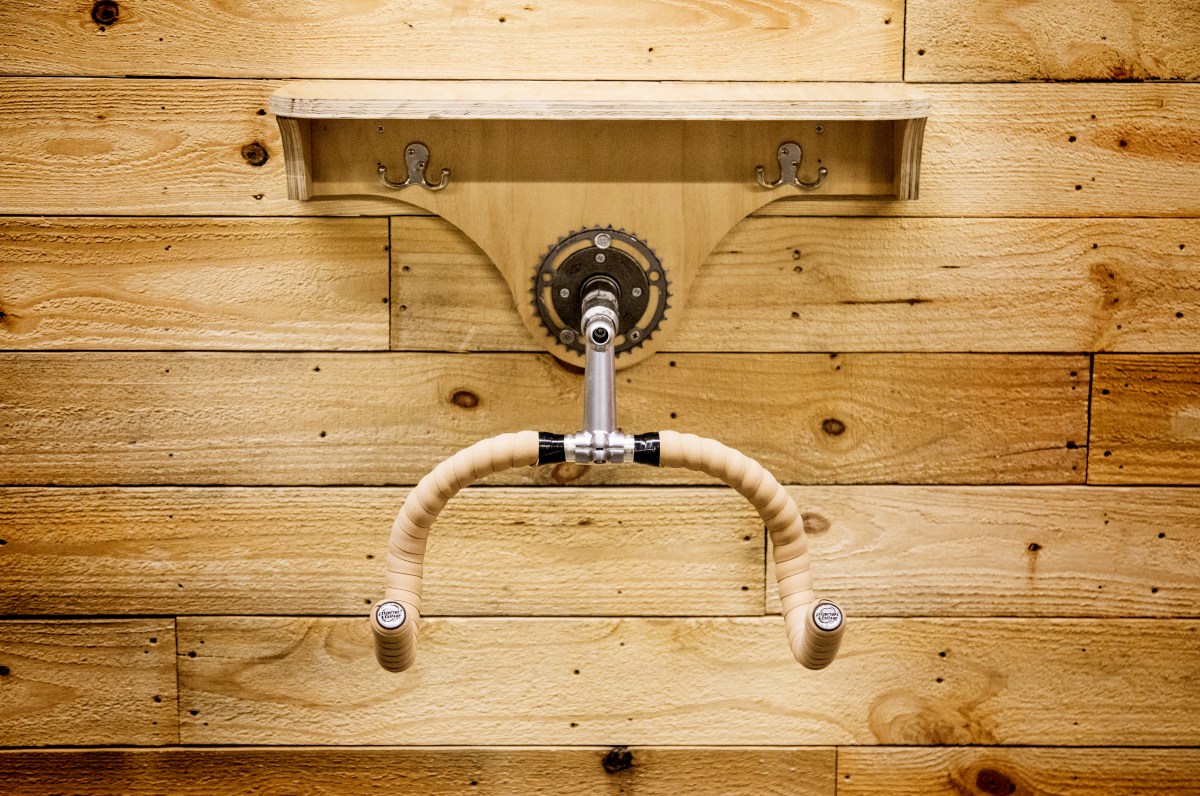
And voila! You’re done! Take a celebratory ride, knowing that when you get back, you’ll have a sweet spot to park your gear.

