Smart indoor exercise bikes have been all the rage of late—and for good reason. These calorie-squashing workout machines bring professional-level cycling instructors and virtual cycling communities into your living room, giving you both a great workout and a chance to interact with (or compete against) other riders. But they tend to be expensive. Many run $1,500 and higher—and that probably doesn’t include the monthly fee required to log into manufacturer-specific apps.
Luckily, you can get a similar immersive cycling experience setup for less. Here, we break down the steps to build a smart indoor bike that still leaves more room in your wallet.
First, choose your bike setup
A bike is, obviously, a key component to your indoor cycling experience. In this article, we’ll cover two primary routes to go:
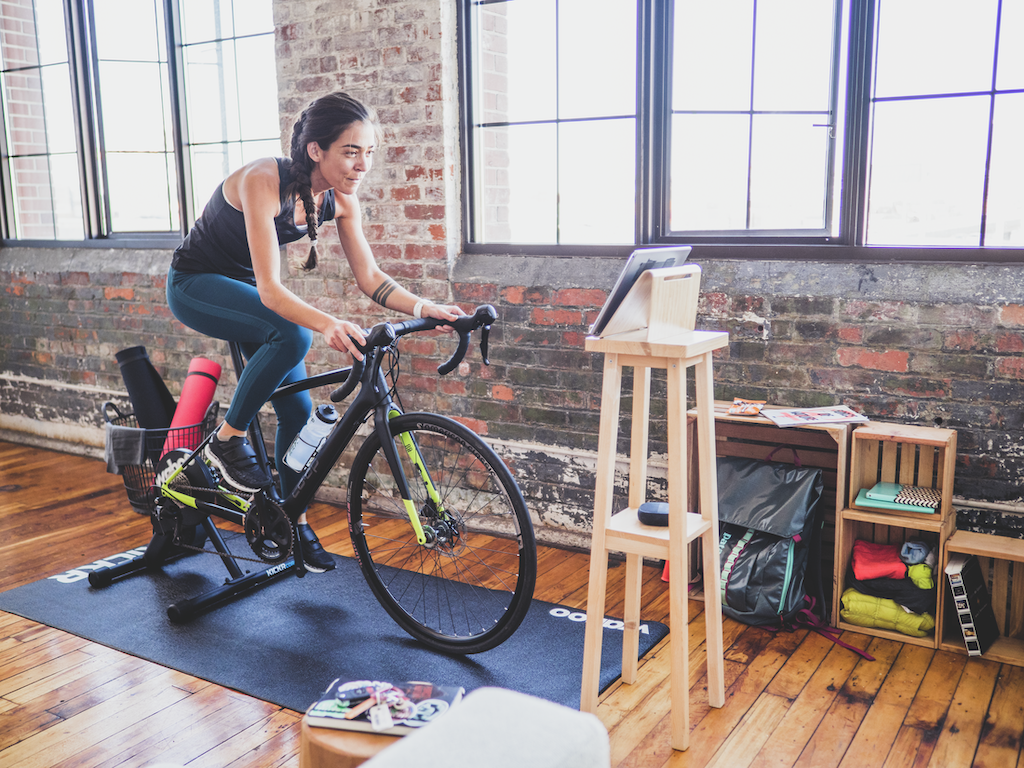
Indoor trainer paired with a bike

If you already have a decent bike, pairing it with an indoor trainer allows you to ride your bike that you’ve already tweaked to fit your body’s specific dimensions. Plus, indoor trainers tend to be compatible with most apps out there. They also take up minimal space or can be easily stored in a closet when not in use. However, they’re notoriously noisy, so take that into account if you live with (or above!) others. You’re also putting additional wear and tear on your bike. And it can be time-consuming to reset your bike between indoor and outdoor riding sessions—especially if you opt for a direct-drive trainer that requires removing your bike’s back wheel.
If you decide an indoor trainer is right for you, you’ll have a couple of key decisions to make: smart or classic, wheel-on or direct drive. Refer to this in-depth buying guide for the nitty-gritty details, but here’s the skinny on both decisions.
Smart vs. Classic. A smart trainer comes with technology so you can wirelessly connect to your app of choice via ANT+ or Bluetooth. This allows the trainer to change your resistance automatically, often to match the terrain or specific power goals during a cycling workout. If you opt for a classic trainer (aka, a “non-smart” trainer that doesn’t have the technology to sync with an app), you can still feed data like heart rate or cadence (pedal revolutions per minute) to your app by purchasing a separate sensor. (More on this below.)
Wheel-on vs. Direct Drive. Wheel-on trainers attach to your bike’s rear wheel and use a roller pressed against the tire to create resistance. These tend to be a little less pricey, but they’re noisier and can cause more wear and tear on your bike. Meanwhile, a direct drive trainer attaches to your bike’s drivetrain after you remove your back wheel. The latter usually offers smoother power transfer from your pedal to the trainer but can be more cumbersome to take on and off.
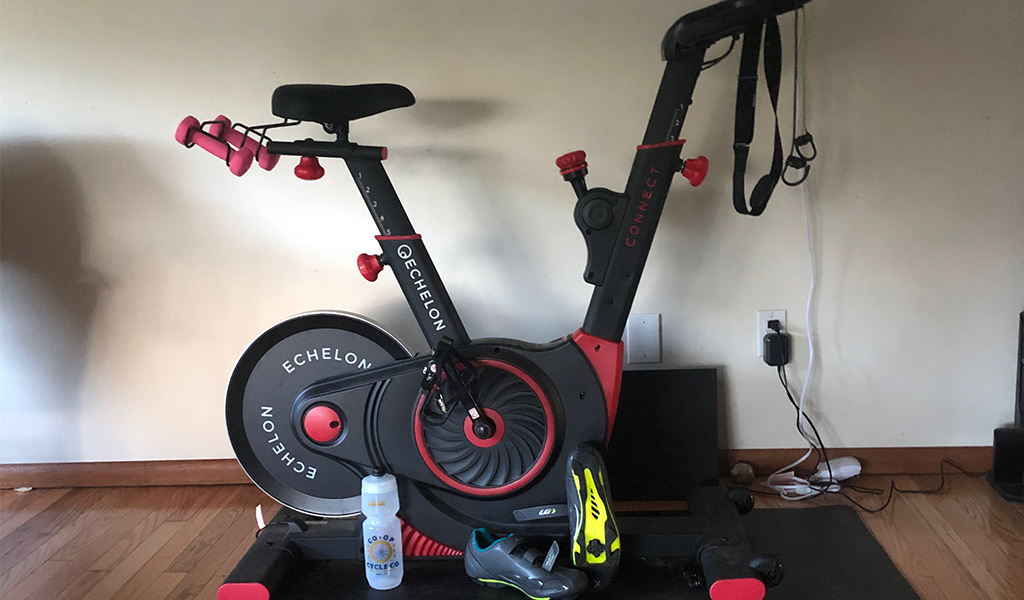
Exercise bike

Exercise bikes vary widely in price, with some hovering around $300 and others soaring well above $2,000. Bikes that come equipped with technology that track your ride tend to be more expensive. If you don’t want to invest that much in a ride just yet, opt for a lower-cost exercise bike and buy a sensor to connect it to your app of choice.
The best thing about exercise bikes is how easy they are to adjust, making them particularly convenient if people of different sizes will use the bike. Higher-end models may come with features like a built-in screen, heart rate sensors, and even incline/decline control for a more interactive riding experience. Consider space and app compatibility, too. Stationary bikes are heavy to move around, so you’ll probably want a dedicated “pain cave” to store it in. Some models are designed for use with the manufacturer’s workout platform and can be difficult to pair with a third-party app. Traditional cyclists might dislike the more upright geometry of stationary bikes.
If you decide an exercise bike is best for you, your main consideration will involve how the bike gets its resistance. Nearly all systems will have a flywheel (that heavy metal disk that acts as the bike’s front wheel), but some use magnetic resistance and others use direct-contact resistance.
Decide on an app
Whether you just want to maintain a base fitness level or you’re looking for punishing sweat sessions to prep for race season, there’s an indoor cycling app for you. Refer to this article for an app-by-app breakdown. If your heart’s set on using a specific app, do some research in the first step to make sure your setup will be compatible.
Of course, you’ll just want to make sure your bike setup is able to “talk,” or connect, to your app. That smart functionality allows you to get data about your workout (such as power, cadence and calories) and, in some cases, can provide a more immersive experience. For instance, these systems allow the trainer to automatically control your resistance, in real time, based on the workout you’ve chosen. This includes app workouts that mimic certain types of terrain, such as steep hills or rugged trails.
If you’ve invested in a smart bike trainer, you’re generally set up to connect with an app and start pedaling. Connection may be trickier if you’ve chosen a classic trainer, a stationary bike without smart technology, or a stationary bike that come with proprietary apps. But the remedy is pretty simple. Add a speed/cadence sensor and/or power meter with ANT+ or Bluetooth functionality to your indoor cycling kit.
The speed/cadence sensor provides an estimate of your power, whereas the power meter reports your actual power. Either way, that power readout will coordinate with your in-app performance. Note that if you use a classic trainer plus sensor setup, there’s some guesswork involved. You may have to match the leg speed of your virtual instructor or guess resistance on a virtual hill climb. Check with the trainer manufacturer to make sure your proposed solution will work with your specific set-up.
Add a screen or device

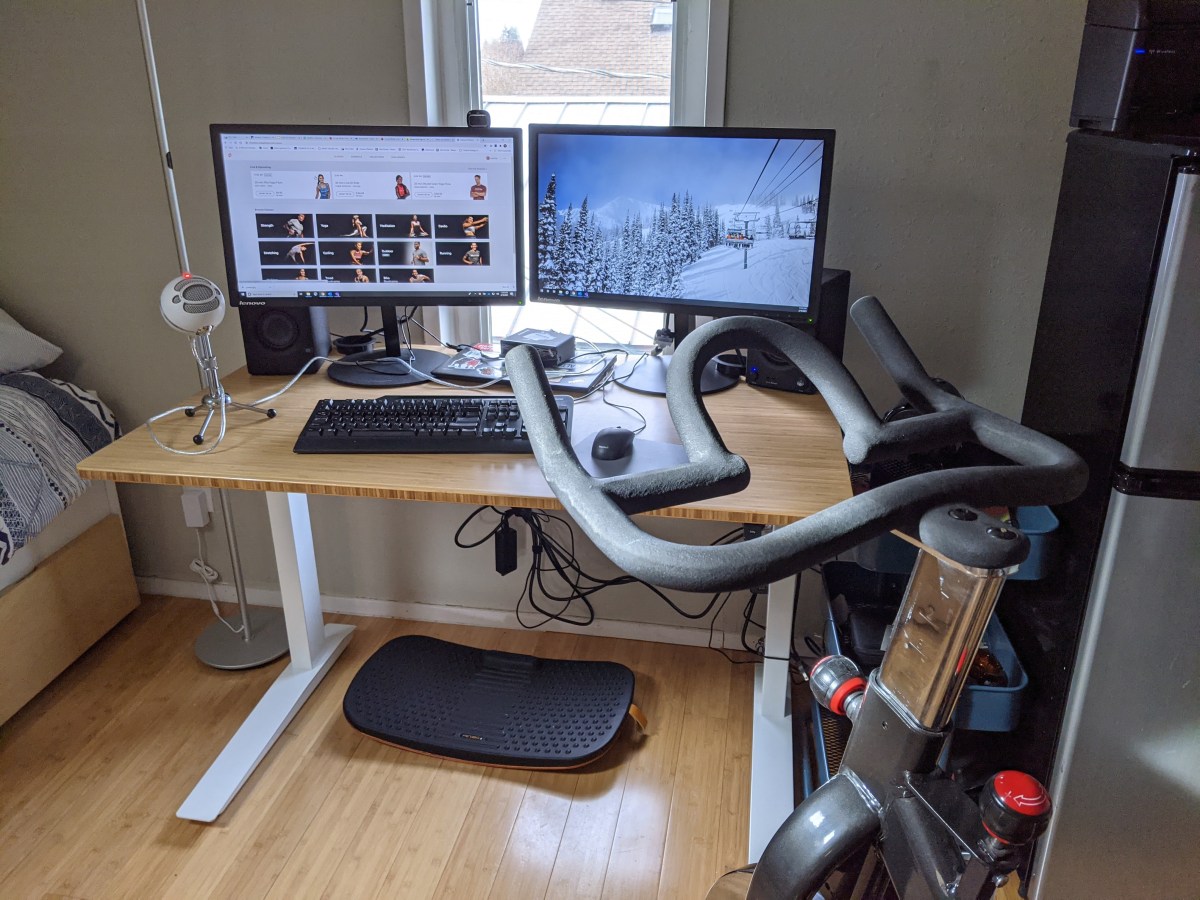
If your bike setup doesn’t include a built-in screen, you’ll need a device (laptop, smartphone, tablet, Apple TV, etc.) to run your app. Then decide how you’ll prop up that device. It can be a jerry-rigged stack of boxes, installing a simple phone mount, or something specifically designed for the purpose (like this trainer desk or tablet stand). Most apps require an internet connection.
Level up with accessories
Given that indoor cycling is a stellar workout, there’s no question you’re going to sweat (a lot) and get thirsty. A water bottle, fan and sweat towel are all non-negotiables.
There are other extras that, while not must-haves, will take your indoor cycling experience to the next level. A clipless shoe/pedal combination allows your foot to become an extension of the bike, making you more powerful and efficient. A heart rate monitor is key for tracking intensity (learn more on how to choose the best monitor for you). Also consider a floor mat to dampen noise and keep the sweat off your floor, and a speaker or headphones for a better audio experience. And if your seat feels uncomfortable even after a few rides, consider upgrading your saddle (or buying a solid pair of padded bike shorts).


