Waterfalls are among the most photographed natural features on earth. But anyone who has ever taken a smartphone photo of one knows they can be tricky subjects. Here’s how to create magical waterfall photos by shooting manually.
Freeze-framed water is harsh and uninviting, and it’s exactly what you’ll get when you shoot a waterfall using your camera’s automatic setting. The following tips ensure you get motion blur on every shot and are capturing photos like a pro in no time.
Invest in the Right Gear for You
It’s no secret that perfecting a craft takes a lot of practice and a lot of gear. Photography is no exception. To get started, you’ll need the following items: a camera with manual settings, a tripod, and if you want to get fancy, a neutral density filter.
Think about what you want to spend the majority of your time photographing. Is it landscapes? You might want a wide-angle lens. Portraits? Maybe you need a lens with a shallower depth of field. Have a thing for waterfalls? A quality tripod will work better than a jerry-rigged backpack.

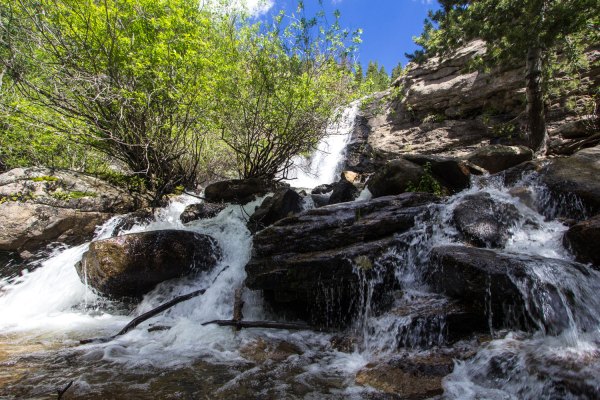
Automatic settings on my DSLR camera. ISO 100, f/7.1, 1/125 sec.
Get Creative While Framing your Shot
Because waterfalls are so popular, there’s a chance the easy angle has already been captured a thousand times. Take a moment to think about the photo in a fresh way. Notice changing elements like foliage, and of course, light conditions. Hanging a hammock between two trees creates an automatic frame, and soft morning or evening light will always improve your shot. Just be careful to respect out-of-bounds areas, and never pitch a tent where camping isn’t allowed. Trampling the viewpoint ruins the view.

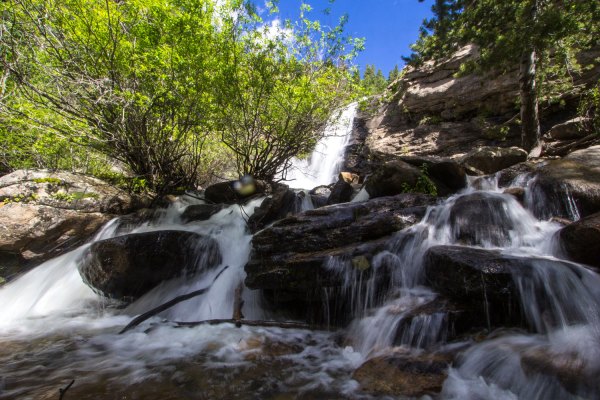
Shooting manually provides control of shutter speed. Just watch out for water on your lens! ISO 100, f/22, 1/15 sec.
Learn to Shoot Manually
Once you have your angle picked out and your tripod set, you’re ready to shoot. The goal with waterfalls is to capture motion blur, and your automatic setting won’t help. Flip over to manual (M) and slow your shutter speed to something at least a second long. You’ll notice that the meter warns you of an overexposed image, but don’t worry, you’re about to compensate. Because you’re shooting a landscape with a deep depth of field, you can close down your aperture (f) as much as possible (the higher the number, the less light reaches the sensor). Next, lower your ISO so that the image quality is as high as possible. Take a photo, and depending on the results, adjust and play as necessary.

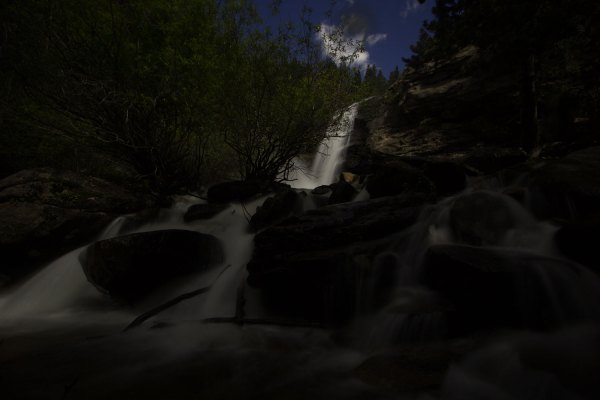
The neutral density filter will throw off your exposure meter, so you have to play with the settings. I shot with a NDx400 filter. ISO 100, f/6.3, .8 sec.
Make Real Waterfall Magic
These are all good tips, but they’re nothing new to anyone who knows their way around a DSLR. Fortunately, the pros have one more trick up their sleeves. Buy a neutral density filter. This is essentially like putting sunglasses on your camera, allowing you to slow down the shutter speed without overexposing your shot. Keep in mind that as soon as you put the ND filter on your lens, your meter settings go out the window. So will your focus. Switch to manual focus and set it at infinity (the little thing on your lens that looks like a sideways “8”) to ensure a crisp shot. Play around with the shutter speed and aperture, allowing you to nail down the perfect image with whatever amount of motion blur your heart desires.

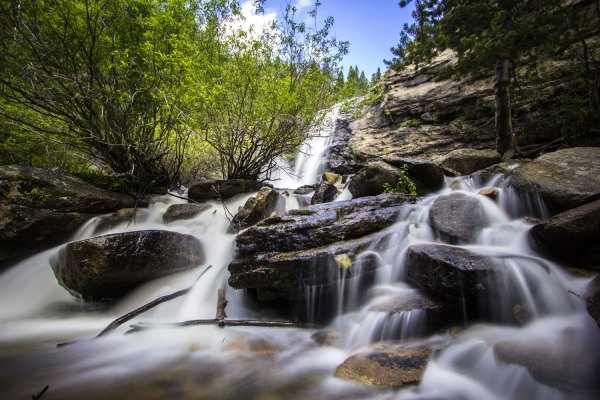
Opening up the shutter speed despite the meter allows you to capture maximum motion blur. ISO 100, f 3.5, 5 seconds.
For more information on getting into photography, read Ian Coble’s “Photography Tips: Getting Started.”
