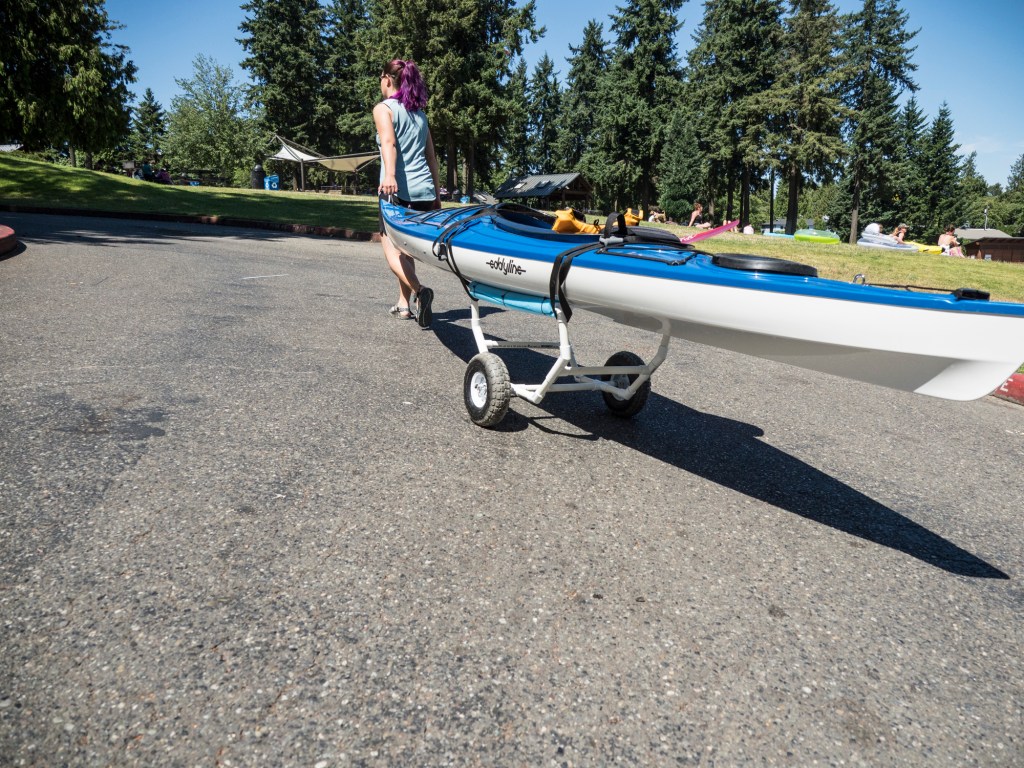
Kayaking is one of the best ways to get outside, but it can get expensive when you add up the boat and all the required accessories. Kayak carts make hauling boats out to the water easy, especially if you’re going solo, but they can be pricey. Save some cash and have a little fun by building your own kayak cart for around $40.
This cart was designed for a recreational kayak, but with a few measurement tweaks you can fit it to the dimensions of your boat.
Tools:
- Hacksaw
- Optional: PVC cutter and cut-off wheel
Materials:
- One 10′ length and one 2′ length 3/4″ diameter SCH40 (thicker walled PVC)
- PVC joints
- Four 90s
- Eight 45s
- Four T’s
- Four crosses
- Two 6″ hand truck wheels from a discount hardware store (we found inflatable ones)
- Two 5/8th cut washers
- Two 5/8th locking split washers
- Four 5/8th nuts
- Two 3/4″-to-1/2″ PVC bushings
- PVC all-purpose cement
- 36″ 5/8th threaded rod
- Pool noodle
- Six zip ties
- Two tie-down straps
Directions:
Step 1: Measure your boat.
Measure your boat underneath the cockpit (likely 16-24″). Our kayak was 16″. This size cart fits many recreational kayaks as well as paddle boards and even some coolers.
Step 2: Cut PVC pieces.
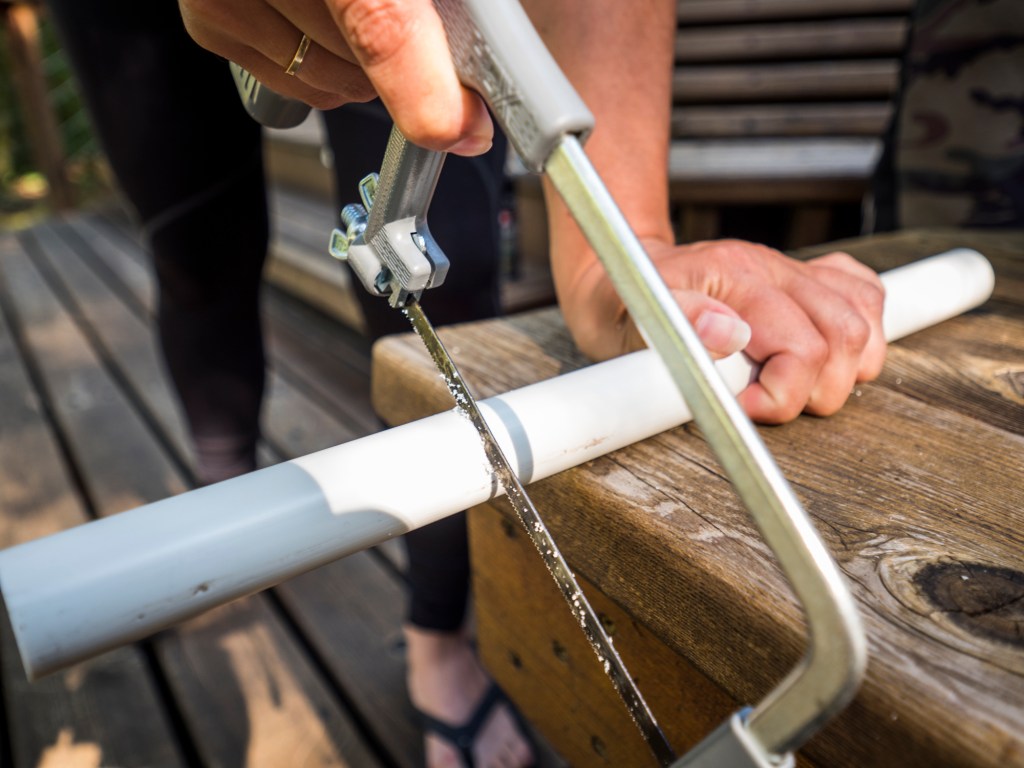
You know what they say: Measure twice, cut once. Using the two lengths of 3/4″ PVC, cut the following pieces with a hacksaw or a PVC cutter:
- Three 14″ pieces (cross bars)
- Two 23″ pieces (top bars)
- Eight 5″ pieces
- Four 2″ pieces
Step 3: Lay out your pieces.
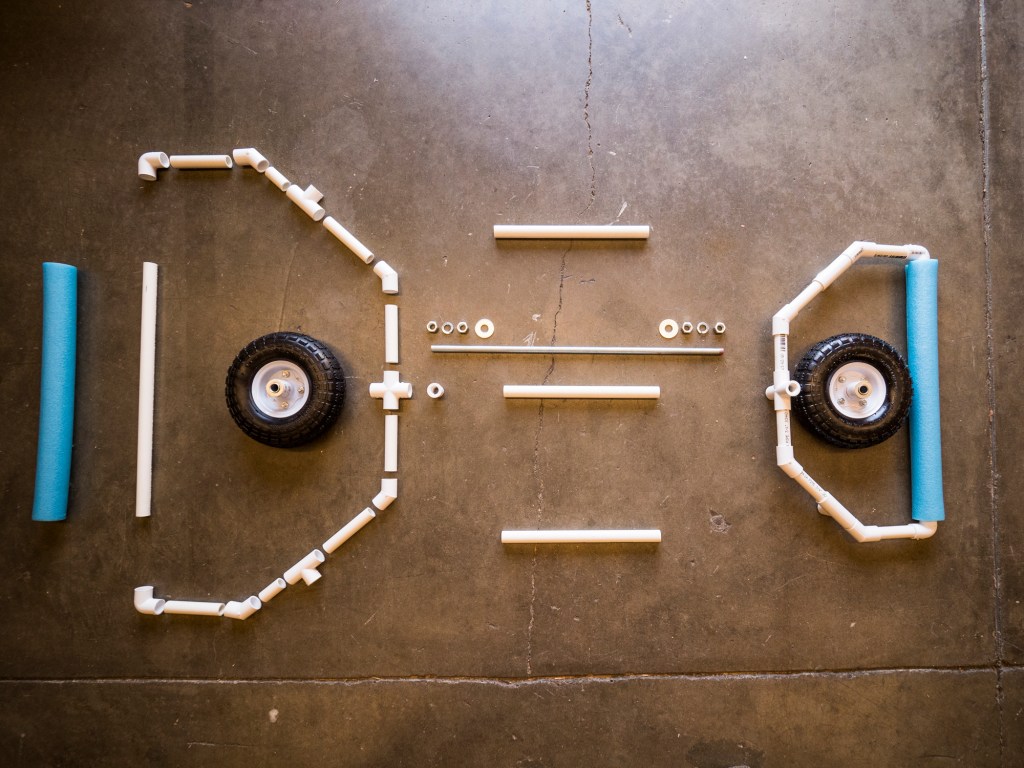
Using the image below as a guide, lay out the lengths of PVC to create the two sides of the cart. Make sure to keep the T joints facing the same direction. Clockwise from the 23” top bar, lay out the pieces as follows: 90 joint, 4″ length, 45 joint, 2″ length, T joint, 4″ length, 45 joint, 4″ length, cross joint, 4″ length, 45 joint, 4″ length, T joint, 2″ length, 45 joint, 4″ length, 90 joint.
Step 4: Time for glue.
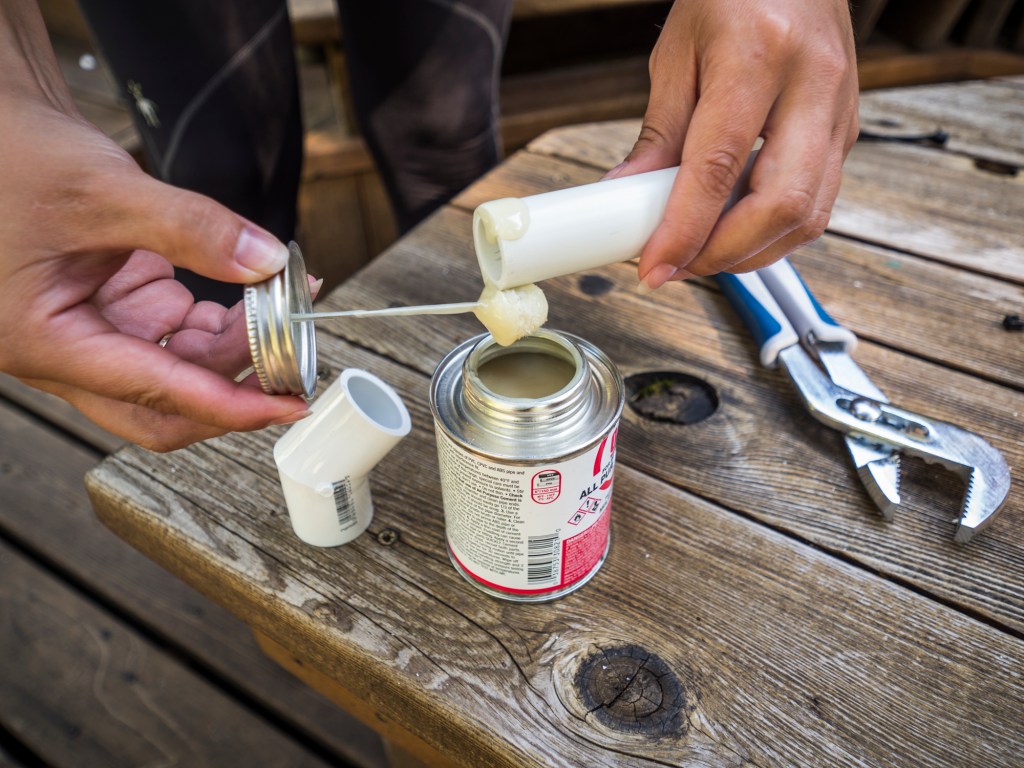
Working a piece at a time, apply cement to the outside ends of all straight PVC pieces and insert firmly into joints. The cement sets quickly, so have your joint piece ready. Make sure your connections stay straight as they dry.
Step 5: Join the two cart sides.
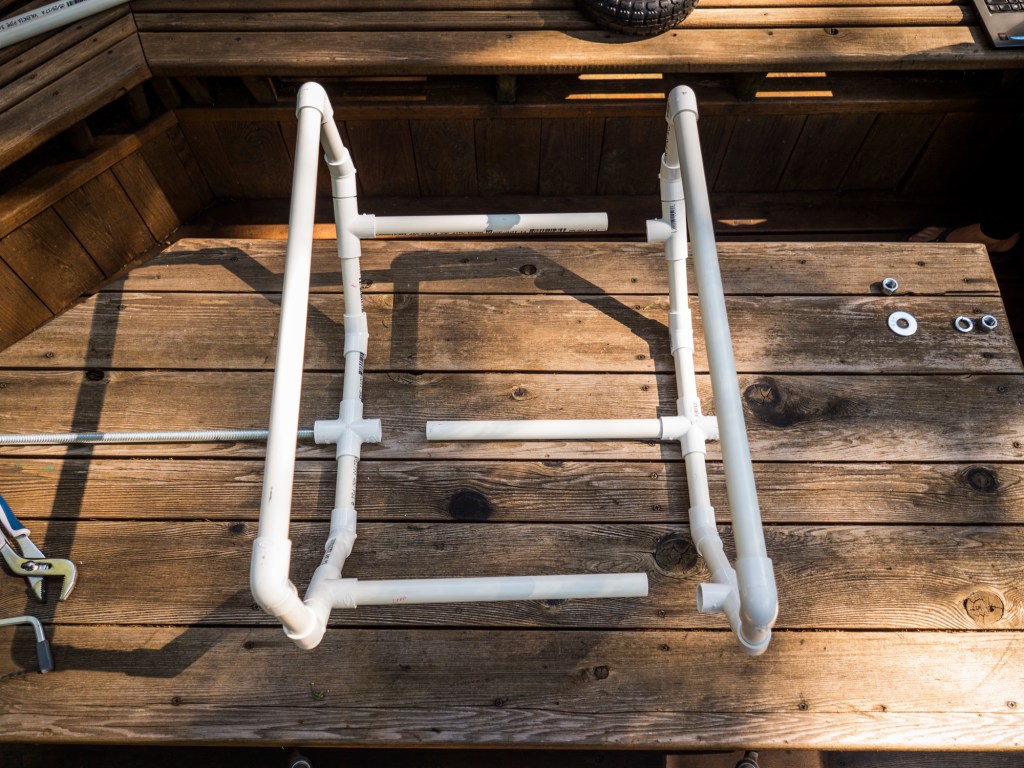
Apply cement to one end of the three 14″ PVC crossbar pieces and insert into the two T joints and the cross joint of one cart side. Repeat on the other side to join the two sides together. Insert the PVC bushings into the outside openings of the cross joints.
Step 6: Measure the axle.
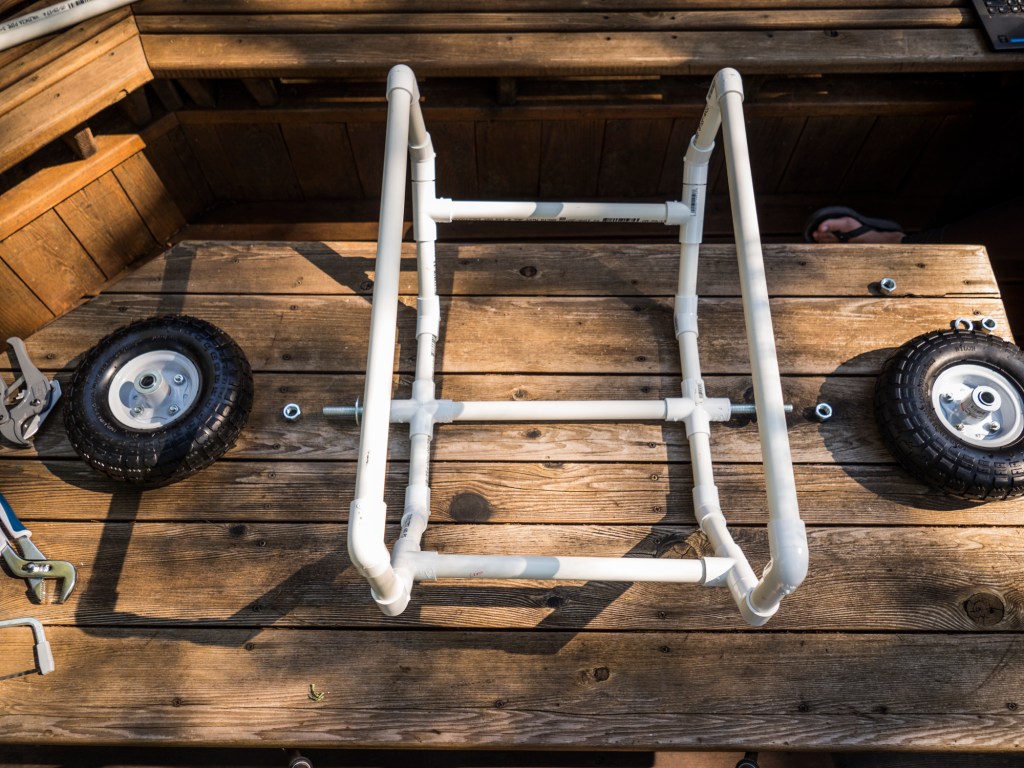
Put a cut washer, a nut, a wheel, a lock washer and a second nut on one side of the threaded rod, leaving two threads exposed on the end. Slide the axle through the cross joints and repeat on the other side, keeping the hardware snug against the cross joint on both sides. You will have extra threaded rod sticking out.
Step 7: Cut and assemble the axle.
Mark where the outside nut is on the side with extra length, then take off all the hardware and remove the axle from the cart. Using a hacksaw or a cut-off wheel, cut the axle to size at your mark. File off any sharp edges. Put hardware and wheels back on the cart in the same order as in Step 6.
Step 8: Add padding.
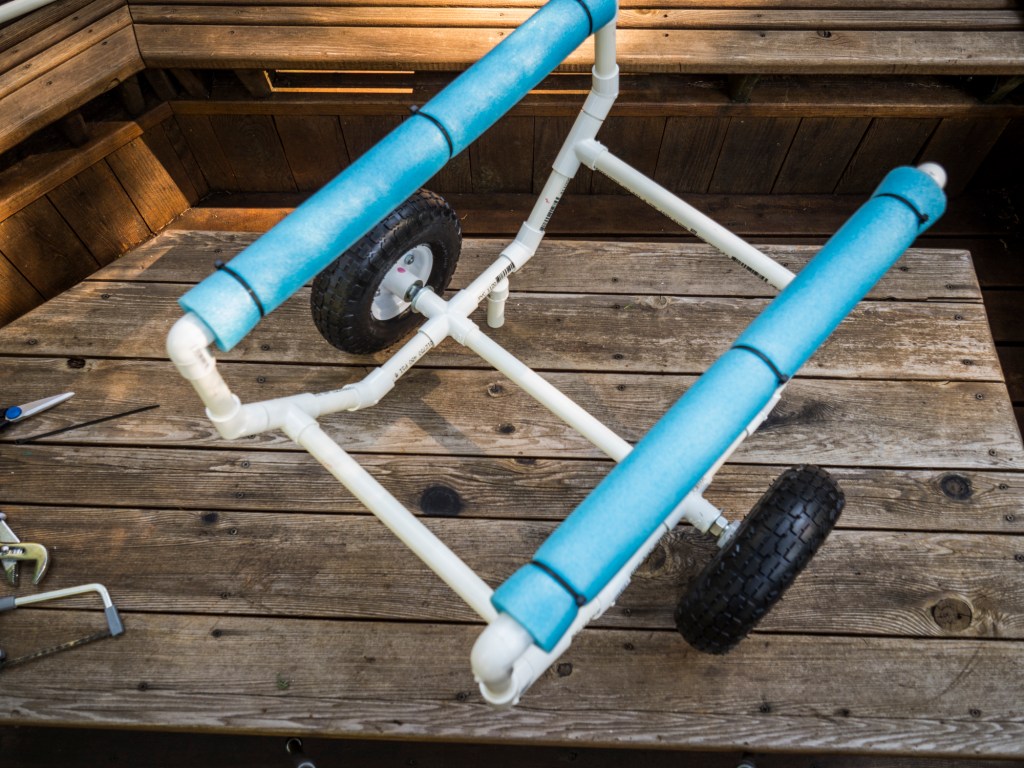
Cut two pieces of the pool noodles to fit the length of the top bars, about 22″. Cut one side open lengthwise like a hot dog bun on each length. Slide the noodles over the top bars and use three zip ties per side to secure them to the cart (this way they can be replaced when they start to get ratty). Make sure the anchor points are underneath so they don’t scratch your boat, and snip any tails that stick out.
Step 9: Go kayaking.
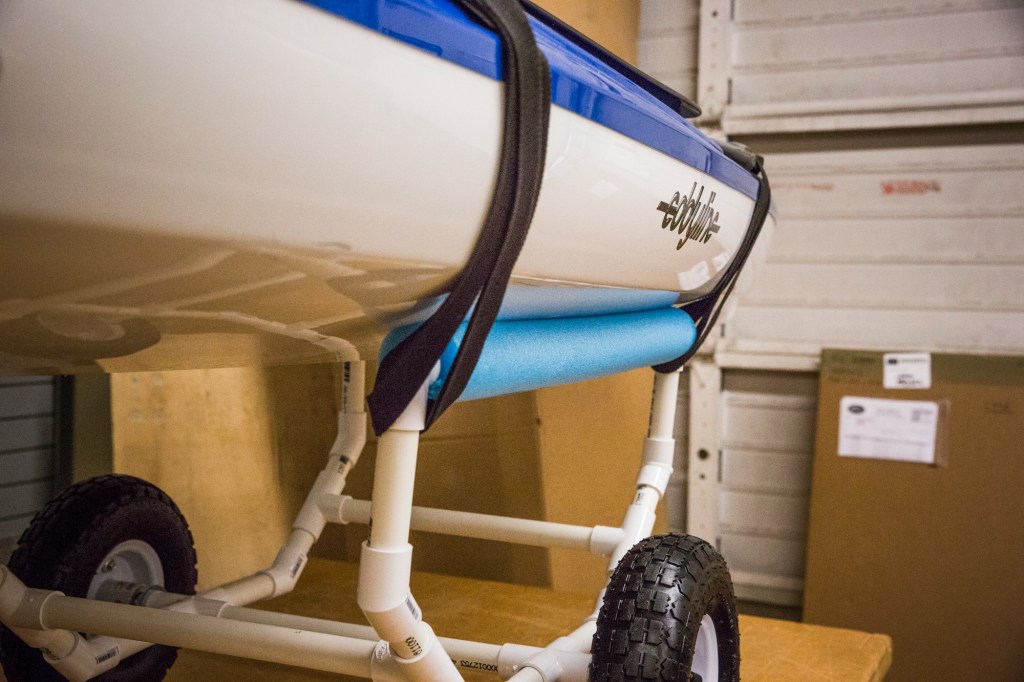
Time to enjoy the benefits of your hard work. Use tie down straps to secure your boat to the cart. Head out to your favorite water and wonder why you didn’t build a kayak cart sooner.
