A popular staple at many ski resorts, the Adirondack ski-chair makes a comfy place to perch and a pretty cool conversation piece. With some thrift shop hunting or garage rustling, old skis get new life with this great DIY project.
Download the supplies list and cut sheet and get started: DIY Adirondack Ski Chair Cut Sheet.
Tools and Materials
- One 2 x 8 8-ft. board
- Two 2 x 4 8-ft. boards
- Small box of 3-inch screws
- Small box of 1.5-inch screws
- Wood glue
- Angle Grinder with cutoff wheel
- Jigsaw with metal and wood blade
- Handsaw or chop saw
- Old skis and/or snowboards
- Safety goggles and gloves
Step 1: Make Your Cuts
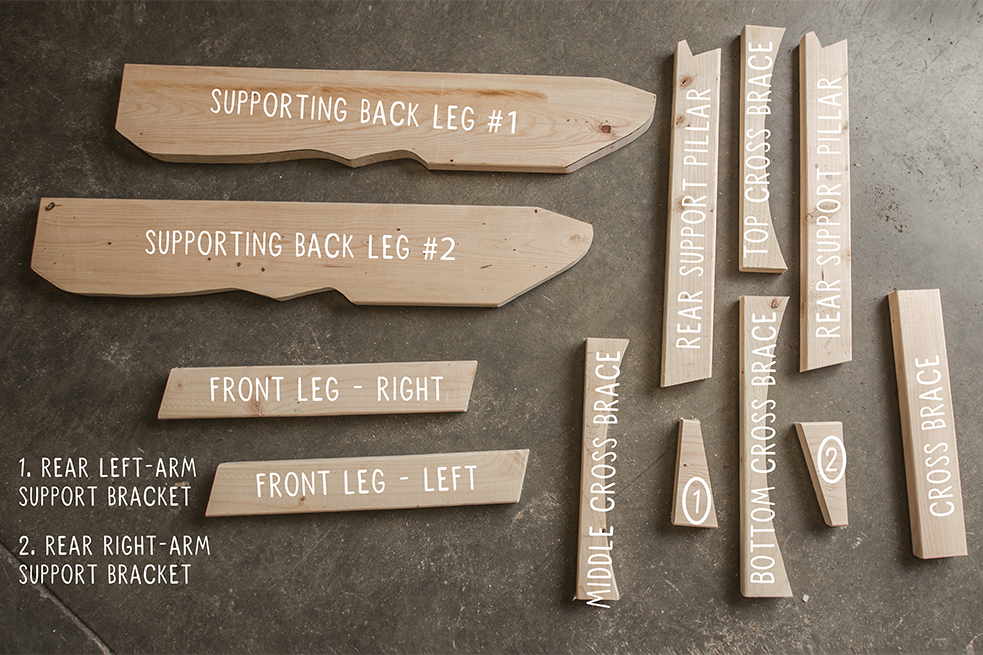
An easy way to approach this project is to use an Adirondack chair as a model. We used a pre-built chair and masked out our cuts using masking tape and construction paper. If you don’t have an Adirondack chair, no problem. Let your imagination run wild and make your own thing. The focus of the chair is in the angles; that’s what makes an Adirondack chair so comfortable. Refer to the cut sheet below for the angles we used.
Step 2: Build Your Frame
We started by attaching the wide support back legs to small front support legs. Make sure you watch the angles on the front support legs. We went with a 77-degree angle on both of our front legs at 22 inches high.

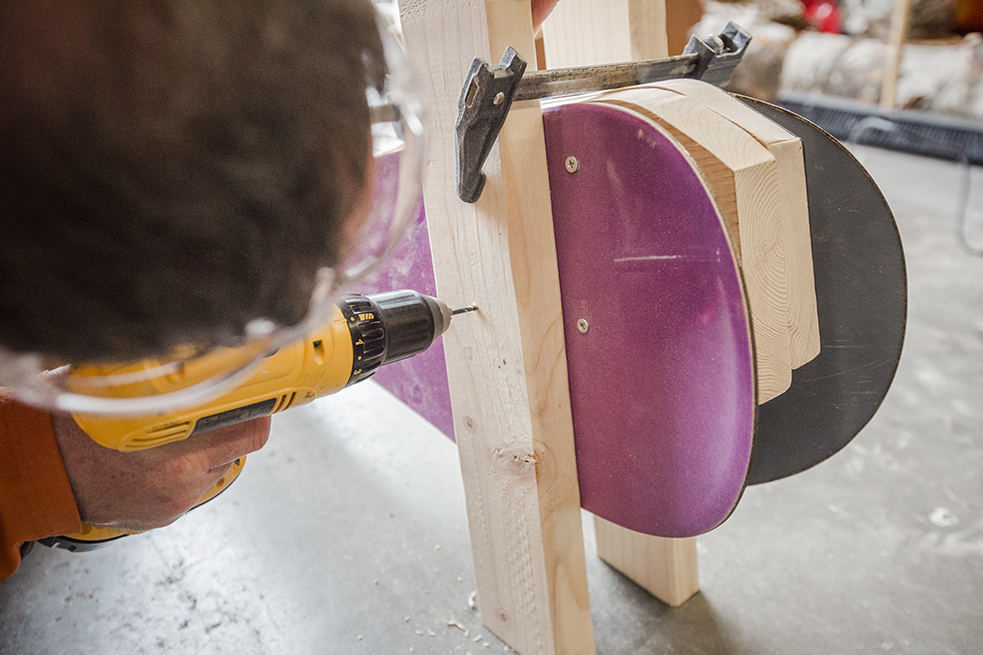
Once the front legs are set, we set the bottom brace for the back support—this created the initial shape of our frame and set the level for the legs (make sure your legs sit flush with the floor before setting your screws).
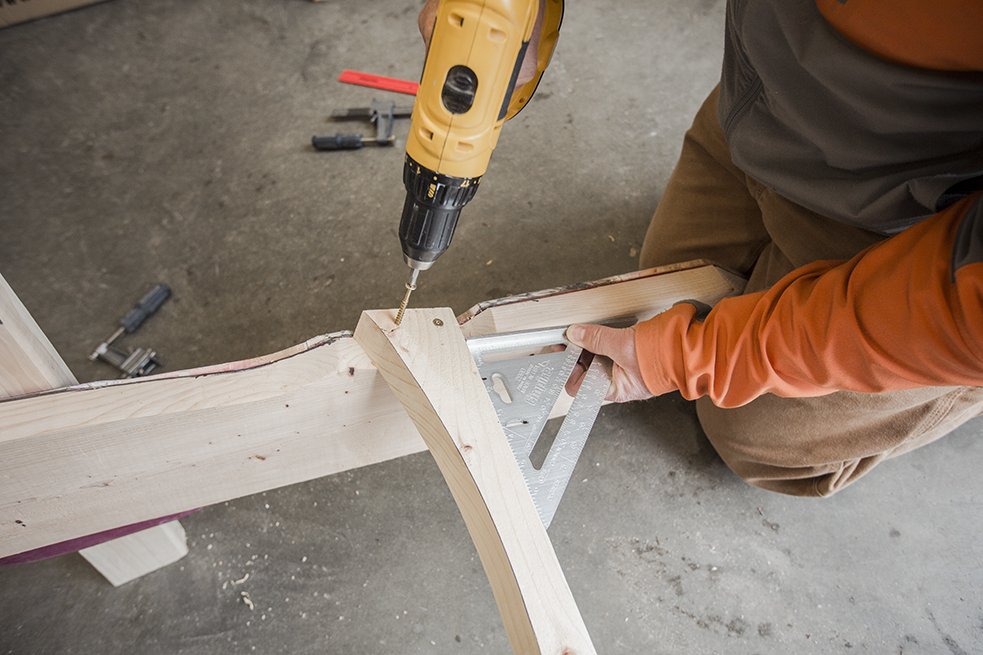
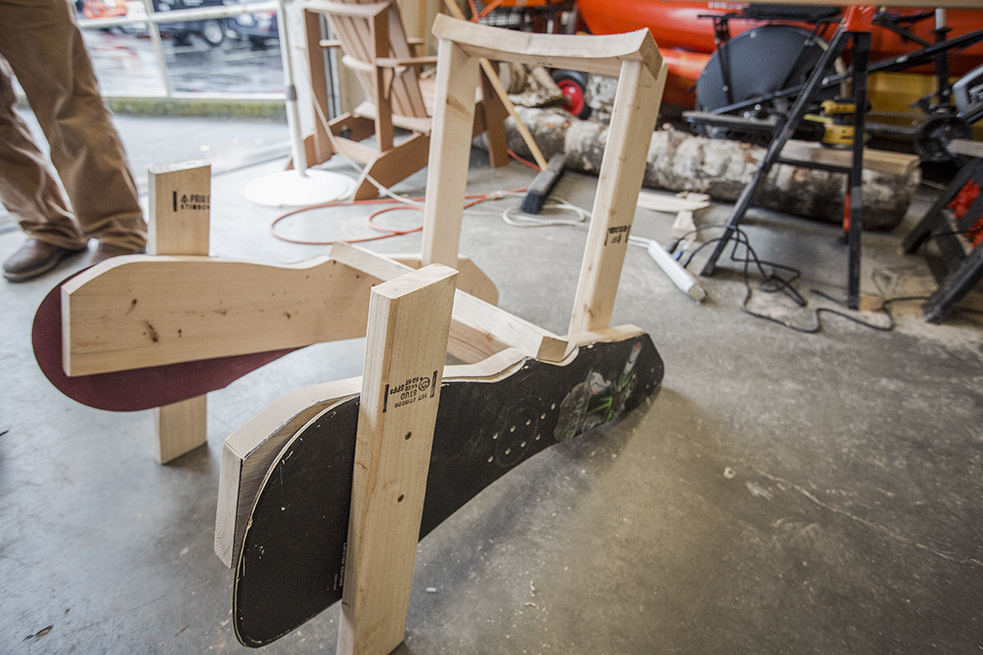
Finally, we set the upper back brace with back legs to complete our initial frame for the chair. It should be noted here that it would be wise to grab a helping hand and place your loose cuts in position before setting your screws. This elevates a lot of the guesswork when locking things into place.
Step 3: Cut Your Skis
This step is pretty straightforward. If you’ve got the design eye and want to show off your aesthetic chops, measure your ski selections for the back of the chair and varied lengths to create a small arch for the crown.
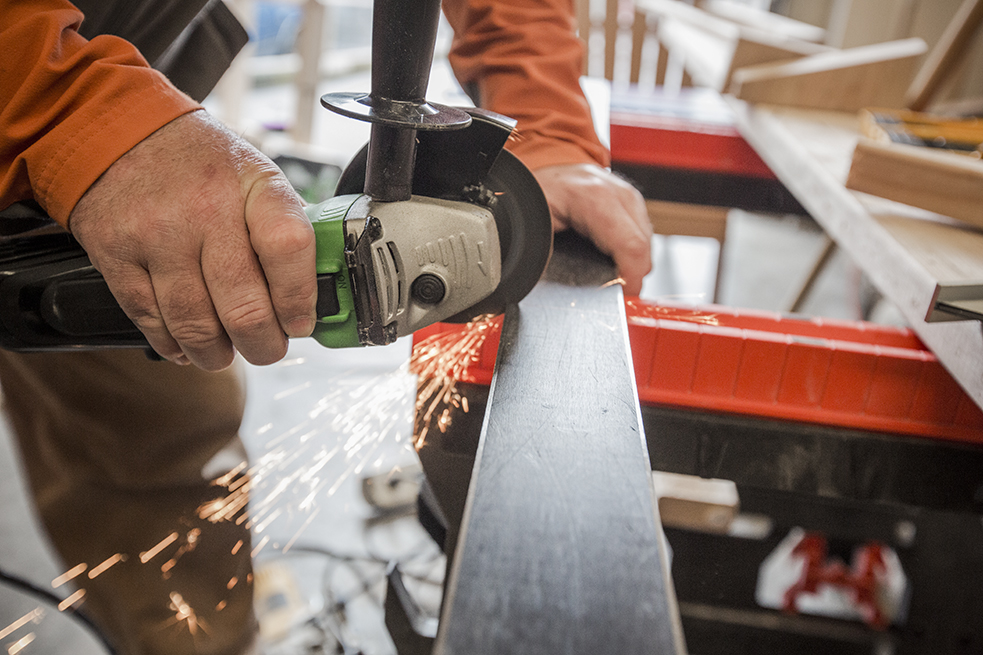
Use your angle grinder to cut through the ski edge,
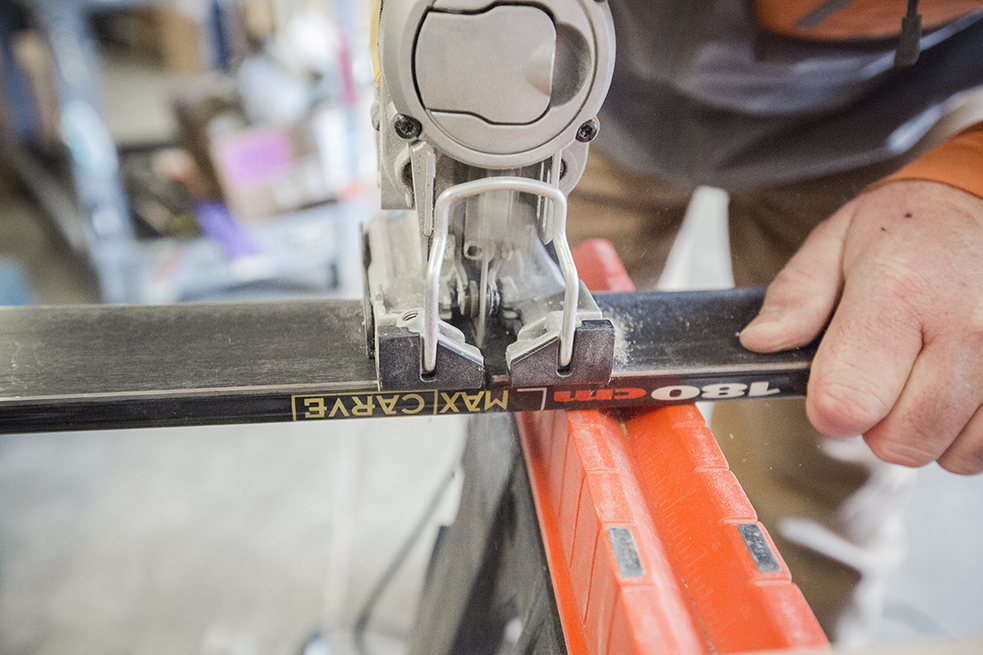
and your hacksaw or handsaw to cut through the center.
Step 4: Put It Together
We used the ski tails to construct the seat of the chair, altering cut direction based on ski shape and thickness, as your seat would be a little tilted if all the cuts were laid and set in the same direction. We started with the front of the seat and worked our way back. We’d recommend loosely setting your back support skis with one screw first, starting in the center and working your way out.
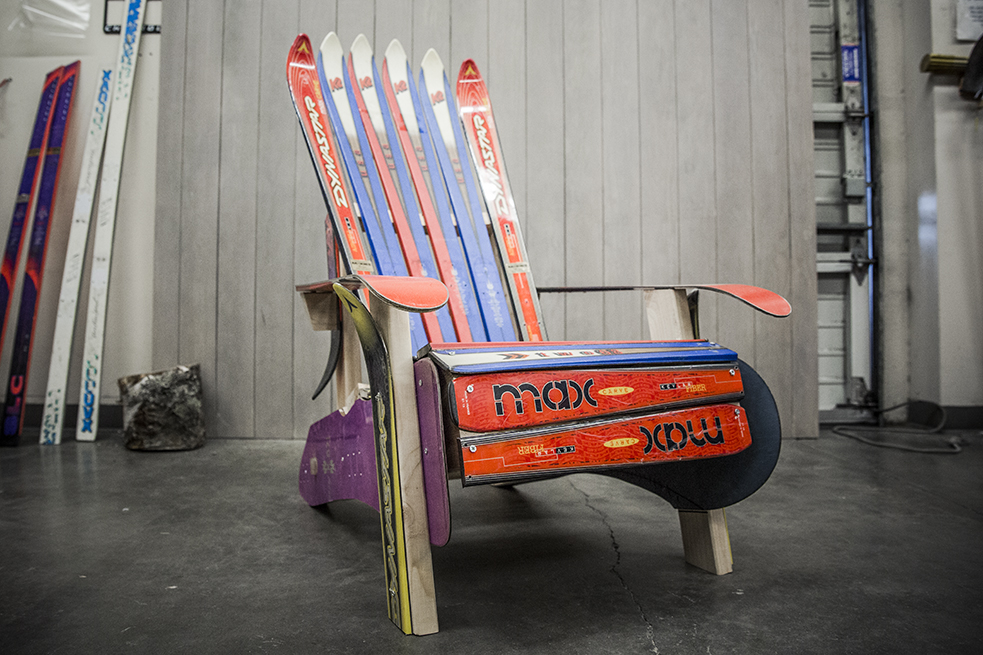
Now, sit back and relax.
Find more do-it-yourself (DIY) projects here.
