Tempting though it may be to dump your wet boots and gloves in the closet after a long day in the snow, you know you’re going to regret it when you have to stick your hands and feet back in there tomorrow, or when your gear smells of mildew next season. What you need is airflow, and you need it now.
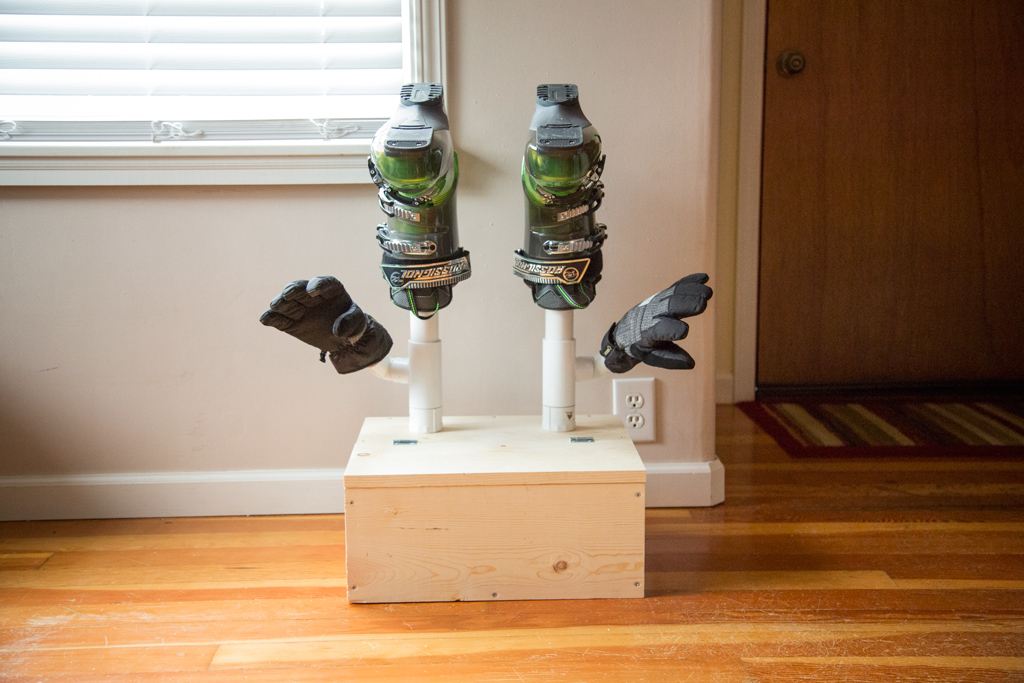
Try this handy little construction that will dry your boots and gloves fast. It’s designed to sit on a forced-air heat vent. We built ours for a 15-inch register. Measure yours first, so you know what size to cut your board to. Don’t have a forced-air heat vent? No worries. You can use a CPU fan that plugs into the wall. We’ll get to that later. First, let’s get started!
Tools and Materials
- 10 ft. 1 x 8 board
- A stick of 2 in. PVC pipe
- A stick of 1.5 in. PVC pipe
- Two 1.5 in. caps
- Two 1 in. caps
- Two T-fittings that go from 2 in to 1.5 in.
- Two 1.5 in. 90-degree elbows
- Wood glue & wood screws
- Two hinges
- Drill
- Wood saw
- 2 in. hole saw or 2 in. Forstner bit
Start with the Box
We took our 10 ft. 1 x 8 board, fired up the circular saw, and cut four 18 in. pieces, two 13 in. pieces, and a small bottom board at 16.5 in.
We built the outer portion of the box first, using wood glue and wood screws. Then we added the bottom panel. Note that this only covers half of the bottom; you want the rest of the bottom to be open because that’s where the air flows through.
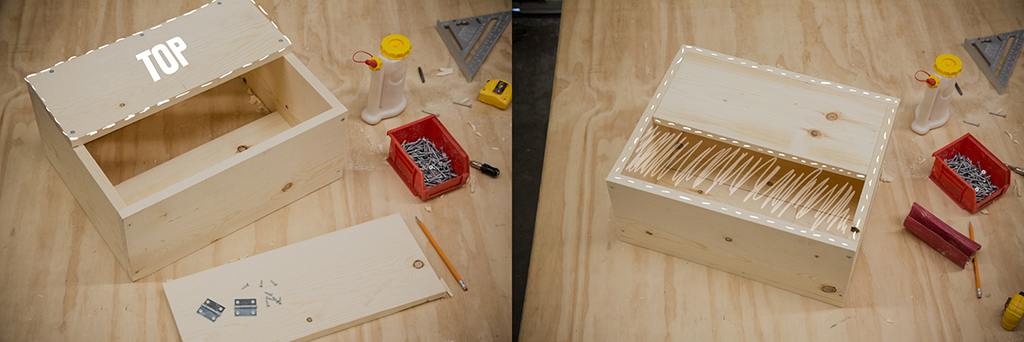
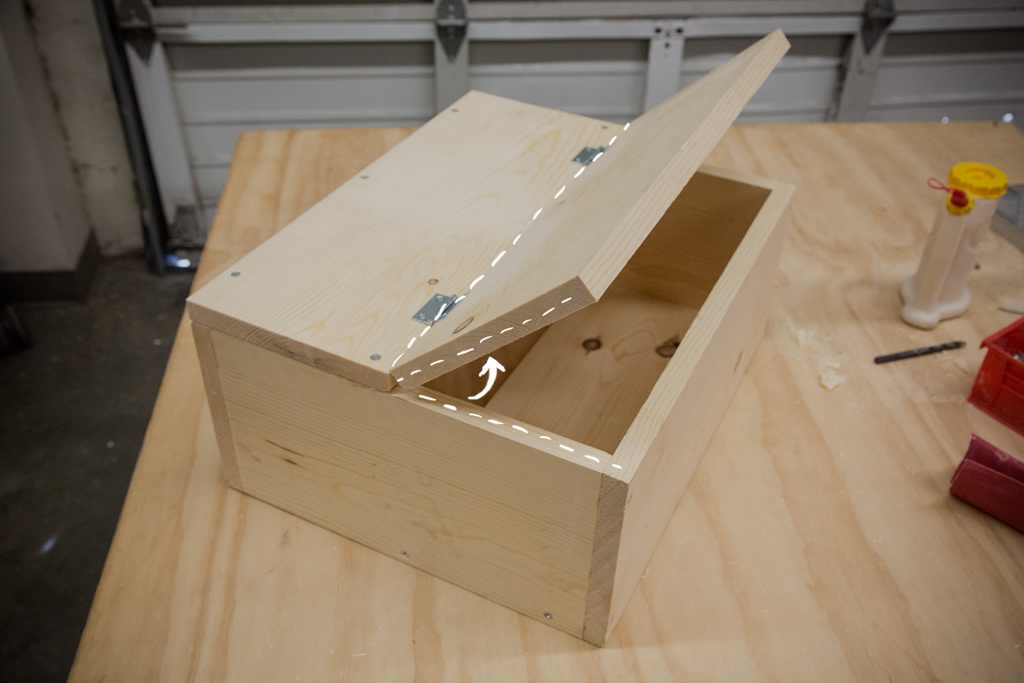
The lid is the 1 x 8 board. We attached it with hinges. This is what makes your boot dryer a box, nice and warm with airflow. You can stash things like goggles, a hat or socks in there to dry.
Make Some Noise
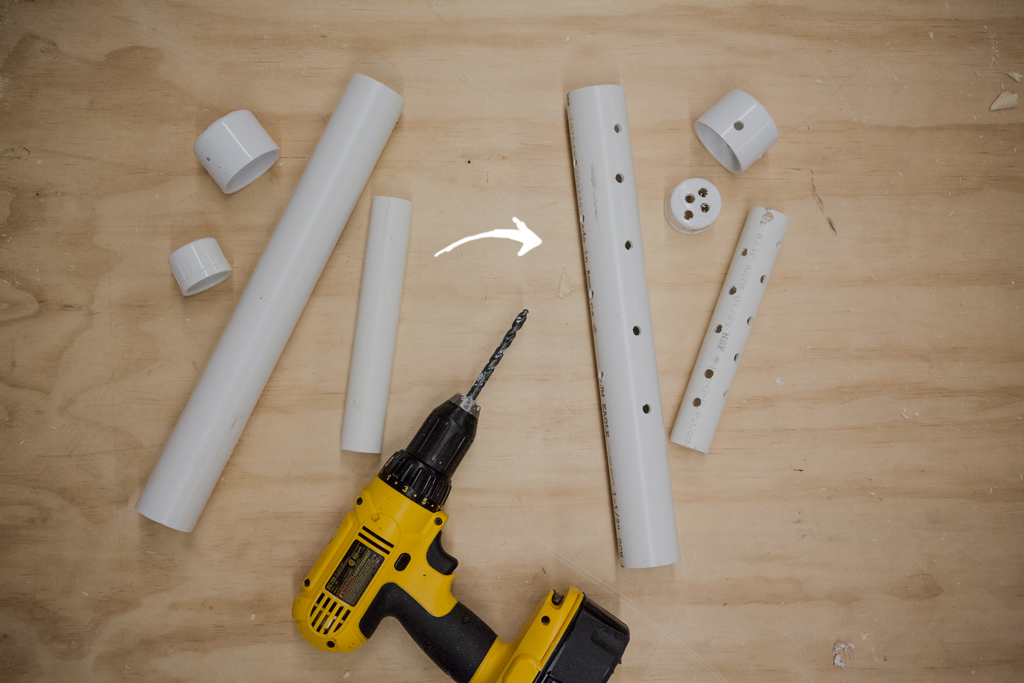
Then we cut the PVC pipes. To figure out how long to cut them, we measured the length of our boots from heel to top, and added 5 extra inches. We did the same with our gloves. We used a hacksaw to cut them, but since PVC is soft, really any saw would work.
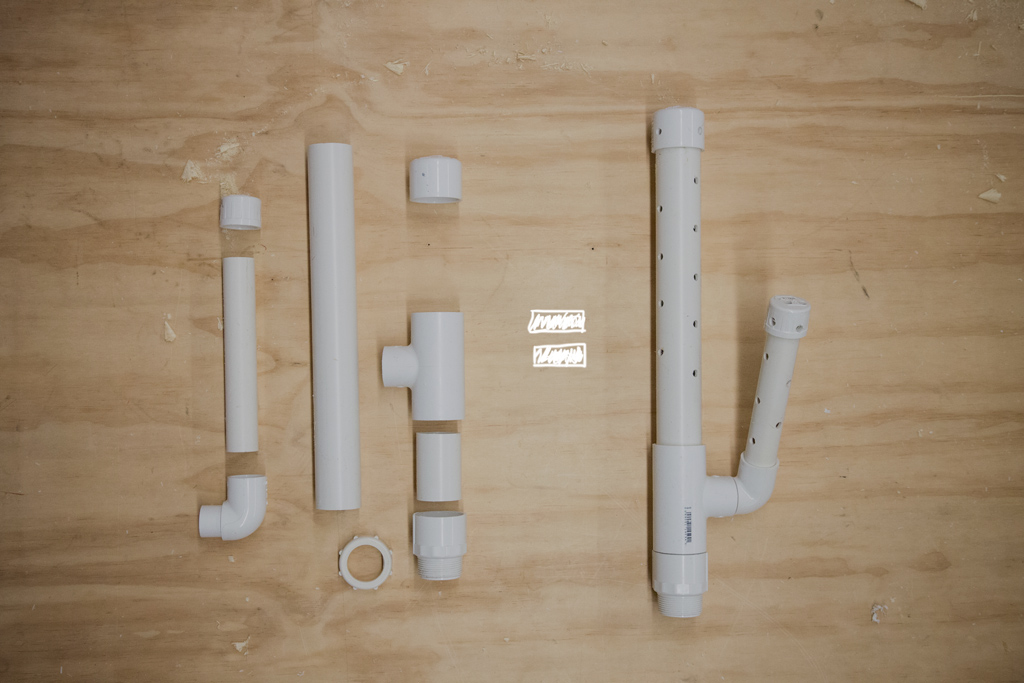
Next, we drilled the holes. We used a quarter-inch bit, and drilled every 2 inches. The holes should be offset from each other, and you want to make just enough holes to let air flow in. Also, drilling the caps will improve airflow.
Attach the Pipes
Next we drilled two 2 in. holes on top of the box for the pipes to fit in. We used a hole saw, and we centered those holes on the board.
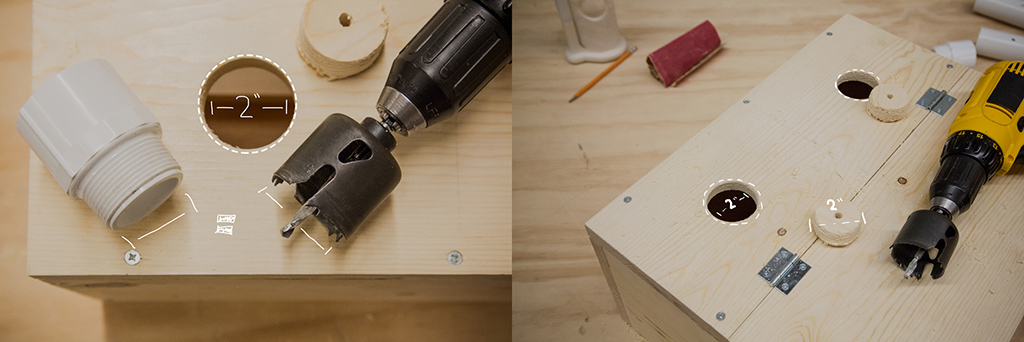
Then we assembled the PVC pipes, and dropped them into the holes. They could be a press fit or threaded fit. On the larger pipes, we used a threaded fitting that just barely gave us enough threads to attach the nut, so that required us to use a router for more clearance. But if you don’t have a router, go with a press fit. We used a press fit for the smaller pipes.

Try It Out
Now that your boot dryer box is built, set it over the heat vent.

No Vent? No Problem.
If your house or apartment doesn’t have a forced-air heat vent, you can get a CPU fan for under $20 that plugs right into the wall. It comes with mounting instructions; just cut a hole in the back side of the box to attach it.
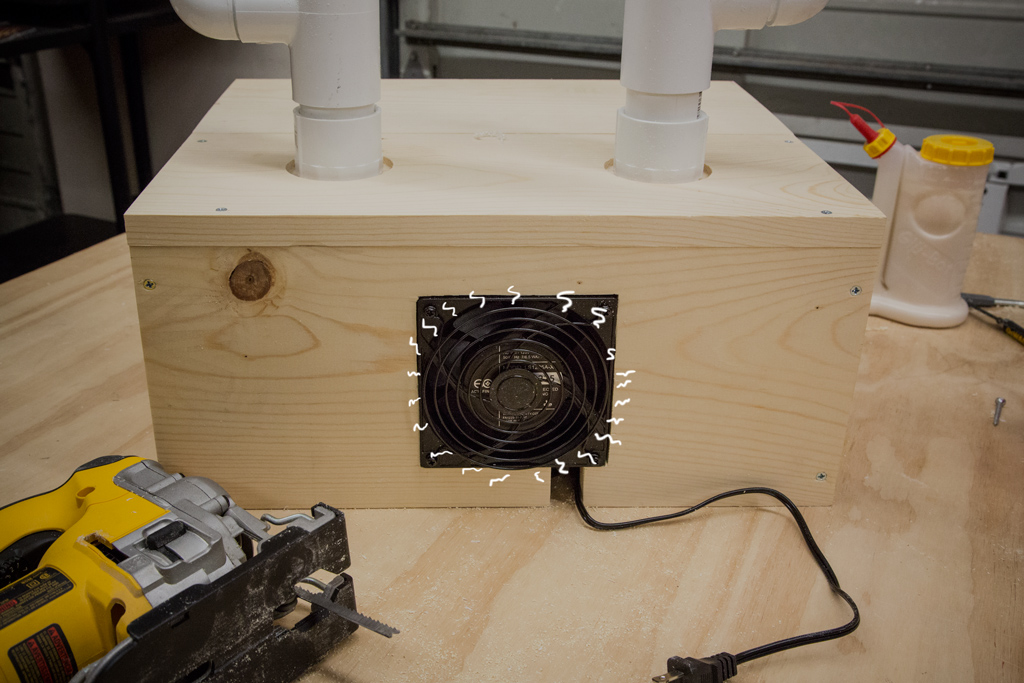
That’s how we did it, but you might approach it differently. Need to dry more than one pair of boots? Just make a longer box, and add two extra pipes. Need a few smaller pipes for little people’s gloves and boots? Just attach more pipe with more elbow joints. We’d love to know what inventions you create. Good luck!
