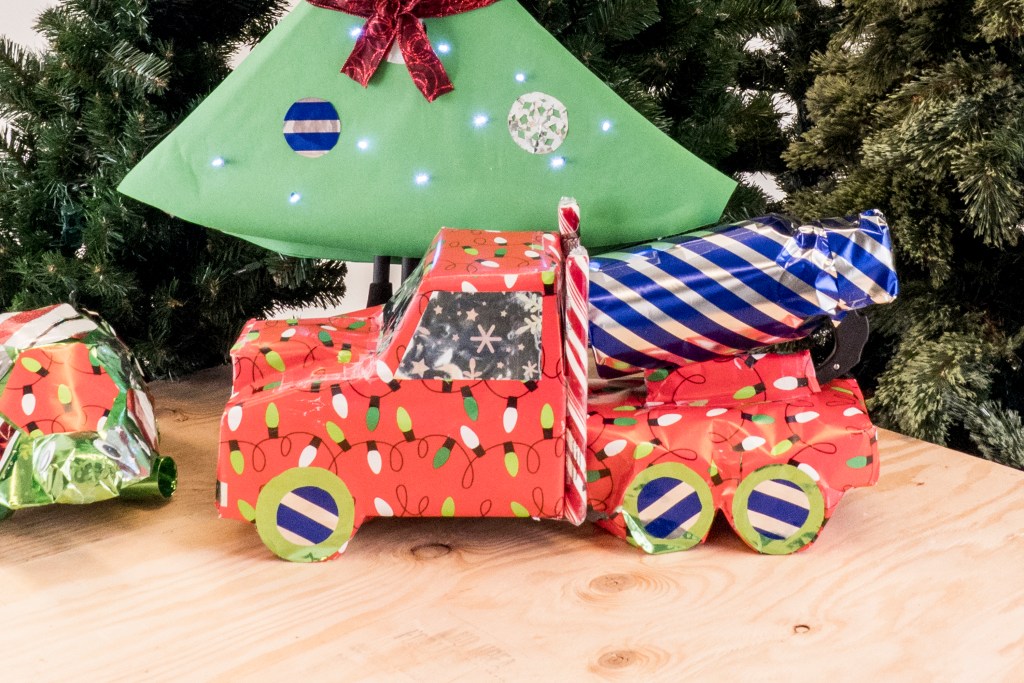
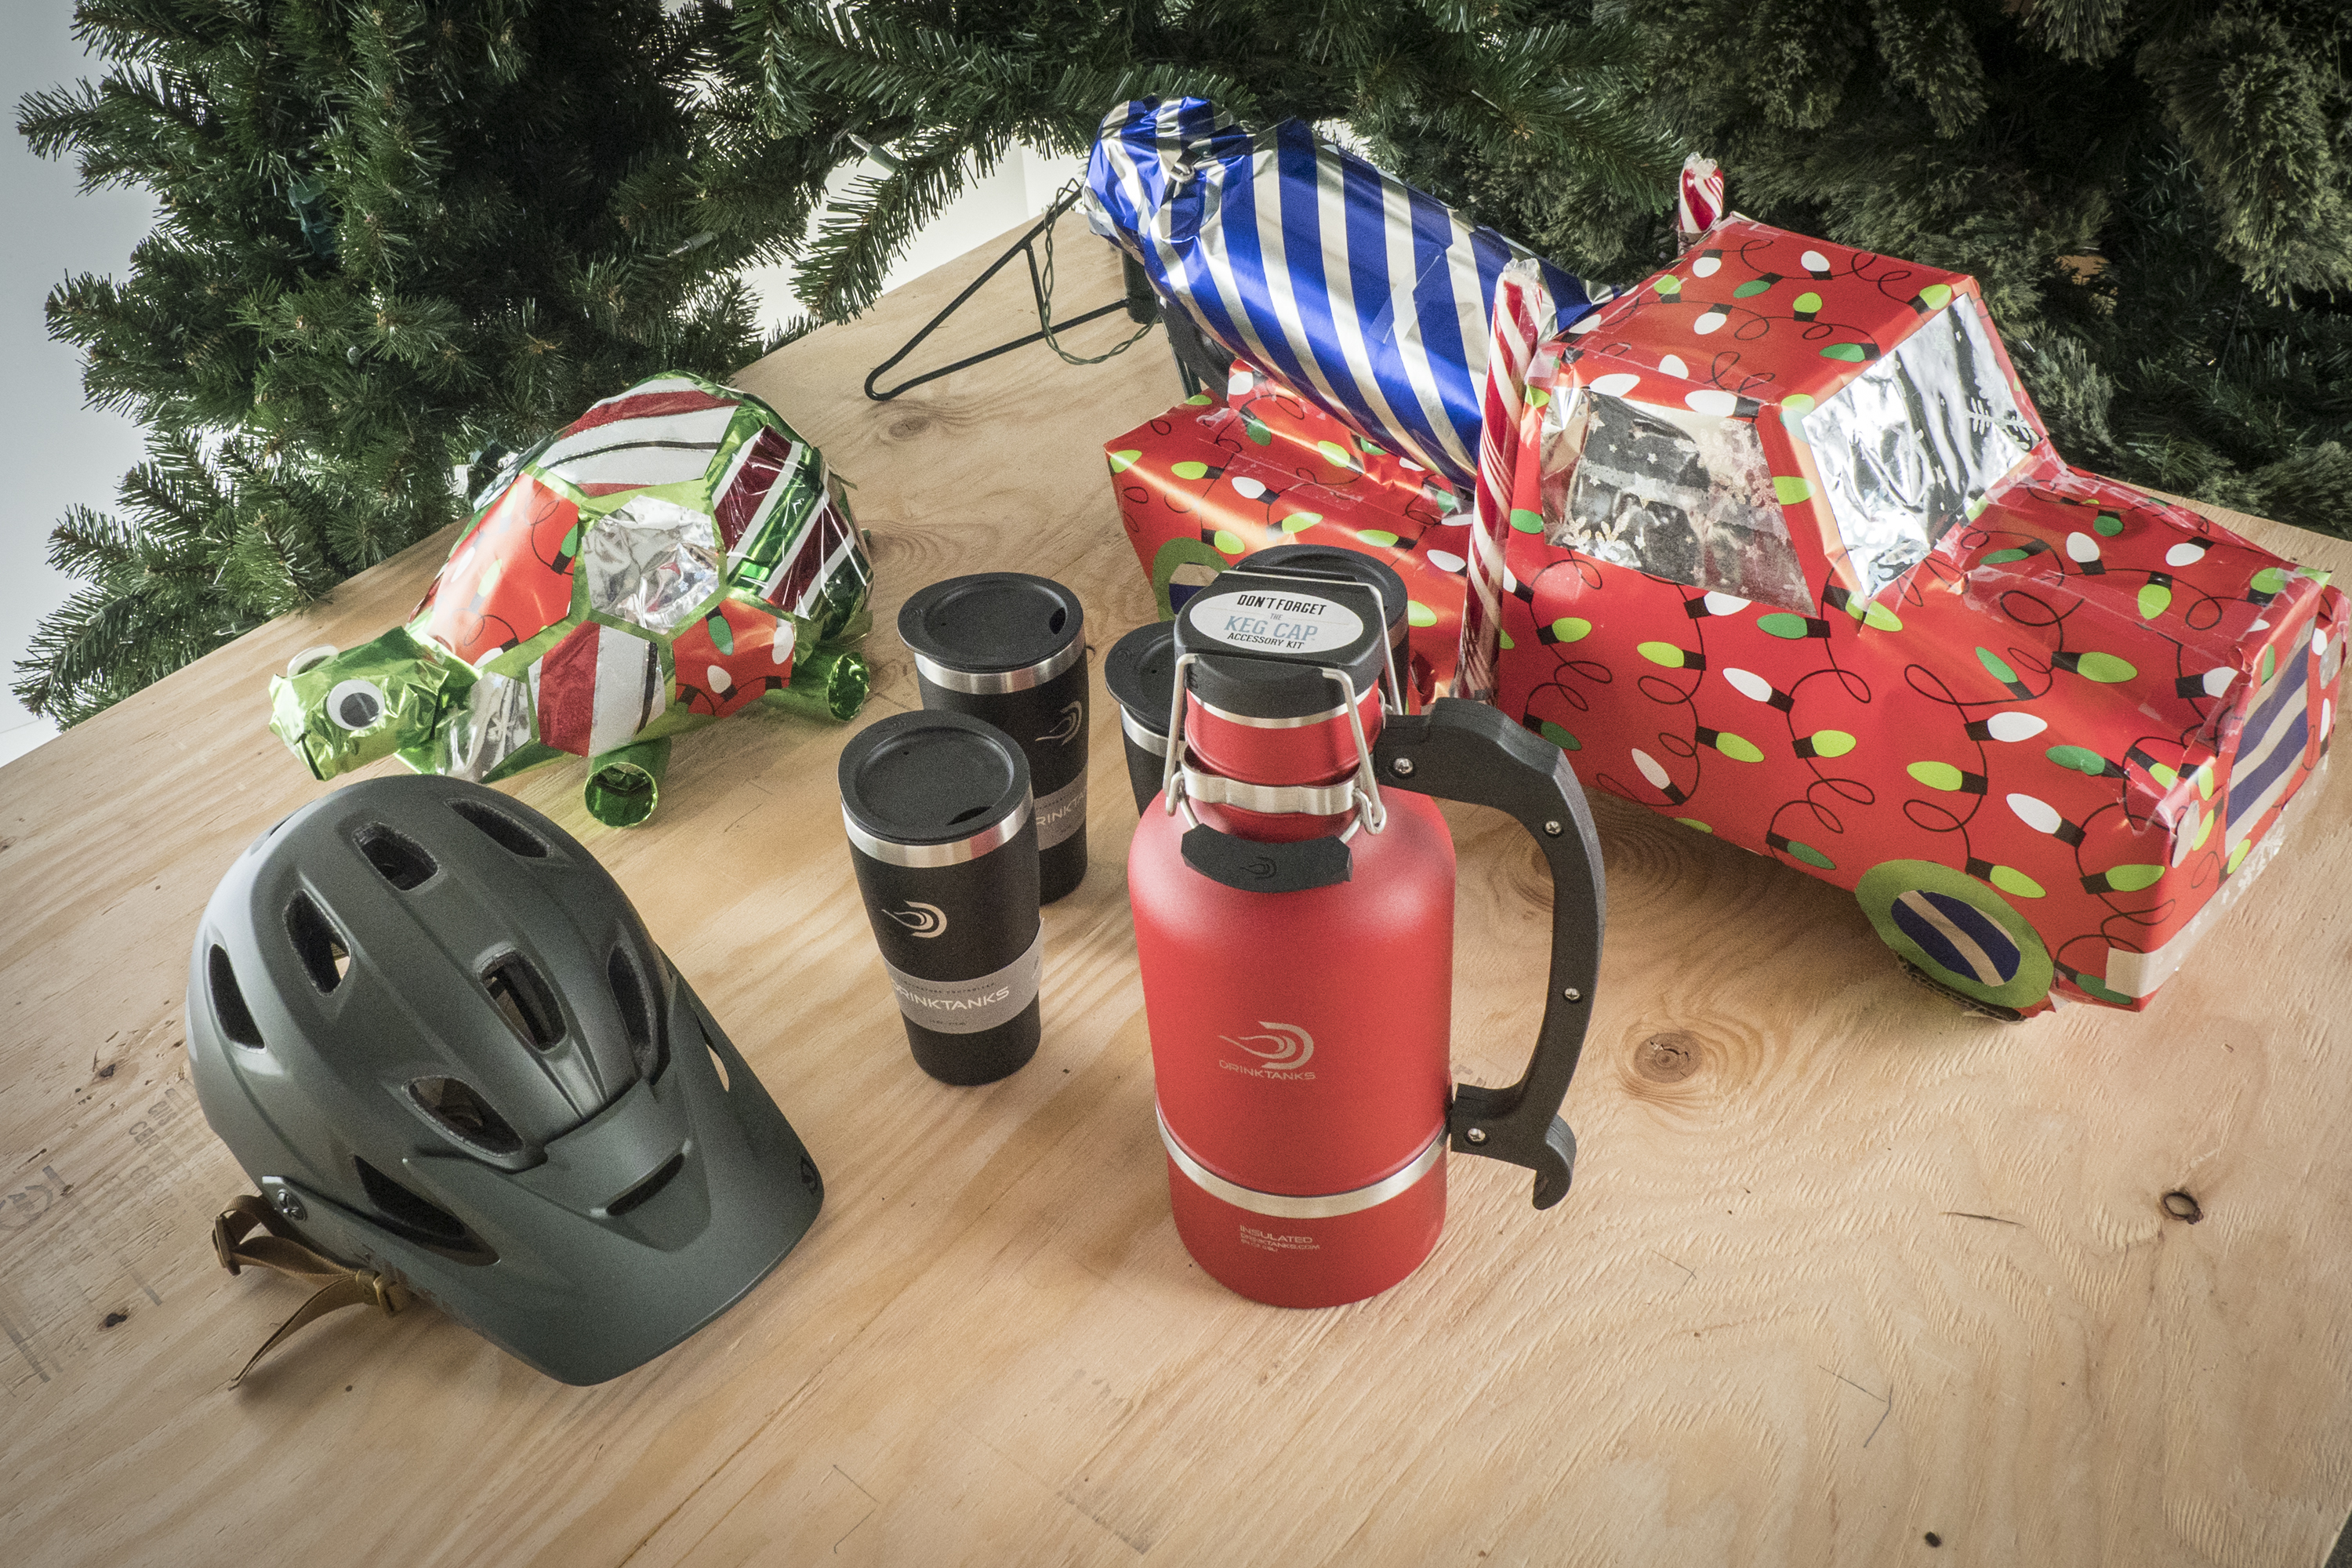
Outdoor gear makes for rad gifts, but their odd shapes also present some serious wrapping challenges (as anyone who’s ever tried to wrap a bike knows.) So, we decided to get creative with our wrapping. This year, our lucky gift recipients will receive trekking poles, a ski helmet and a vacuum-insulated growler with bonus tumbler glasses. You can adapt our designs for similar-shaped objects, or get inspired to make your own clever creations.
Trekking Pole Christmas Tree
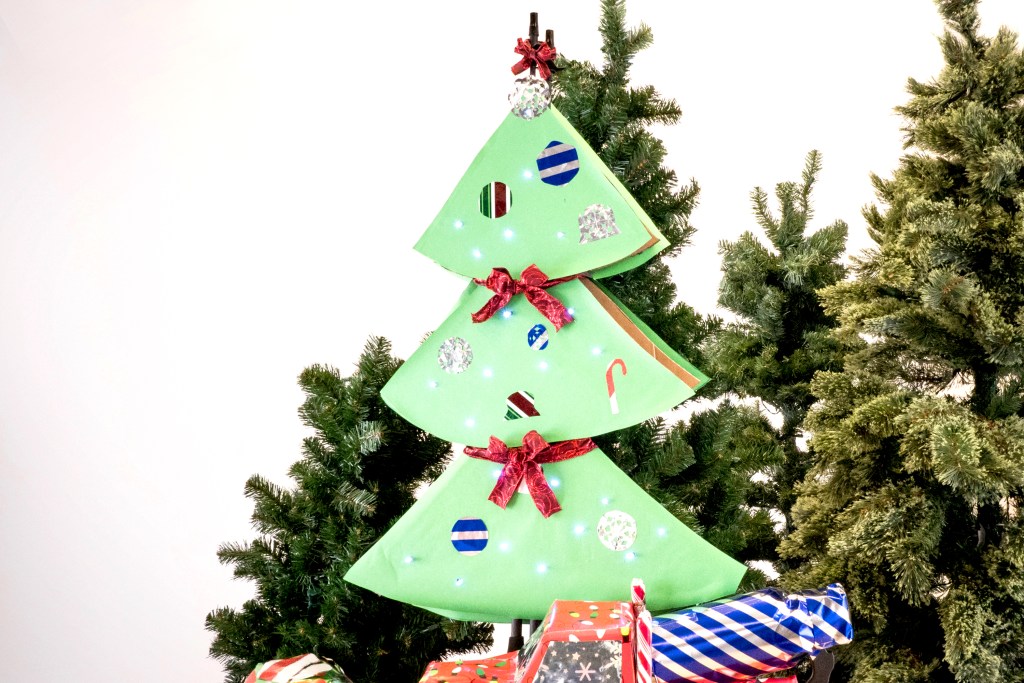
Materials:
- Trekking poles (We used the REI Co-op Flash Carbon Trekking Poles)
- Lots of recycled cardboard
- Pen
- Scissors or box cutter
- Wrapping paper in a variety of colors/patterns
- Tape
- Glue stick (optional)
- Tool for punching holes; we used a drill bit, a screwdriver would work as well (optional)
- Mini lights with battery pack (optional)
Directions:
1. Carefully remove trekking poles from any packaging and extend them to your desired length. (Save the packaging for your gift recipient.)
2. Lay the trekking poles parallel to each other on a large piece of cardboard and roughly sketch three triangles (small, medium and large) that will form the shape of a Christmas tree around the poles.
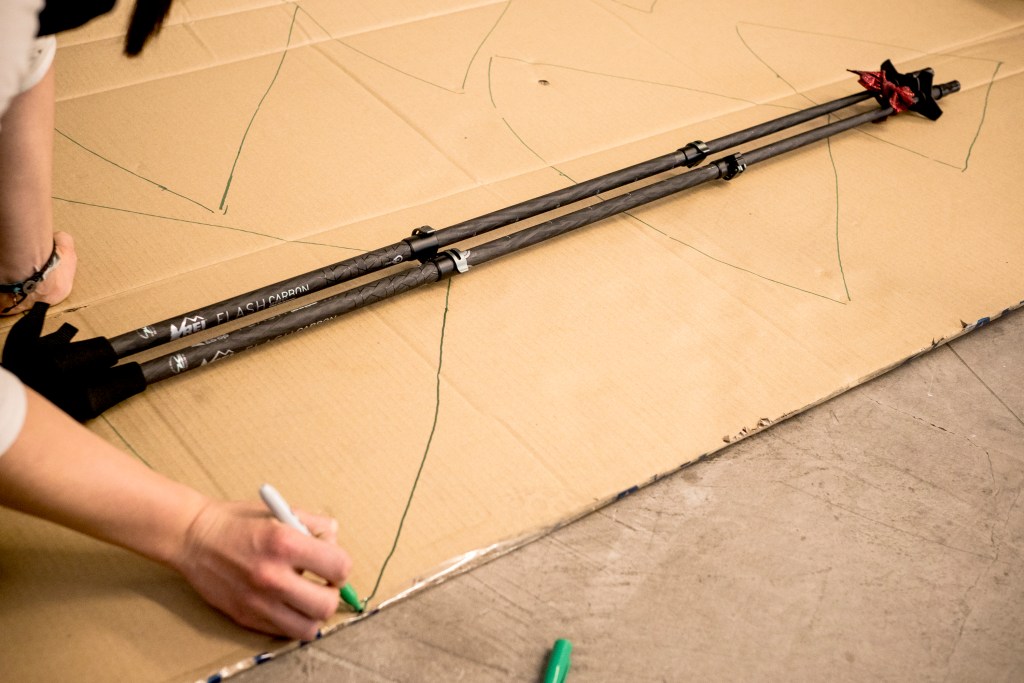
3. Cut out the triangles and use them as templates to make a second matching set from more cardboard. In total, you should have six triangles, two of each size.

4. Cover all six pieces in wrapping paper (only one side matters, visually).
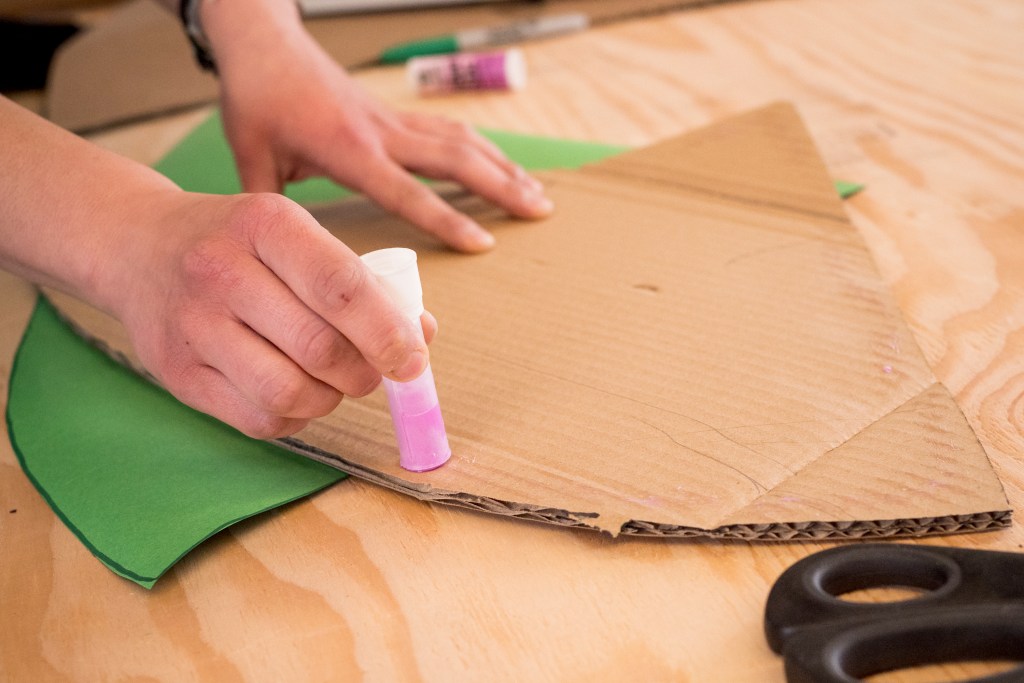
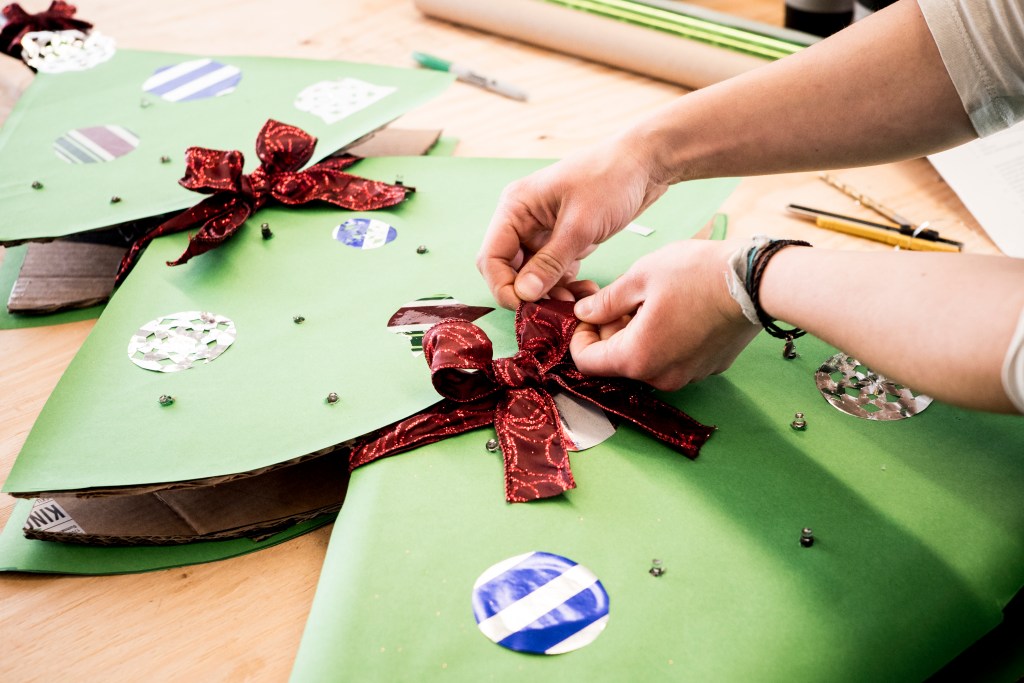
5. Tape each set of three (small, medium and large) triangles together, overlapping them to make an evergreen tree shape. Make sure the two trees match each other.
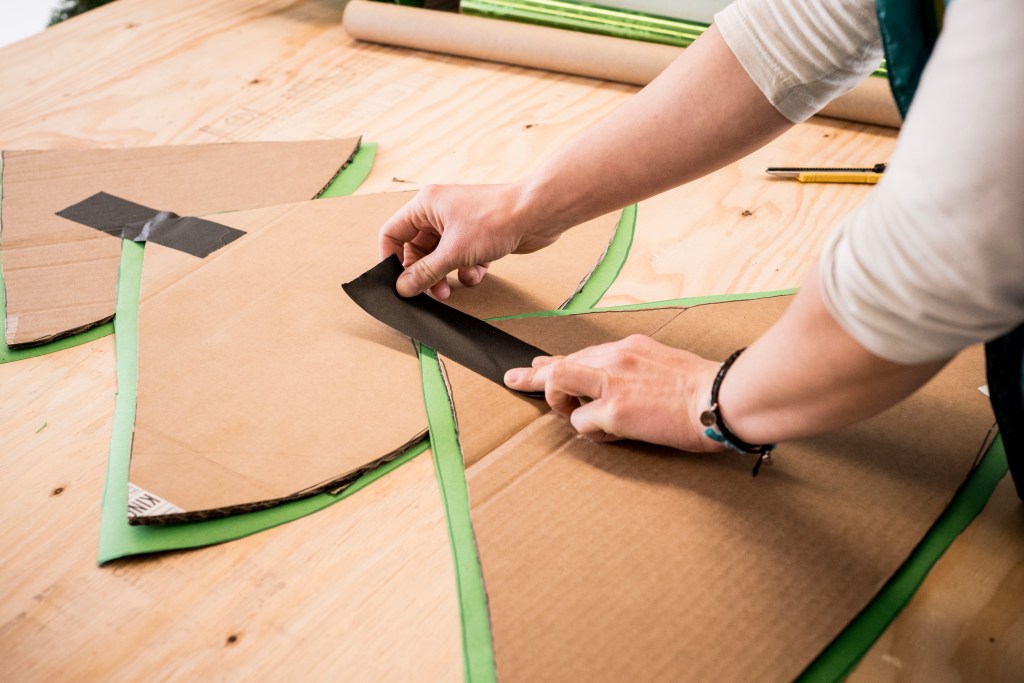
6. Punch small holes in one side of the tree and insert the individual mini light bulbs through the holes so the lights show on the front and the cord remains hidden on the back. Position the battery pack near the bottom where you’ll be able to reach it once the tree is all put together. Tape the cord in place.
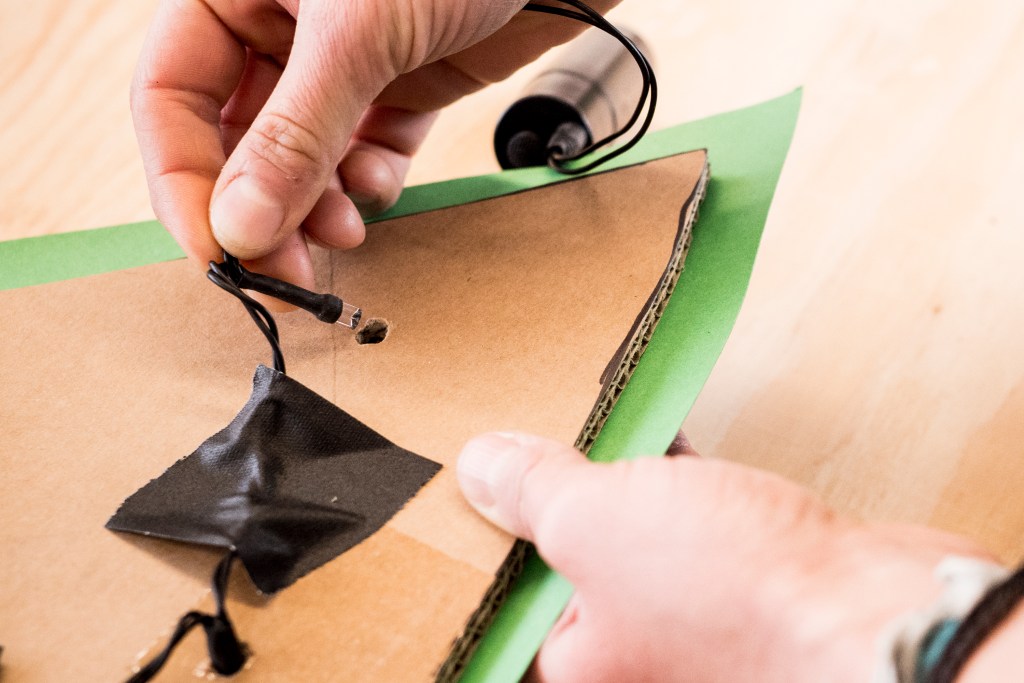
7. With the handles sticking out the bottom to form the tree trunk, tape the trekking poles to one side of the tree to keep them in place. Put a piece of paper in between the poles and the tape to keep sticky tape off the poles.
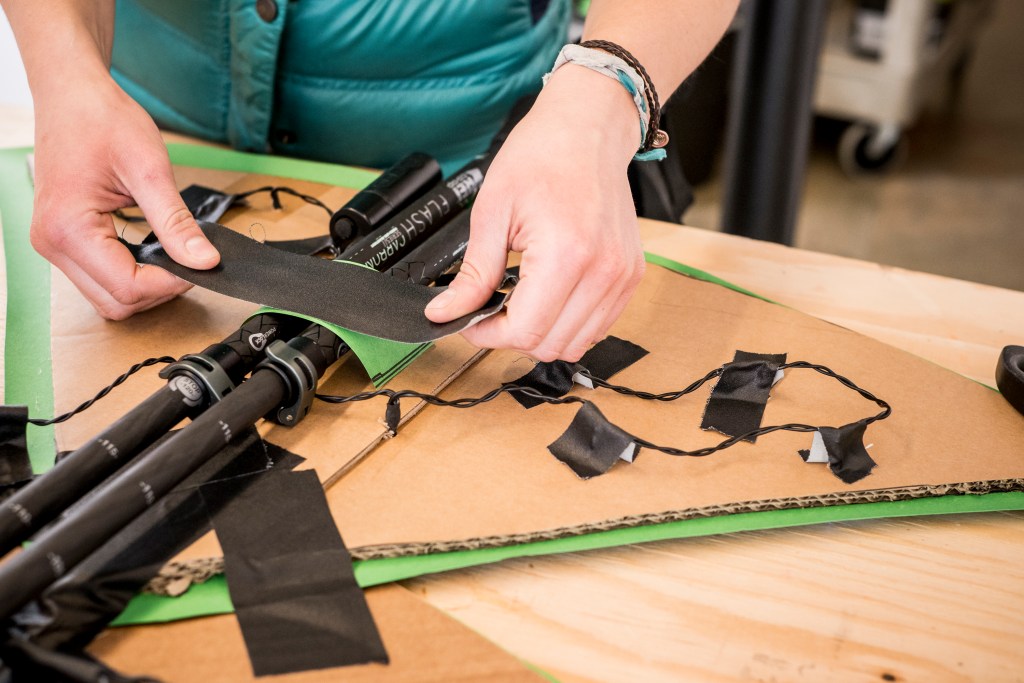
8. Put the other side of the tree on top of the first, and tie bows around each segment to hold it all together. Then, get creative and decorate your tree!
Turtle Helmet
Materials:
- Bike or snow helmet (We used the a bike helmet from Giro)
- Plastic bag (from the helmet packaging), tissue paper or aluminum foil
- 2 empty toilet paper rolls
- Small piece of recycled cardboard
- Wrapping paper in a variety of colors/patterns
- Pair of googly eyes
- Tape
- Scissors
- Glue stick (optional)
Directions:
1. Remove the helmet from its packaging. (Save the packaging for your gift recipient.)
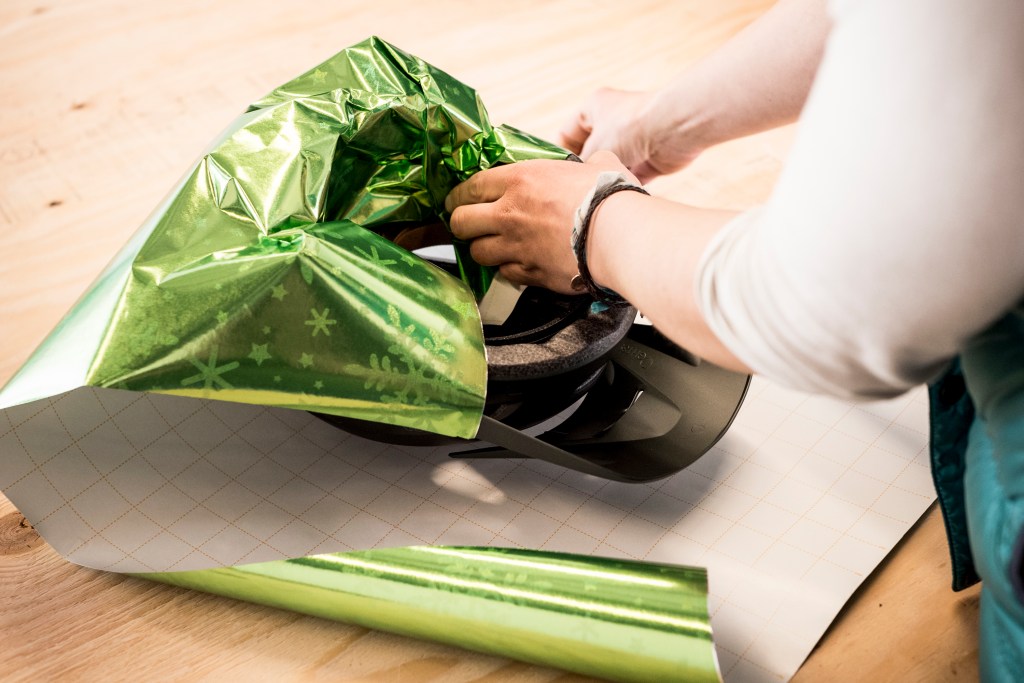
2. Wrap the helmet in your choice of wrapping paper.
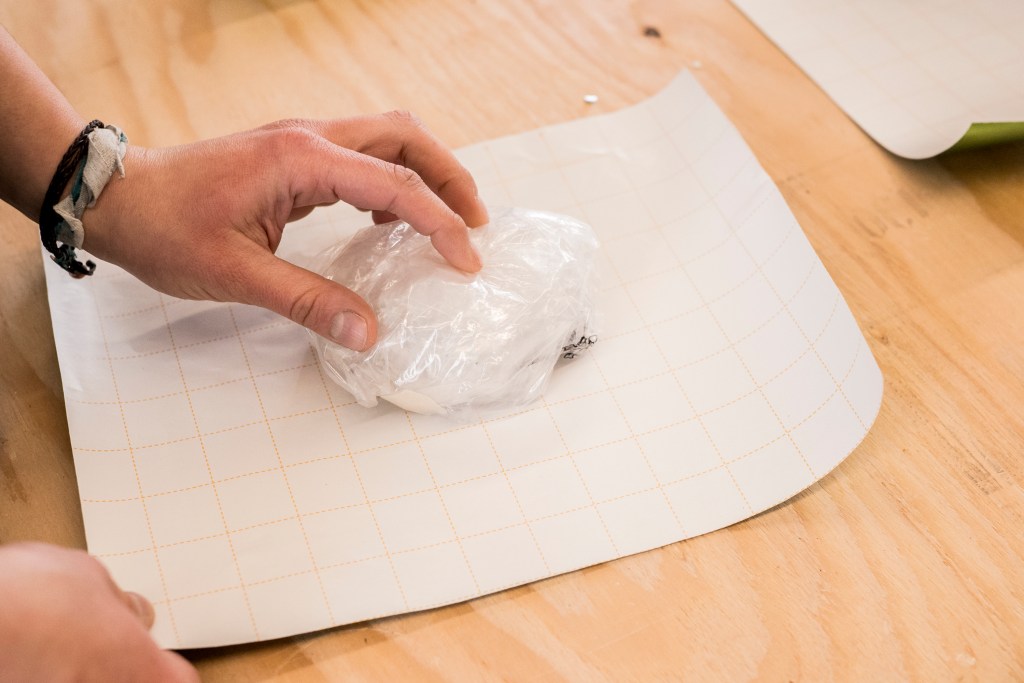
3. Take the plastic bag, tissue or foil and compress it into a ball to form a little turtle head, taping it to hold the shape. Wrap the turtle head with your choice of wrapping paper and attach it to the front of the helmet with tape.
4. Cut both toilet paper rolls in half. Wrap them in your choice of paper and tape them on to the underside of the helmet as feet for your turtle.
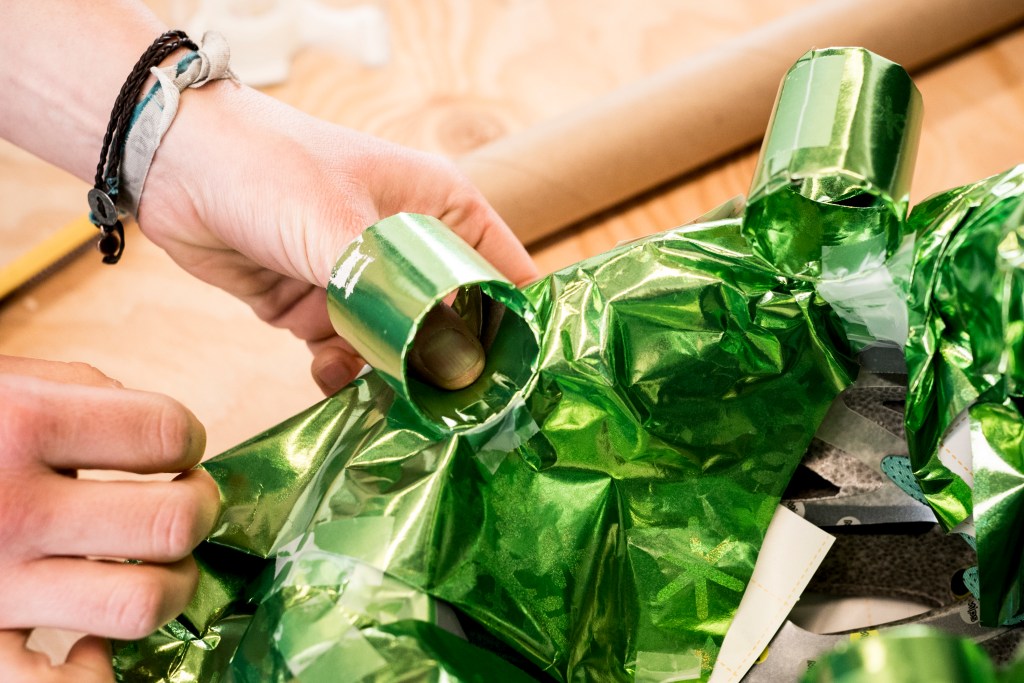
5. Roll up a piece of cardboard into a turtle tail, wrap with paper, and tape to the back of the helmet.
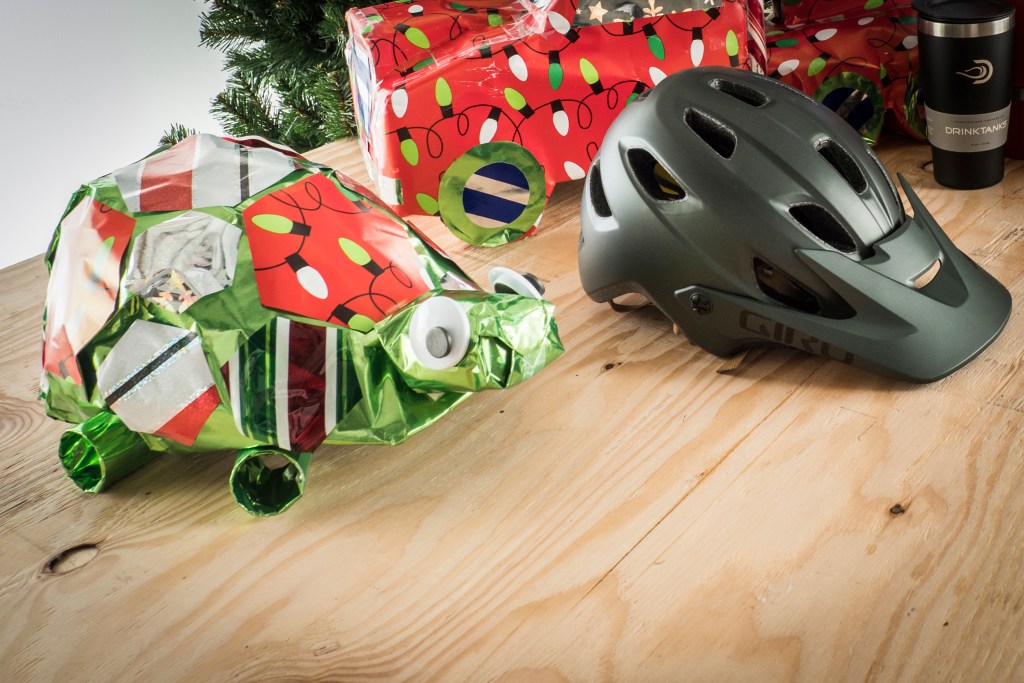
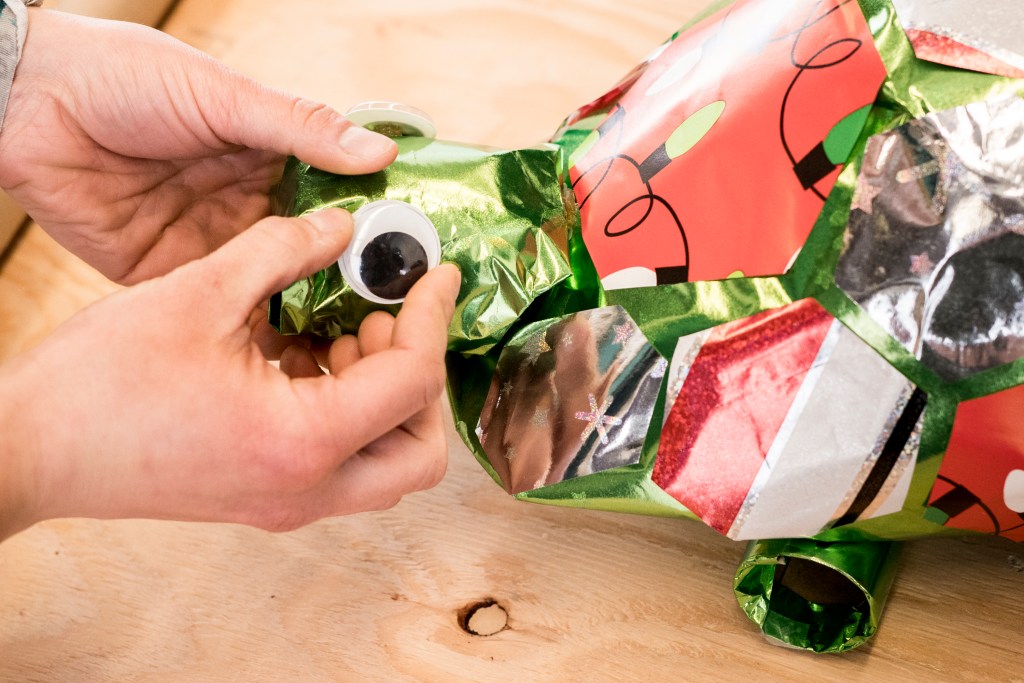
6. Cut out hexagons in various wrapping paper patterns and tape and/or glue them on the helmet to make the turtle shell pattern. Stick on a pair of googly eyes for extra personality!
Growler Truck with Tumblers
Materials:
- Growler (we used a DrinkTanks 64 oz. Vacuum Insulated Growler)
- 4 pint glasses (we used 16 oz. tumblers)
- Lots of recycled cardboard (we had about a 5 x 4 foot sheet)
- Scissors or box cutter
- Tape
- Wrapping paper in a variety of colors/patterns
- 2 large candy canes (we used straight ones)
Directions:
1. Using the measurements in the reference image below as a guide, draw the flat truck shape onto a large piece of cardboard with a pen and a ruler. If you don’t have a piece of cardboard large enough, you can portion out the shape and then tape the cardboard pieces together. Mark the dashed lines as seen in the image; you will fold along these lines.
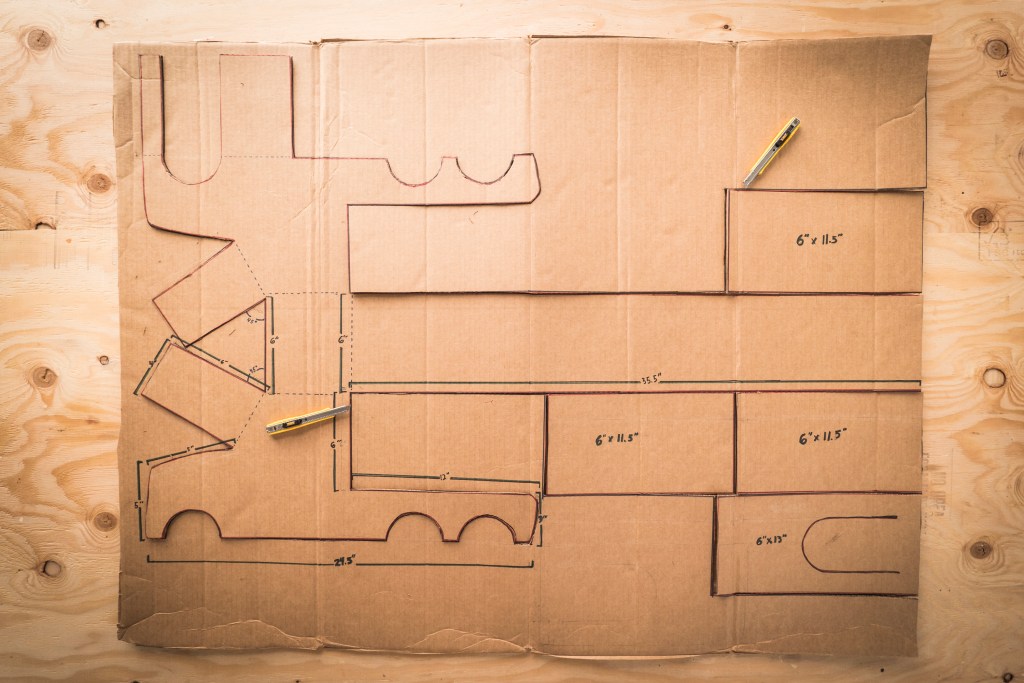
2. Cut the shape out along the solid lines you drew. You should end up with one large, oddly shaped piece (the truck body) and four rectangular pieces (the three wheel pieces and the hood).
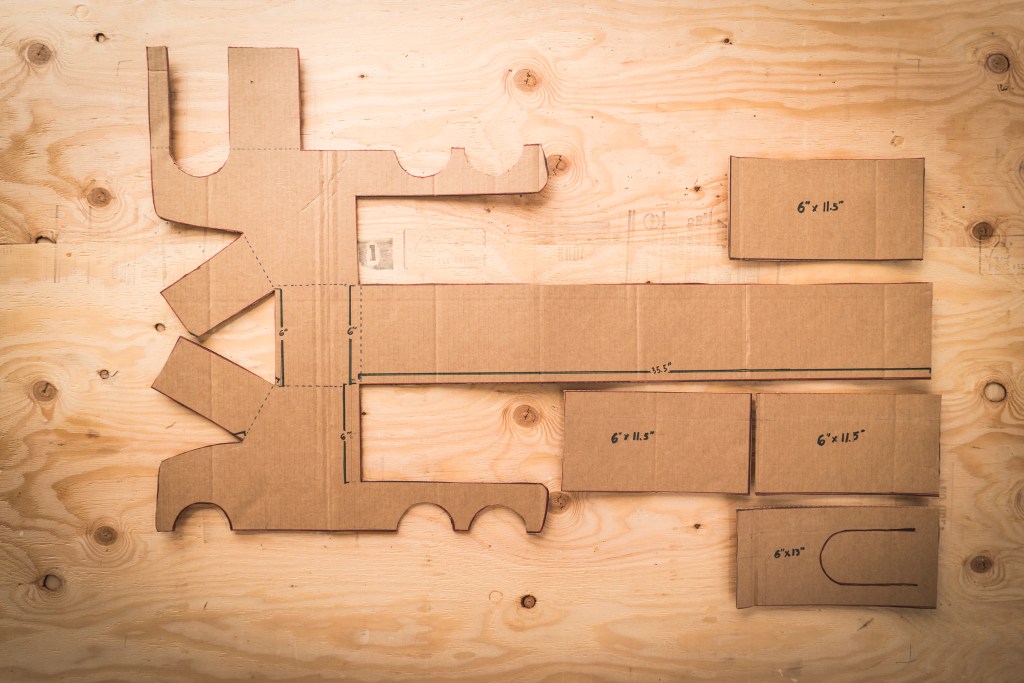
3. To create the truck body, fold along the dashed lines, taping as you go to hold the shape together.
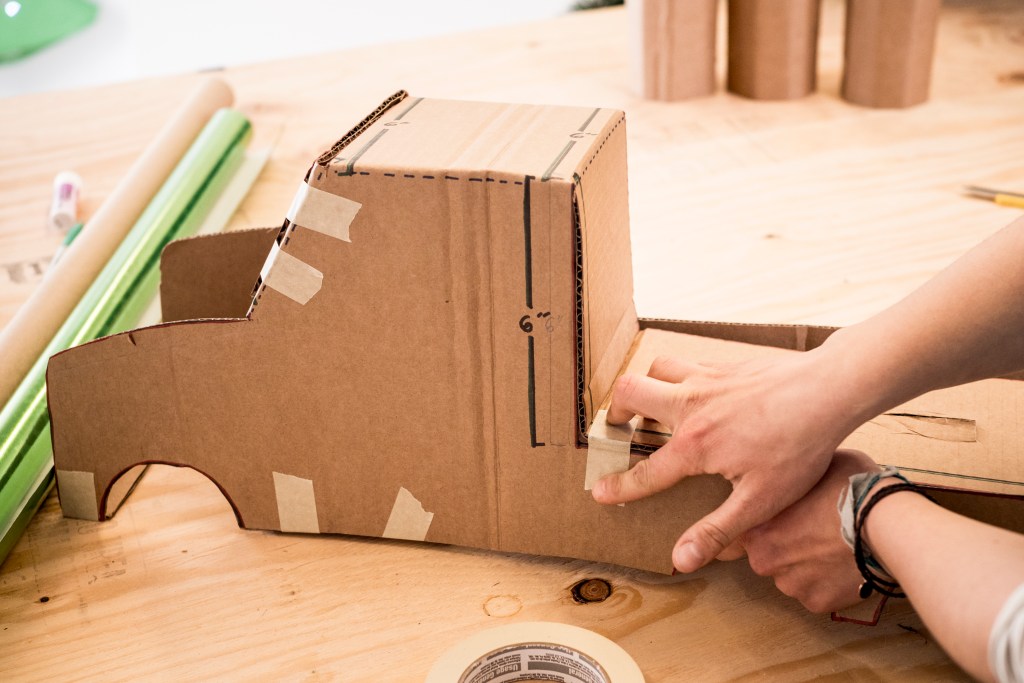
Fold the long rear strip underneath, following the curves of the wheel wells, and secure in place with tape.
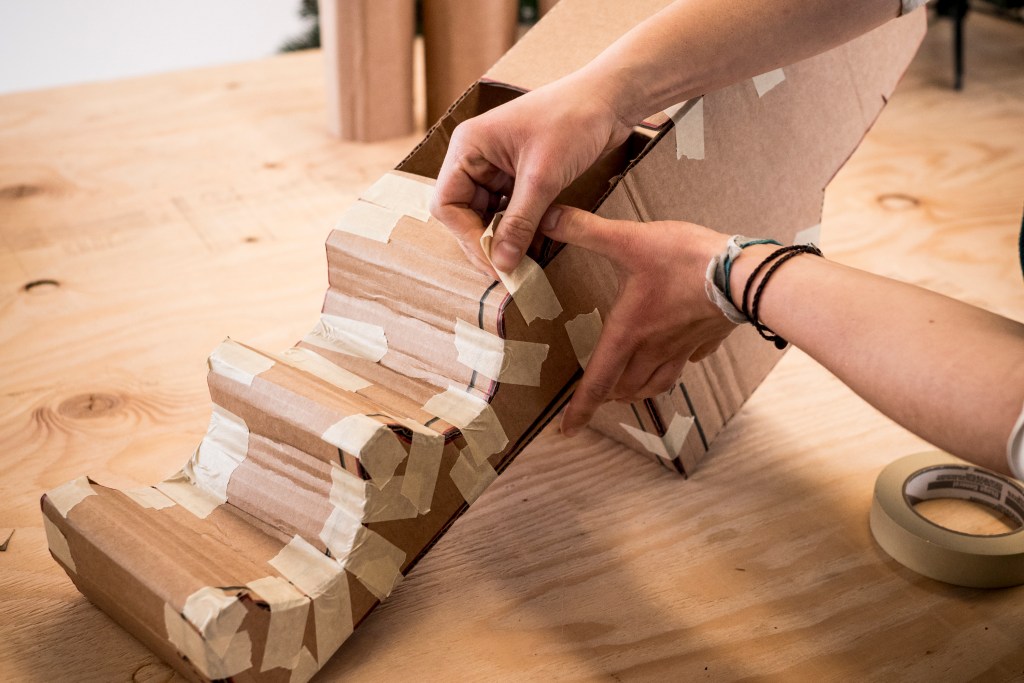
4. Tape the hood piece on the front of the truck.
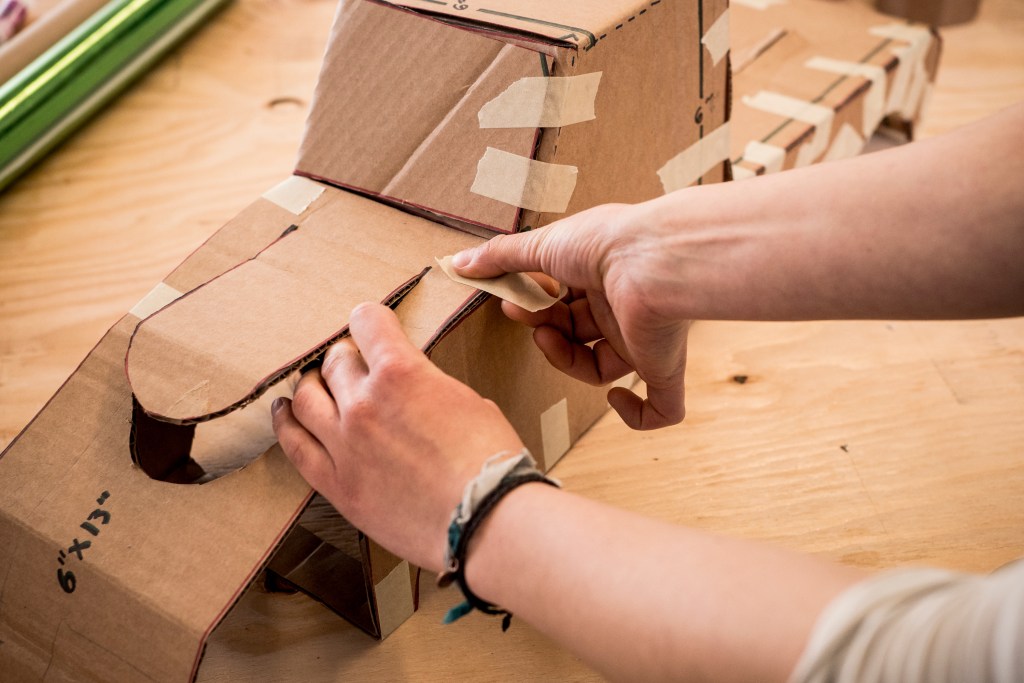
Open the flap and place one pint glass under the hood of the truck and secure the hood and cup with tape.
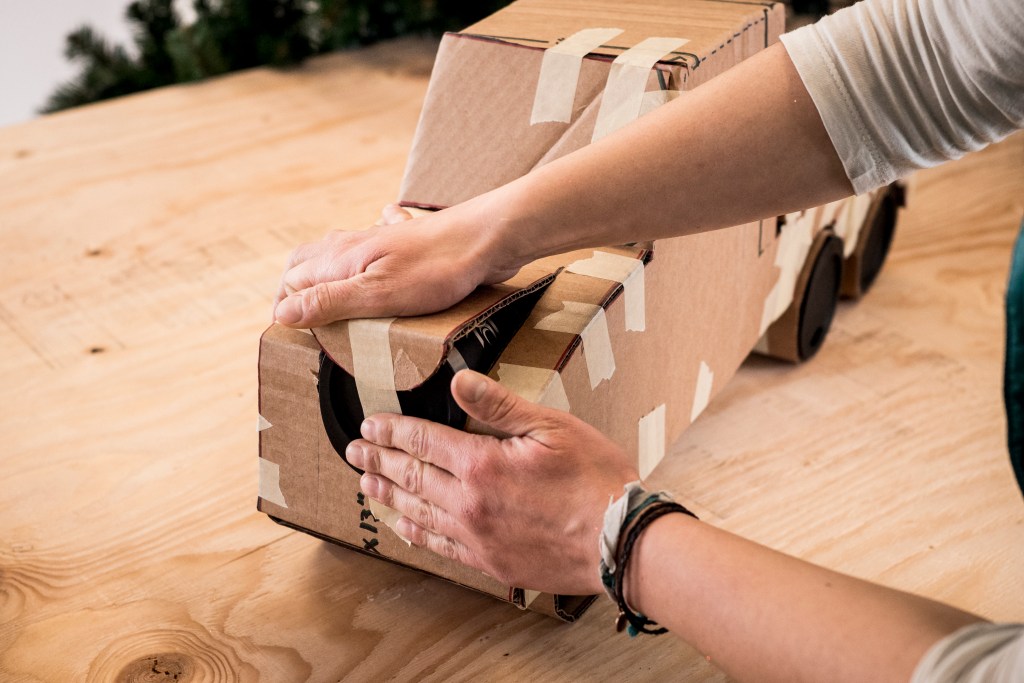
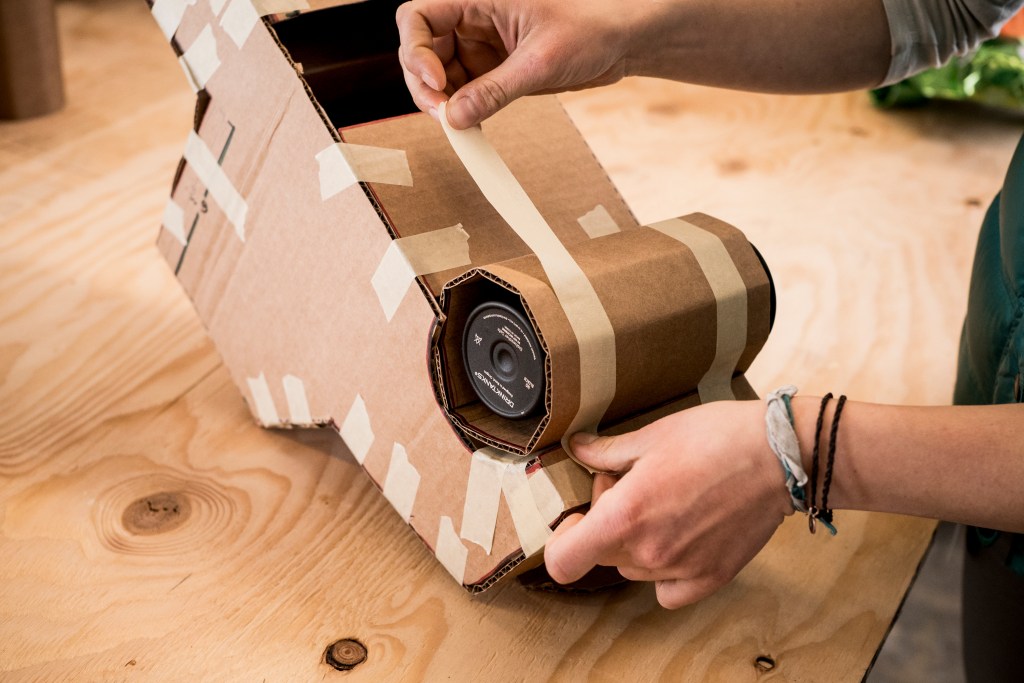
5. Wrap three pint glasses in the three rectangular cardboard pieces you already cut out to make wheels.

Attach them to the wheel wells with tape: two in the back and one in the front.
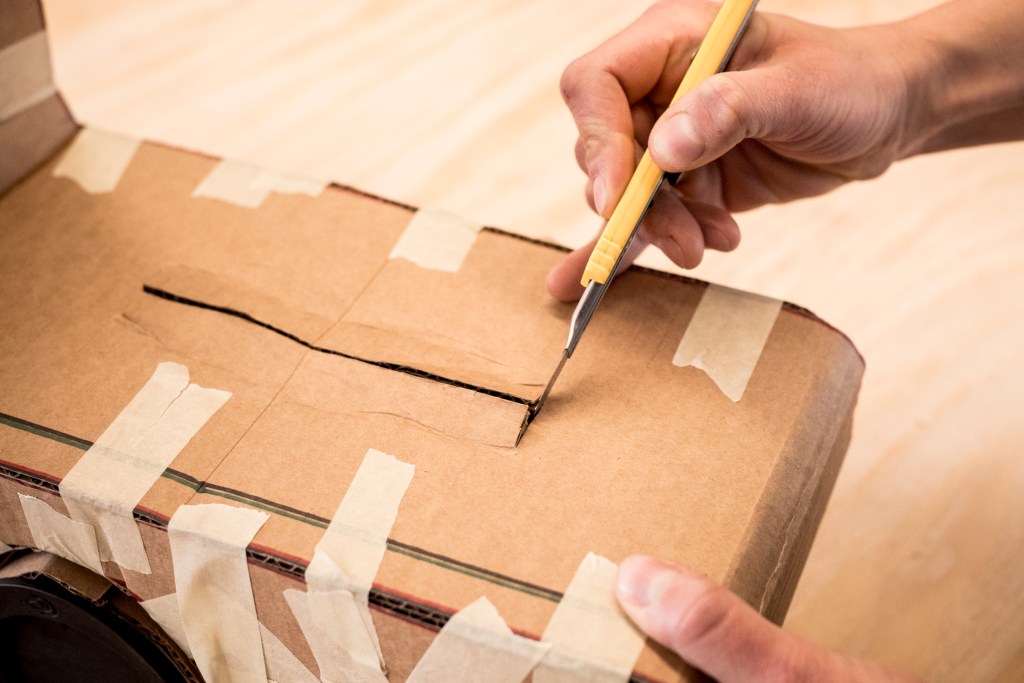
6. Carefully use a box cutter to cut a slit lengthwise down the middle of the top of the truck bed; this is where you’ll put the growler.
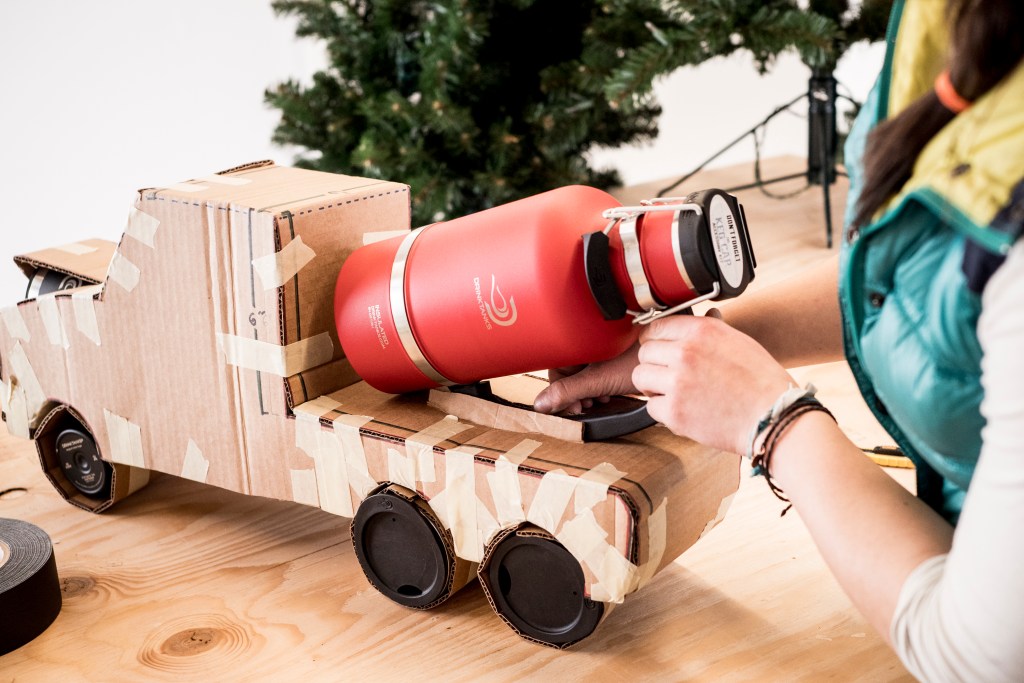
7. Wrap the growler in wrapping paper, excluding the handle (not pictured). Place the handle of the growler inside the opening you just cut and secure it with extra cardboard and tape as needed.
8. Wrap the whole truck in wrapping paper. You’ll have to get creative here; there’s no right or wrong way to wrap! Add different color pieces for windows, grill and wheels. Attach candy canes on either side of the truck cab as exhaust pipes.
