Calling all bike-curious backpackers: This one’s for you. With a few small additions and some packing know-how, you can push your backpacking setup into bicycle service. Follow these tips to get started.
Gear and Storage
When you hit the trail on foot, you carry your stuff on your back. Not so when you do the same on wheels. (Wearing a 60-liter pack while pedaling is going to result in a bad time.) As such, bikepacking bags are the main thing you’ll have to invest in.
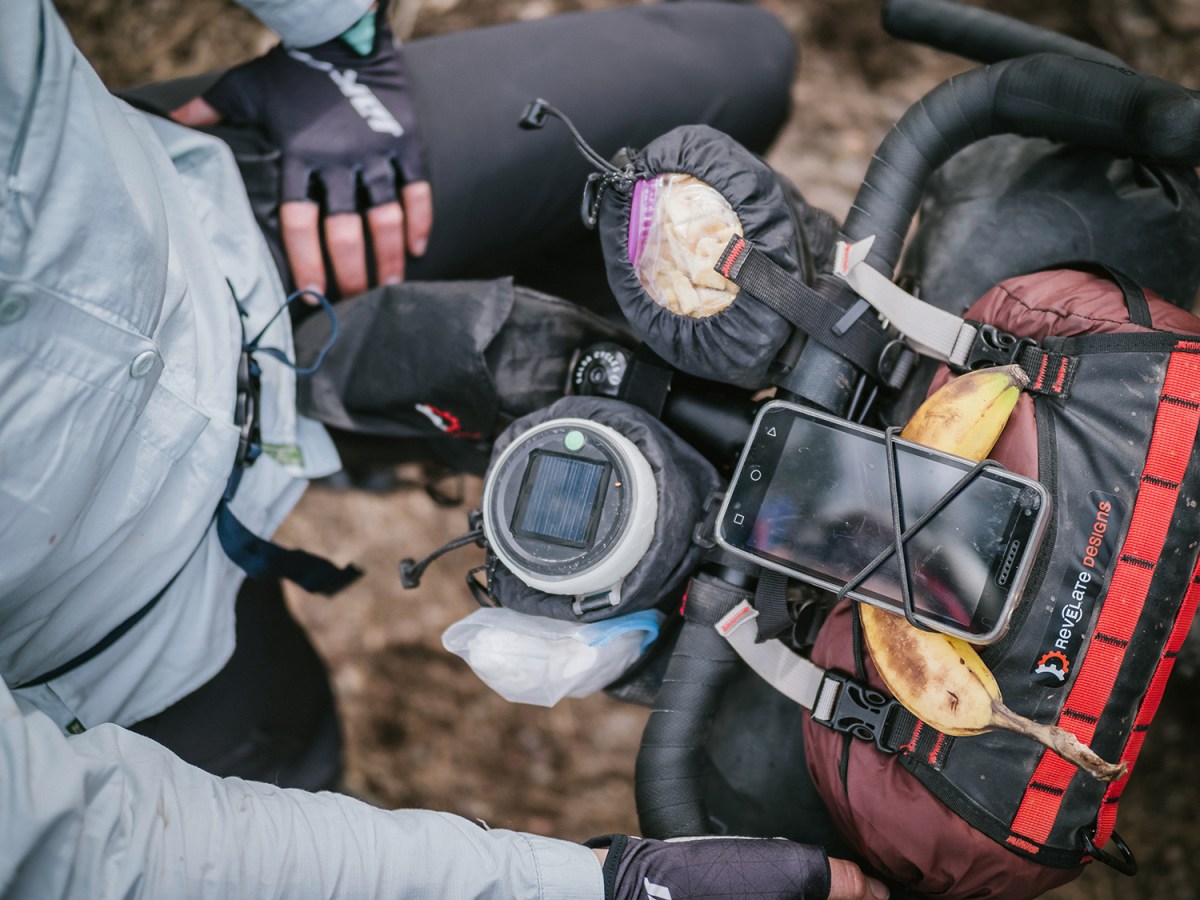
Pack it right, pack it tight.
Daniel Jessee, regional experiences manager at the REI Atlanta store, explains that bikepacking is essentially “figuring out the Tetris game of getting as much as possible on your bike.” The bikepacking bags—including handlebar, frame and saddle bags—sit close to the bike frame to maintain a narrower profile for singletrack travel. You can also use a rack and panniers like the Ortlieb Backroller Free (more commonly used for road touring and commuting), particularly if you’re not planning to hit trails that pass between tight trees. Panniers provide more volume than bikepacking bags, though they’re often heavier and can create more awkward loads. Some people also wear a small backpack as well, but that can strain your back and butt.
Of course, if you want to try bikepacking before going all in with bike-specific purchases, you can hack your way through. Jessee says creativity goes a long way when packing: “You can fit a lot of stuff in a dry bag lashed to a rear bike rack.”
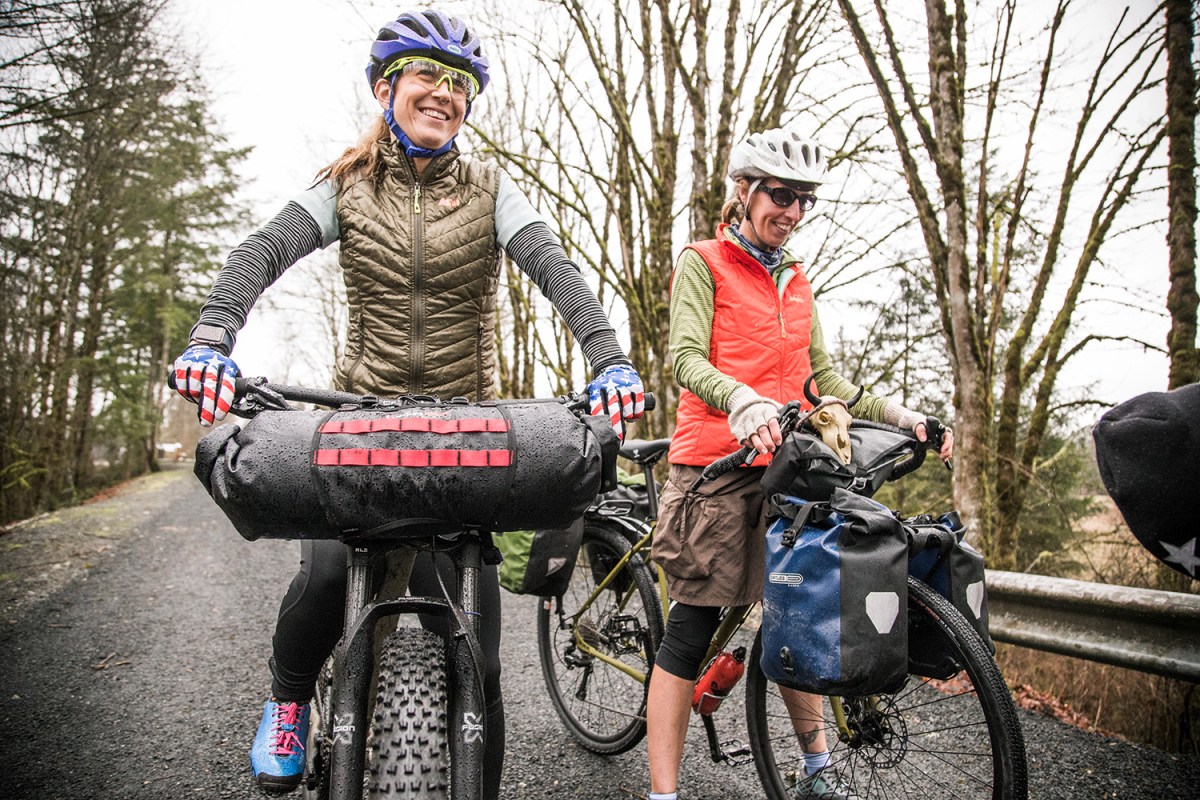
If it fits, it comes.
How to Pack
Regardless of how you choose to haul your stuff, packing matters. “Keep the front end of the bike low weight to maintain good handling,” advises Lael Wilcox, who is presently bikepacking in Kyrgyzstan and who some consider to be the best ultra-endurance bicycle racer in the world. “The heavier equipment should go into the bottom of the frame bag if possible. It’ll make the bike a lot more stable.” Each item should maintain the balance of the bike: Lighter-weight, higher-volume items should go on the handlebars, in a seat bag or higher up in panniers. Heavier items should sit lower in a pannier or in the central frame bag. Adding a bike rack or two is also an option if you need more space. (Tip: Avoid overstuffing; bulging frame bags can chafe your legs.)
Lastly, cinch everything down with a couple of Revelate Designs Washboard straps, which keep your stuff secure and tidy and can even be relied upon to lash a few odds and ends to the load.
Read more about how to pack for bikepacking at REI Expert Advice.
Shelter and sleeping
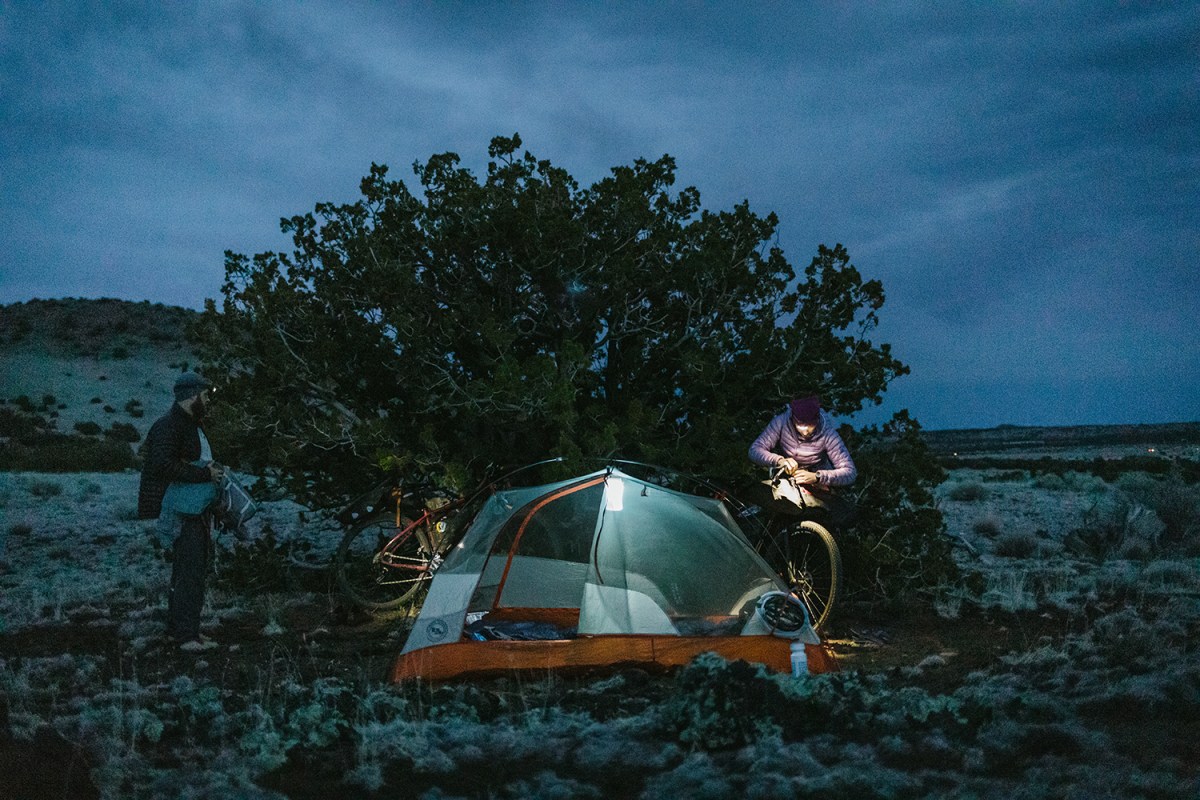
Your backpacking tent will serve you well on a bikepacking trip.
Assuming you have a lightweight, low-volume backpacking tent, sleeping bag and pad, you should be good to go. Use your existing setup—just be smart about where and how you pack these bulkier items.
Handlebars are a good place to strap your sleep system or a backpacking tent, since the minimal weight won’t affect handling too much. If you prefer to have a handlebar bag like the Revelate Designs Sweetroll (Wilcox’s pick), you can stuff the tent body in a seat bag or pannier. Depending on the length, poles can be stored separately along handlebars, in a frame bag or in an outside pannier pocket.
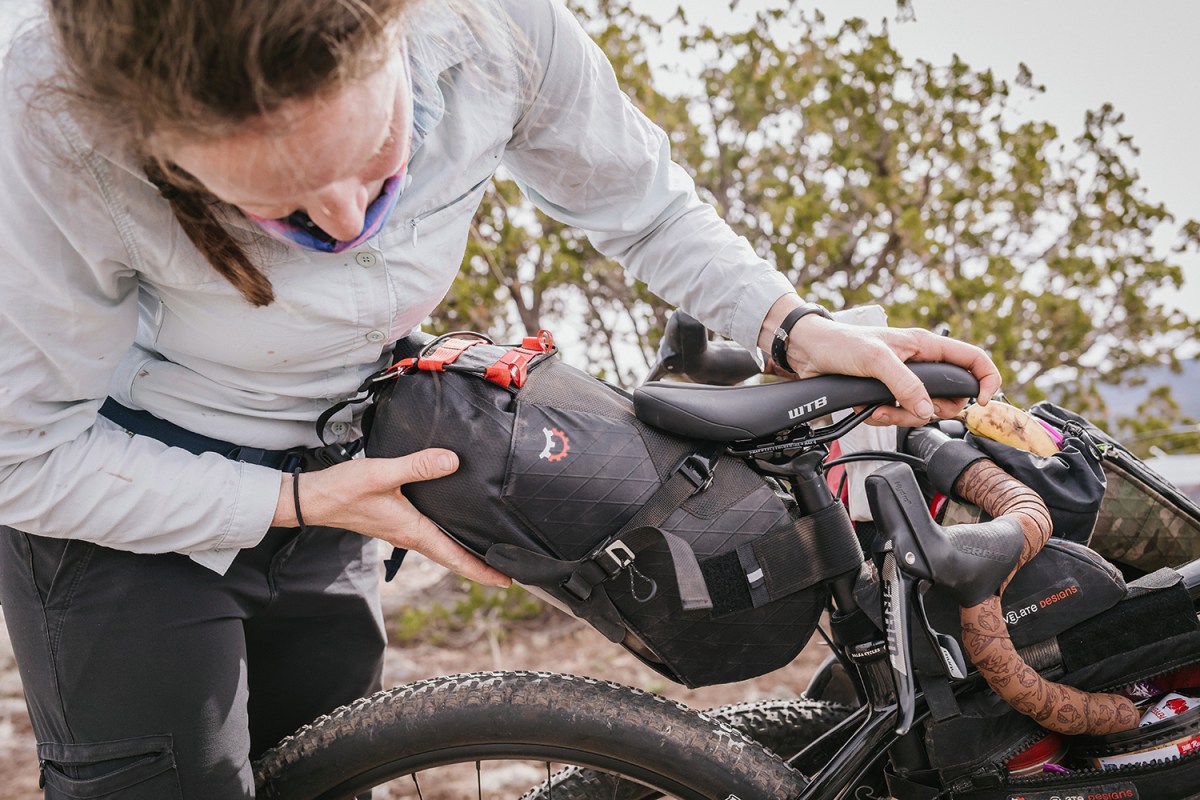
Compress your sleeping bag with a stuff sack.
A sleeping bag often fits well in a rear seat bag and again, isn’t too heavy to throw off your balance. (A compression stuff sack can help minimize the amount of space your sleeping bag takes up and helps keep it dry if you encounter weather or a splashy crossing.) A small sleeping pad can be stored with your sleeping bag as well. Josh Dekan, a sales lead at the REI Rosedale store and avid bikepacker, always takes his REI Co-op Flash sleeping pad because it’s comfortable and small enough to pack into a seat bag.
Camp kitchen and food
Cooking equipment tends to be heavy and non-compressible, which means it should go in a frame bag to maintain your bike’s low center of gravity. (Frame bags come in a variety of volumes and shapes to fit the rainbow of bike frames out there.) Be strategic about packing kitchen gear, and place smaller items in the nooks and crannies to use all available space. In the market for a new stove anyway? Go with something small like the MSR Pocket Rocket 2. Alcohol stoves, when used safely, can also be a good choice, as the fuel is readily available in gas stations and hardware stores you may be more likely to come across on a bike trip. (Here’s how you can make your own alcohol stove.)
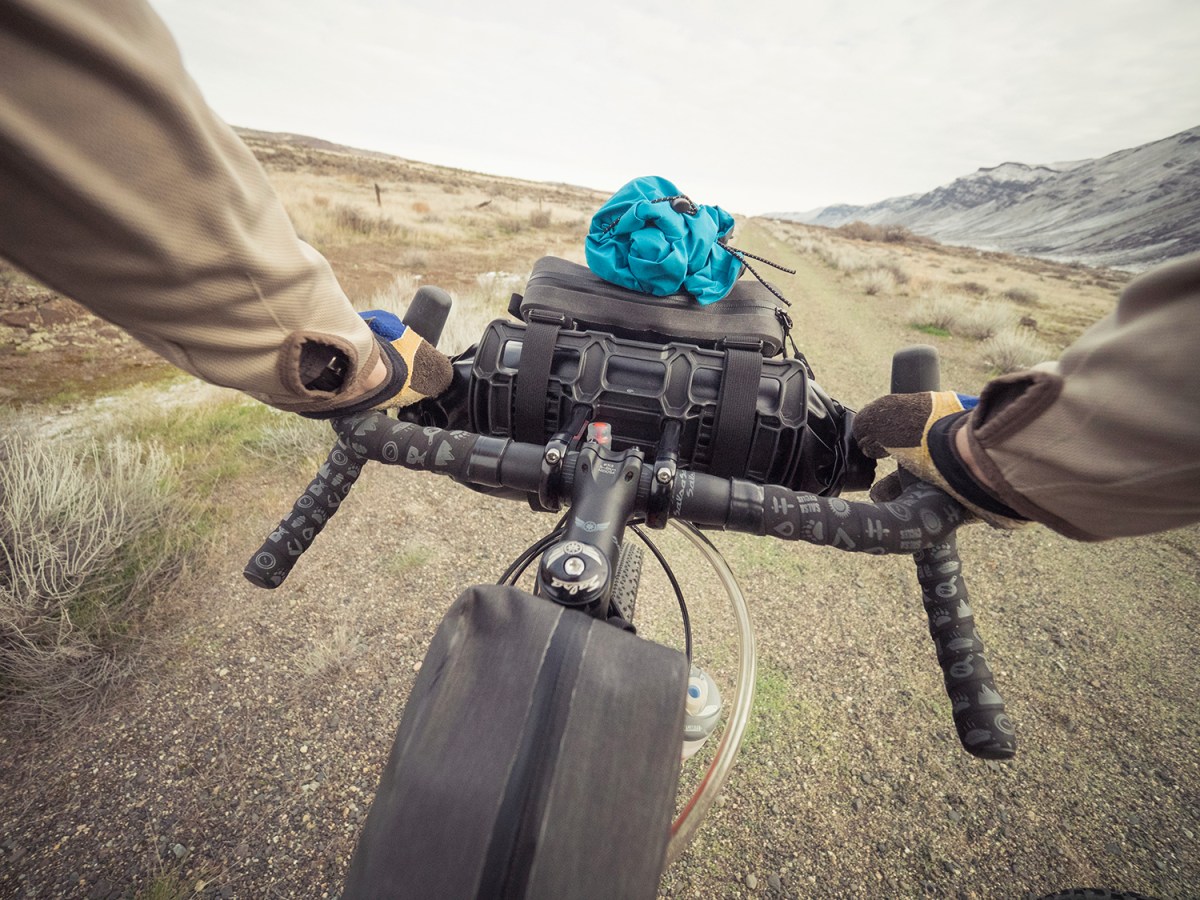
Make sure you can reach your snacks.
Place snacks and any consumables you want regular access to in top-tube and stem bags in your “cockpit area,” aka anywhere you can easily reach while riding. (Dekan loves the Revelate Designs Gas Tank and Mountain Feedbag.) Larger meals or the next day’s food can go in the frame bag or in the bottom of the seat bag closest to your seat post. But if you have a low bottom bracket and may be crossing water, avoid putting anything in the bottom of the bag that shouldn’t get wet. Mmmm, soggy burrito.
Clothing
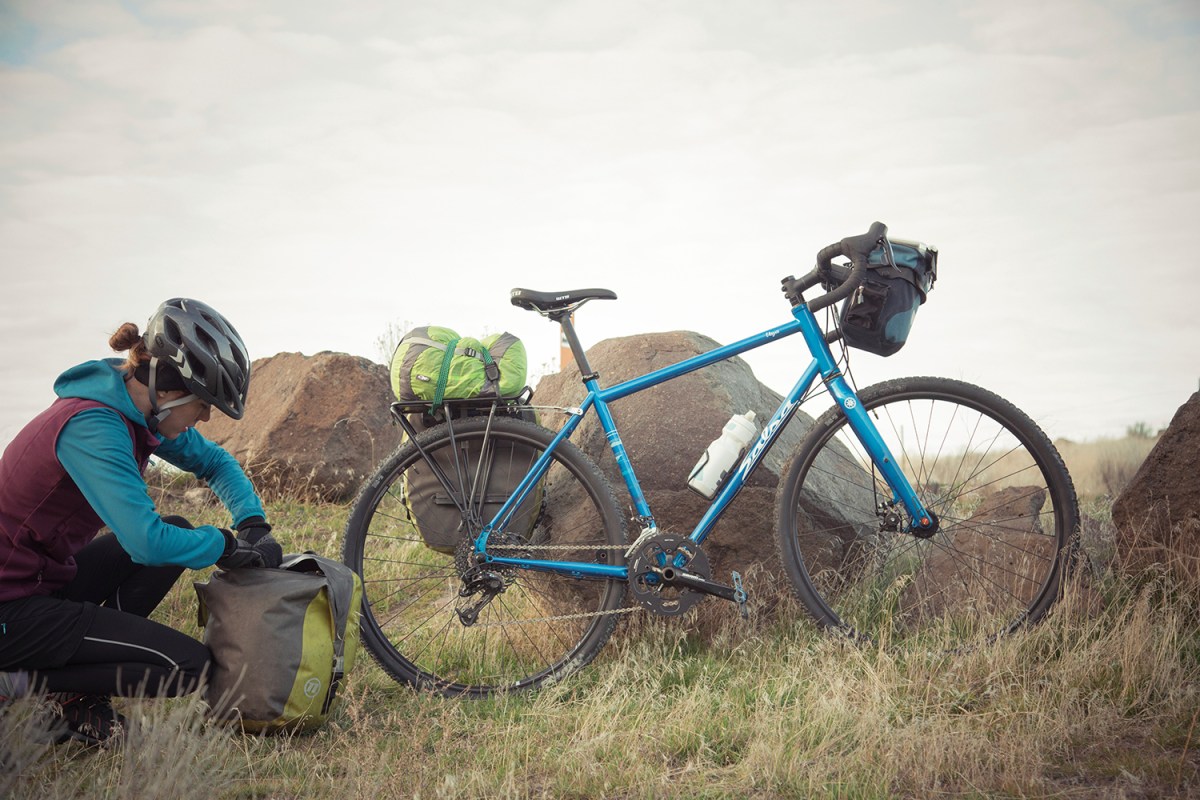
Stuff your clothes into dead space in your bike bags.
Similar to backpacking, the trick is layering and being prepared for the elements. Beyond that, make sure you’re comfortable. Cycling involves highly repetitive motion, so you want to choose items that move with you, wick sweat and can handle all-day activity. In other words, you can probably use your existing hiking garb, so long as you acquire a chamois (padded shorts that add cushion for long rides). Learn more about cycling shorts and other cycling clothing at REI Expert Advice.
Unlike backpacking, where you might stuff all your clothes into a single stuff sack, space here is at a premium. Pack pieces individually by stuffing them in dead space in your bike bags and around awkwardly shaped or solid items like your stove. Keep layers like a rain shell or puffy easily accessible in a seat bag or handlebar bag.
Wear whatever shoes are comfortable, but consider that you may need to “hike-a-bike” (carry your bike up, down or around something you can’t comfortably ride). You also will be wearing these shoes in camp and potentially around town. Wilcox goes with the HOKA ONE ONE Speed Goat trail-running shoes, which work well on flat pedals.
Hydration
Carrying water can be tricky since many of the usual places to fit a bottle cage will be overtaken by bike bags. Depending on your setup, you can add bottle cages to either side of the fork, the down tube or behind your saddle. You can also put a hydration bladder in a frame bag and run the hose up to the cockpit area for easy drinking on the move (and style points).
Small water filters like the Sawyer Squeeze or the Katadyn BeFree are small enough to fit in cockpit bags or even a jersey pocket for quick access when you pass a water source.
Lights
If you’re going to be riding on any roads or into the evening, you should have front and rear bike lights, both to see and be seen. But Jessee also recommends bringing your backpacking headlamp for riding and in camp (his pick: the Black Diamond Spot). “I love high-powered, cycling-specific lights, but most of those are USB or dynamo,” he says. “I want the reliability of a AAA headlamp where I can always get more batteries.” Jessee says he zip-ties his headlamp to his helmet, “but you can use the elastic band too.”
Tools and repair
Unlike a backpack, bikes have quite a few moving parts that, from time to time, will require some trailside repair. You should always give your bike some TLC after a trip, but know that there may be broken chains, flat tires and other issues to deal with while you’re out, regardless of your prep or how expensive your bike is. For more information on flat tires, check out the REI Expert Advice article on fixing flat tires.
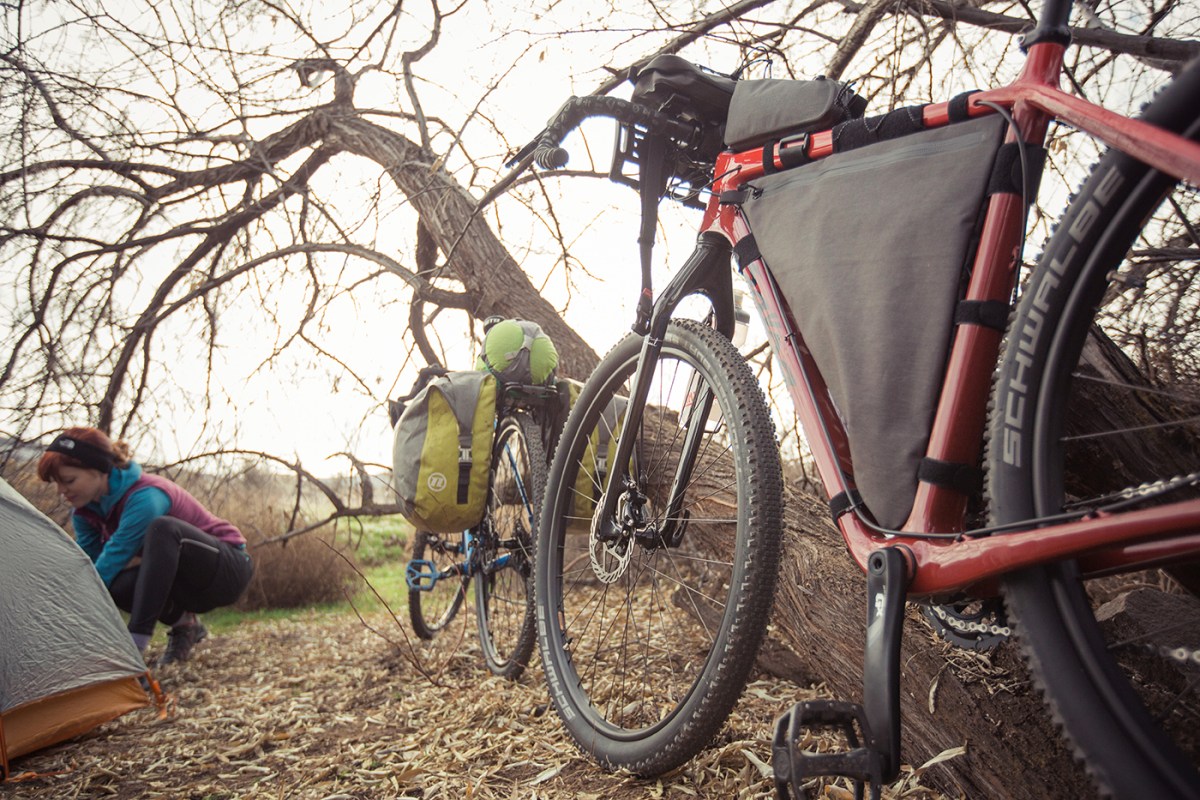
Be prepared for on-trail repairs.
Dekan always carries “a pump, spare tubes, patch kit, tire boot, multi-tool, chain quick links, zip-ties and even an emergency derailleur hanger in case you catch a stick and break the one on the bike.” Make sure you have your own bike repair kit, even if you build one yourself.
Pick a Route and Get Out
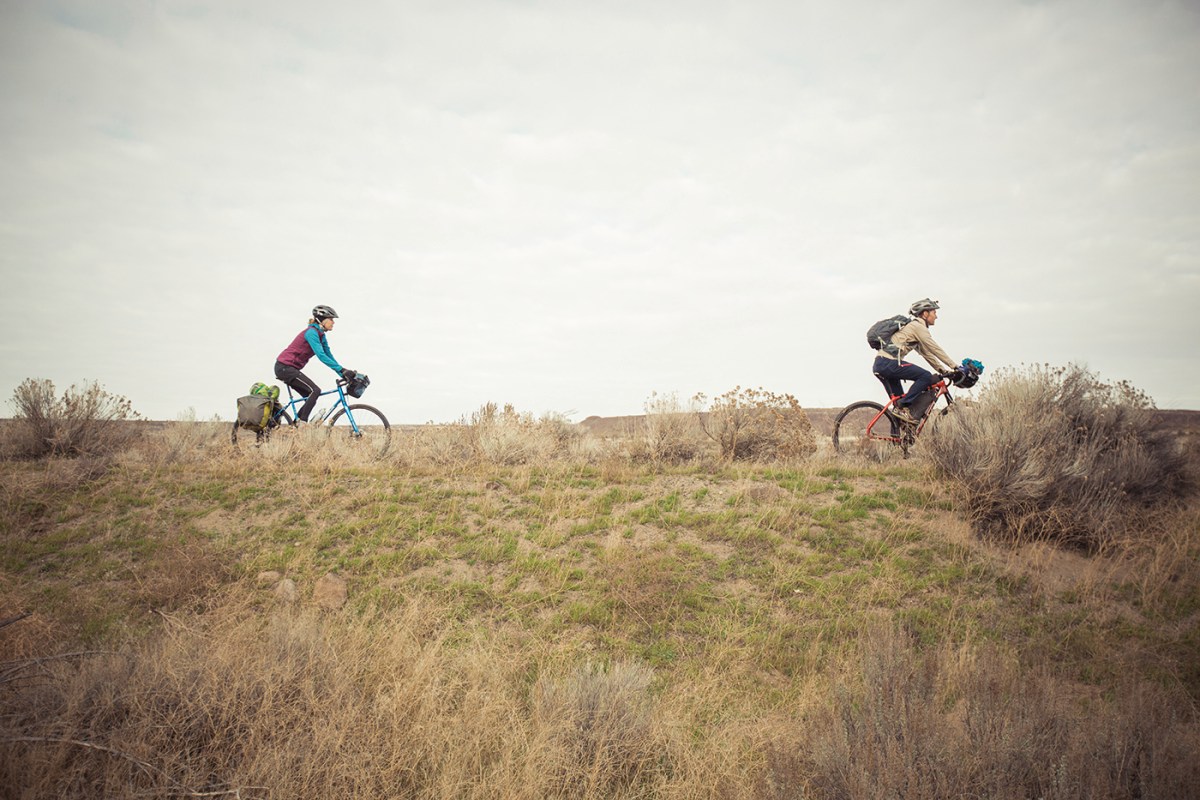
Hit the trail.
The last piece of the puzzle is picking a route. Unlike most hiking trails, most bikepacking paths don’t have the level of support and information that make it as easy to plan a route. Look at fire roads or land overseen by the Bureau of Land Management for starters, and know that you’ll be putting in legwork before your pedal-powered adventure even begins. We’ve compiled a list of all the things to consider when planning a bikepacking trip.
There are many ways to bikepack, but in the end, remember “[the] idea is to get gear on the bike, ride somewhere and sleep outside,” Wilcox says. “Don’t overthink it. Just get out there and you’ll learn along the way.”
We have tons of bikepacking tips for your next adventure. If you’re just getting into bikepacking, we have all the info you need to get started, including how to choose a bike.
